
Bringing the magic of Hogwarts into your living room starts with one iconic location: Platform 9¾. Whether you're hosting a Harry Potter birthday party, organizing a themed event, or surprising a fan with an immersive experience, a DIY Platform 9¾ photo booth backdrop is both memorable and surprisingly simple to create. With basic materials and attention to detail, you can transport guests straight to King’s Cross Station—no Floo Powder required.
Gathering Your Magical Supplies
The foundation of any successful project lies in preparation. Before diving into construction, ensure you have all necessary materials on hand. Most items are readily available at craft stores or online retailers. The goal is authenticity without complexity—this isn’t N.E.W.T.-level magic, just clever Muggle ingenuity.
- Large foam board, plywood, or corrugated plastic (size: approximately 6 ft x 4 ft)
- Printed or hand-painted \"Platform 9¾\" sign
- Red paint (for pillar details)
- Black and yellow paint (for caution stripes)
- Paintbrushes and rollers
- Tape measure and level
- Utility knife or saw (depending on material)
- Stencils for lettering or symbols (optional)
- Hot glue gun or strong adhesive
- Extension pole or support stand (to hold the backdrop upright)
- Steamer trunk or luggage props (for added realism)
- Smoke machine (optional, for dramatic effect)
Designing the Authentic Look of Platform 9¾
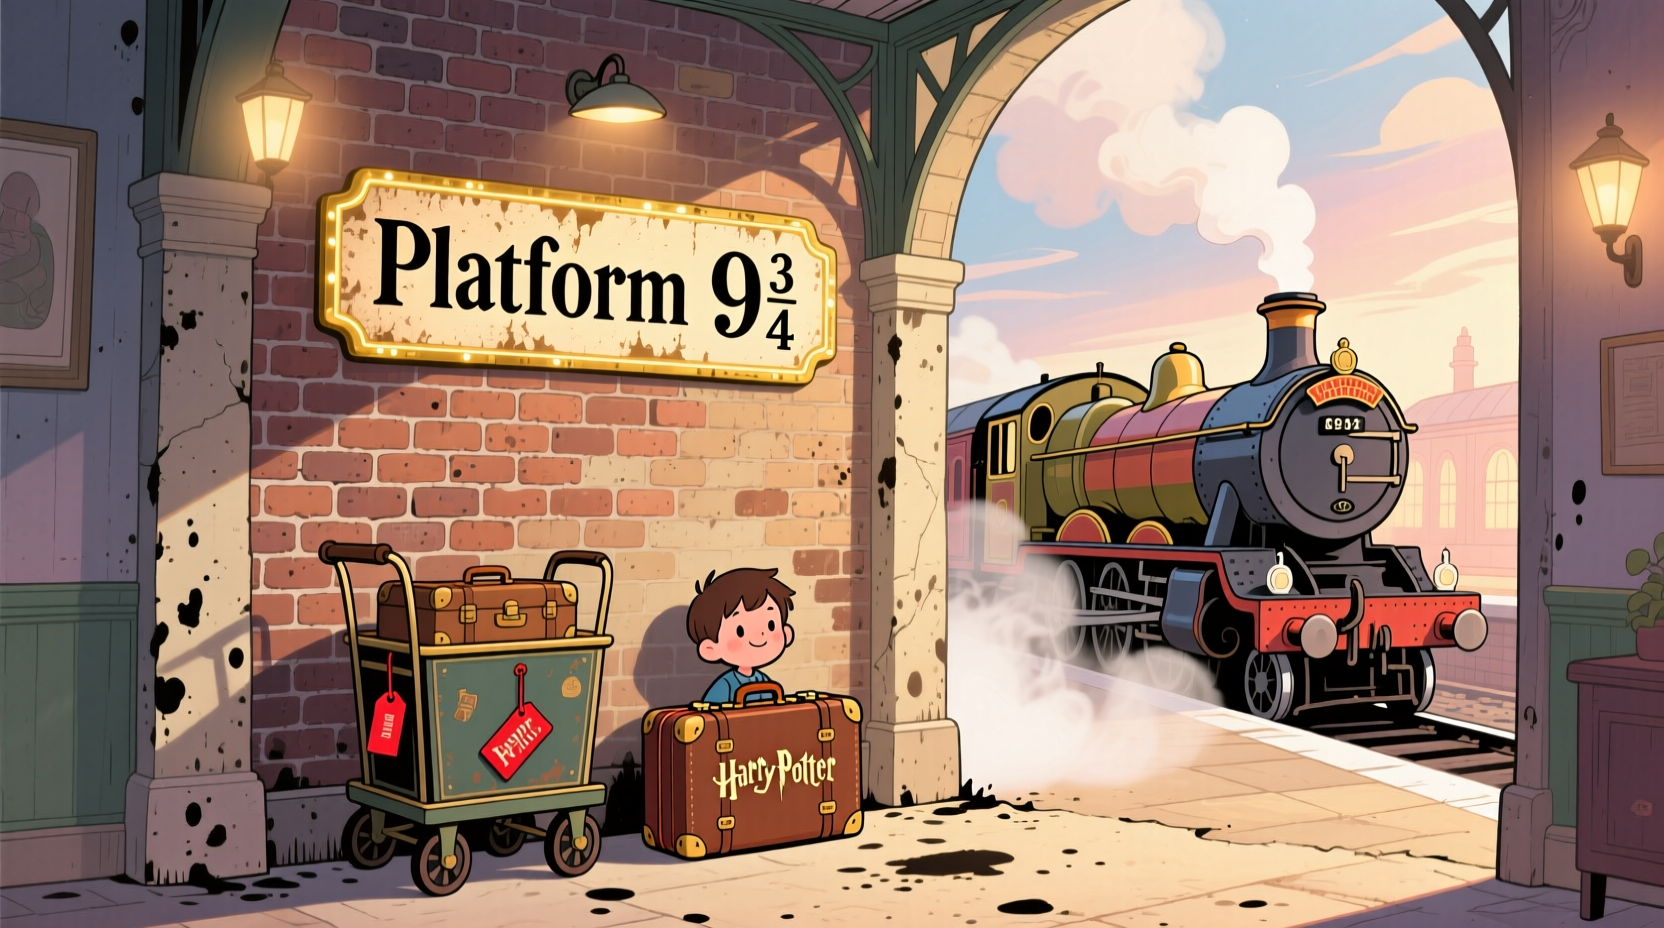
The visual identity of Platform 9¾ hinges on two key elements: the brick wall illusion and the iconic signage. While you won’t be magically merging into a stone barrier, you can simulate the effect using layered textures and strategic painting techniques.
Begin by priming your base panel with a neutral color—off-white or light gray works best as a foundation for brick detailing. Use a stencil or freehand technique to paint red bricks in staggered rows. Don’t aim for perfection; slightly uneven lines add realism. Leave a central gap where the “disappearing” effect occurs—this is where guests will pose, partially “entering” the wall.
On either side of the opening, paint supporting pillars in deep red, mimicking the railway architecture seen in the films. Add black-and-yellow diagonal stripes near the top to suggest caution tape or structural warnings—a subtle nod to cinematic accuracy.
“Authenticity in themed decor comes not from replicating every detail, but from capturing the spirit of the moment.” — Lila Chen, Event Designer & Immersive Experience Specialist
Constructing the Backdrop: A Step-by-Step Timeline
Follow this practical sequence to assemble your backdrop efficiently and safely.
- Day 1 – Frame and Cut Base Panel: Measure and cut your chosen material to desired dimensions. Sand edges if using wood or plastic.
- Day 1 – Prime Surface: Apply a base coat of paint and let dry completely (minimum 2 hours).
- Day 2 – Paint Brick Pattern: Use a small brush or sponge to dab on red-brown bricks. Allow shadows by leaving slight gaps between rows.
- Day 3 – Add Pillars and Stripes: Paint red columns on both sides of the central void. Add alternating black/yellow hazard markings near the top edge.
- Day 4 – Attach Signage: Secure the \"Platform 9¾\" sign centrally above the entry point using adhesive or mounting brackets.
- Day 5 – Reinforce and Mount: Attach support legs or fit into a stand. Test stability before use.
- Day 6 – Final Touches: Place vintage suitcases, owls (stuffed animals), or trolley props nearby for full immersion.
Essential Do’s and Don’ts for Realism
Avoid common pitfalls that break the illusion. The following table outlines key decisions to make—and those to skip.
| Do | Don't |
|---|---|
| Use weathered paint techniques (dry brushing) to age the bricks | Use bright, cartoonish fonts for the sign |
| Leave part of the trolley “disappearing” into the wall | Make the entrance too wide—keep it narrow for believability |
| Add small details like “King’s Cross” floor tiles or old posters | Overcrowd the backdrop with unrelated Harry Potter merchandise |
| Test lighting to avoid harsh shadows during photos | Ignore wind if outdoors—secure the backdrop firmly |
Real-Life Example: Emma’s Birthday Surprise
When 11-year-old Emma announced she wanted a “real Hogwarts send-off” for her birthday, her parents took the request seriously. They built a Platform 9¾ backdrop in their garage using foam insulation board and acrylic paints. The centerpiece was a half-buried luggage trolley painted with peeling stickers from “Ollivanders” and “Madam Malkin’s.”
Guests arrived with acceptance letters and were photographed pushing their trunks into the wall. A small fog machine hidden behind the set created a wispy mist, enhancing the magical transition. Parents later shared that the backdrop became the most-talked-about element of the party—even more than the butterbeer.
This example proves that budget doesn’t dictate impact. Thoughtful design and personal touches matter far more than expensive materials.
Checklist: Build Your Platform 9¾ Backdrop in 7 Steps
Keep this checklist handy as you work through your project:
- ☐ Choose and cut your backdrop material to size
- ☐ Prime the surface with base paint
- ☐ Paint realistic brick pattern with depth and variation
- ☐ Add red support pillars and safety stripes
- ☐ Source or create an accurate \"Platform 9¾\" sign
- ☐ Mount the backdrop securely on a stand or frame
- ☐ Style the area with props and test photo angles
Frequently Asked Questions
Can I make this backdrop outdoors?
Yes, but choose weather-resistant materials like corrugated plastic instead of foam board. Anchor the structure securely to prevent tipping in wind. Avoid setting up in direct rain unless covered.
How do I make the “half-in, half-out” trolley effect?
Cut a real luggage cart in half (using a hacksaw or angle grinder) and mount the visible portion so it appears embedded in the wall. Secure it with metal brackets or wooden supports behind the panel.
Where can I find a high-quality Platform 9¾ sign?
You can order vinyl decals online or print one at home on cardstock and laminate it. For durability, use outdoor-rated adhesive signs or carve letters into foam board and paint them gold with a dark outline.
Final Spell: Bring the Magic to Life
Creating a Platform 9¾ photo booth backdrop isn’t about flawless execution—it’s about evoking wonder. The flicker of excitement in a child’s eyes as they “vanish” into the wall, the laughter of adults pretending to rush late for the Hogwarts Express—these moments are what make the effort worthwhile.
You don’t need a wand or a vault at Gringotts to pull this off. Just time, creativity, and a love for storytelling. Once assembled, your backdrop can be reused for multiple events, stored flat, and even loaned out to fellow fans.


 浙公网安备
33010002000092号
浙公网安备
33010002000092号 浙B2-20120091-4
Comments
No comments yet. Why don't you start the discussion?