
Creating a handmade booklet doesn’t require expensive tools or advanced skills. Whether you want to make a personal journal, a mini-zine, or a gift for a friend, the process can be both satisfying and surprisingly simple. With just paper, a few basic supplies, and a bit of time, you can produce a functional and beautiful little booklet. This guide walks you through every stage—from planning your content to binding the final pages—so even complete beginners can craft something meaningful.
Why Make a Simple Booklet?
Handmade booklets offer more than just utility. They provide a tactile experience that digital formats can’t replicate. Writing in a self-made notebook, flipping through a hand-stitched zine, or giving a personalized mini-album as a gift adds emotional value. The act of making one also encourages mindfulness and creativity. For artists, writers, or educators, a small booklet can serve as a portfolio, sketchbook, or teaching tool. And because it’s customizable, you control the size, layout, and materials.
“Making a booklet by hand connects you to the rhythm of creation—one stitch, one page at a time.” — Lila Chen, Bookbinding Instructor and Zine Artist
Materials You’ll Need (And What to Use Instead)
The beauty of this project lies in its accessibility. Most materials can be found around the house or substituted easily. Here’s what you should gather before beginning:
- Paper: Printer paper, cardstock, or recycled notebook sheets. Choose based on purpose—thicker paper for covers, lighter for inner pages.
- Folded Sheets: Standard letter-size (8.5” x 11”) works best. Each folded sheet becomes four pages.
- Binding Tools: Needle and thread (embroidery floss works), a ruler, pencil, and scissors.
- Punching Tool: A single-hole punch, awl, or even a thumbtack and hammer will do.
- Cover Material: Cardboard from cereal boxes, old folders, or construction paper.
- Glue or Double-Sided Tape: For securing the cover and spine if needed.
Step-by-Step Guide to Assembling Your Booklet
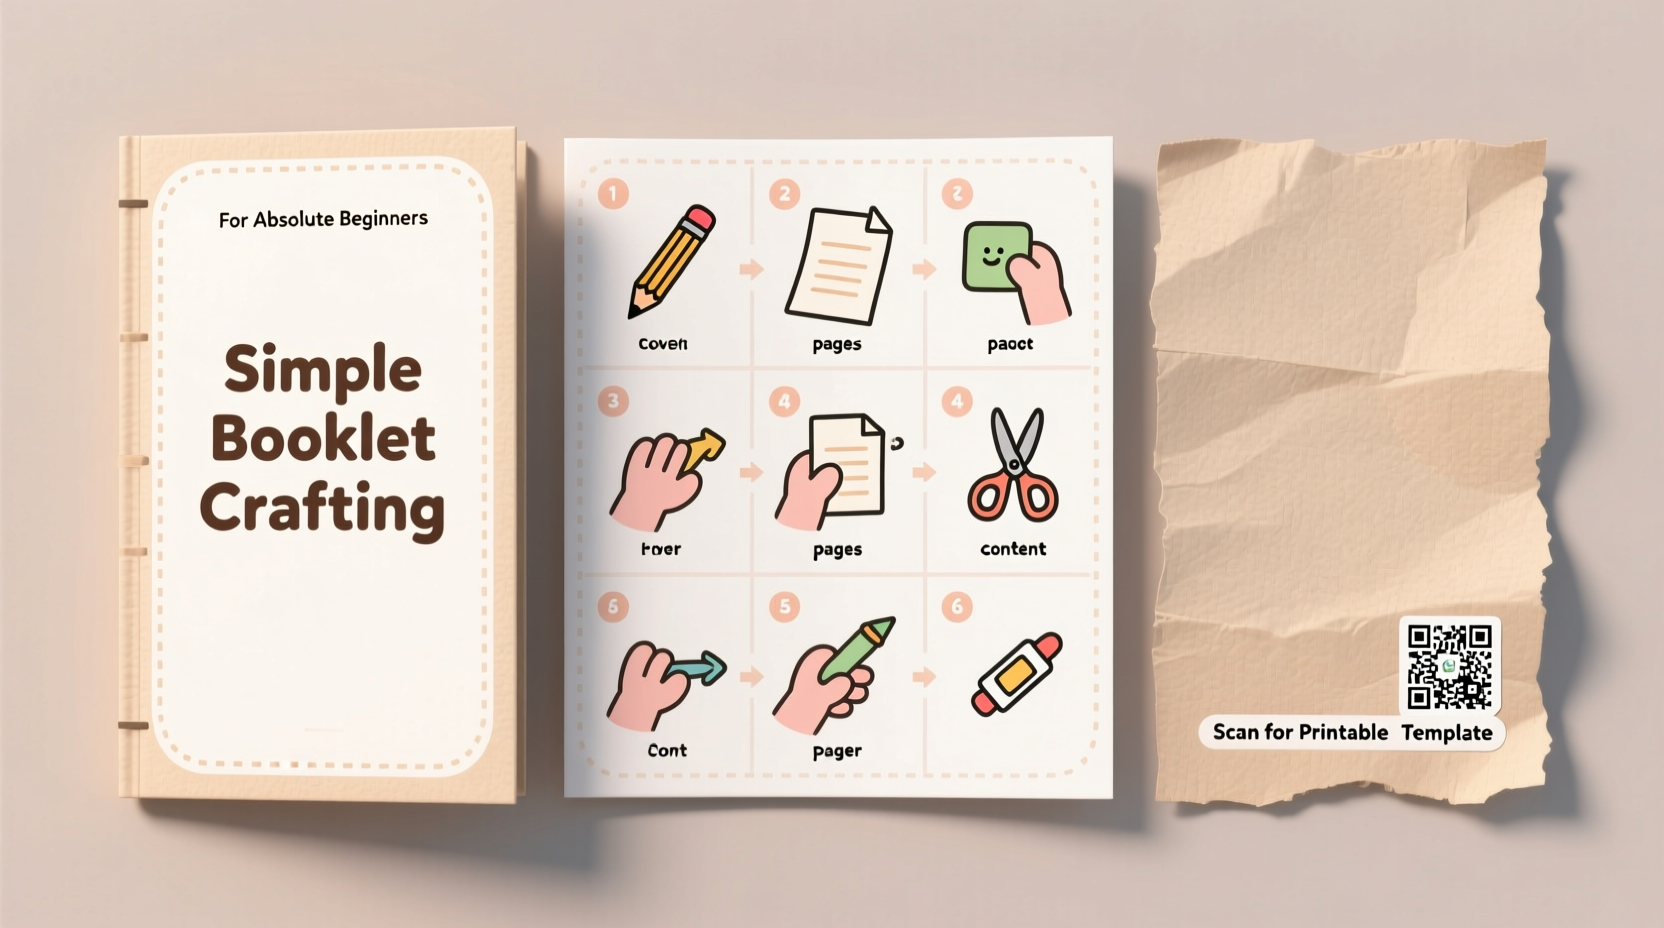
Follow this clear sequence to build a clean, durable booklet. This method uses the saddle-stitch binding technique—one of the oldest and most beginner-friendly approaches.
- Fold your paper: Take 3–5 sheets of letter-size paper and stack them evenly. Fold the stack in half using a ruler to crease sharply. This creates 8–20 pages (depending on how many sheets you use).
- Mark the spine: Open the folded booklet. Measure along the center fold (spine) and mark three points: one at the top third, one in the middle, and one at the bottom third. These are where you’ll sew.
- Punch holes: At each marked point, use a needle, awl, or hole punch to create a small opening through all layers. Be careful not to tear the paper.
- Cut your thread: Use about 24 inches of thread. Thread a needle and tie a knot at one end.
- Sew the binding: Start from the inside of the fold at the top hole. Push the needle out through the first hole. Pull until the knot catches. Move down to the middle hole, stitching in and out. Then go to the bottom hole. Return back up through the middle hole, looping through the existing thread before pulling tight to form a lockstitch. Finally, return to the top hole and finish inside. Tie a secure knot and trim excess thread.
- Add a cover: Cut a piece of cardstock slightly larger than your pages. Wrap it around the folded pages and align the spine. You can glue the inner edges of the cover to the first and last pages for extra durability.
- Decorate (optional): Use markers, stickers, stamps, or washi tape to personalize the cover. Add a title or illustration to give it character.
Planning Your Content: More Than Just Blank Pages
A booklet is only as useful as what’s inside. Before assembling, consider its purpose. Will it be a daily journal? A recipe collection? A travel log? Sketching out a rough plan helps avoid wasted space and improves usability.
Divide your booklet into sections if needed. For example:
- First two pages: Title and dedication
- Next four pages: Table of contents or index
- Middle section: Main content (writing, sketches, notes)
- Last page: Notes or future ideas
Common Mistakes and How to Avoid Them
Even simple projects come with pitfalls. Learning from common errors ensures better results next time.
| Issue | Why It Happens | How to Fix It |
|---|---|---|
| Pages won’t lie flat | Fold wasn’t creased firmly enough | Use a bone folder or butter knife to sharpen the fold |
| Thread breaks during sewing | Thread too thin or pulled too hard | Use thicker thread and maintain gentle tension |
| Holes tear easily | Punched too close to edge or without pilot hole | Keep holes at least 1/2 inch from edge; use awl first |
| Cover is loose | No adhesive or misaligned edges | Glue spine ends or trim cover to fit precisely |
Real Example: Maya’s Travel Memory Book
Maya, a college student, wanted a compact way to remember her weekend trip to the mountains. She used four sheets of recycled paper and a brown cardboard cover from an old shipping box. After folding and stitching, she decorated the front with a pressed leaf and wrote short reflections on each page—weather, meals, conversations, and sketches of trails. She added pockets made from taped envelopes to hold ticket stubs and photos. The entire project took less than two hours. “It feels more real than posting online,” she said. “I actually re-read it when I’m stressed.”
Checklist: Ready to Make Your First Booklet?
Before you begin, run through this quick checklist to ensure you’re prepared:
- ☐ Gather 3–5 sheets of paper and a cover material
- ☐ Choose your binding method (stitching recommended for starters)
- ☐ Plan your content or leave pages blank intentionally
- ☐ Number pages lightly in pencil (if desired)
- ☐ Fold all sheets neatly and align edges
- ☐ Mark and punch holes along the spine
- ☐ Thread needle and stitch securely
- ☐ Attach or wrap cover and reinforce if needed
- ☐ Personalize with title, art, or labels
Frequently Asked Questions
Can I make a booklet without sewing?
Yes. Use staples along the spine (two or three staples work well), or bind with washi tape or rubber bands wrapped around the folded edge. These methods are faster but less durable over time.
How many pages should my first booklet have?
Start with 8–12 pages (2–3 folded sheets). Larger booklets require stronger binding and can be harder to sew by hand. Keep it simple for your first attempt.
Can I print content before assembling?
Absolutely. Design your pages in a word processor or design app, ensuring layout matches the folded format. Print double-sided, then fold and bind. This works great for mini-comics or instruction guides.
Final Thoughts: Start Small, Create Often
A simple booklet is more than a collection of folded paper—it’s a container for ideas, memories, and expression. The process teaches patience, attention to detail, and the joy of making something tangible. You don’t need perfection; you need intention. Every stitch, every handwritten line, adds meaning. Once you’ve completed one, try varying sizes, bindings, or themes. Make a dream journal. A gratitude log. A field guide. Let each booklet reflect a different part of your life.


 浙公网安备
33010002000092号
浙公网安备
33010002000092号 浙B2-20120091-4
Comments
No comments yet. Why don't you start the discussion?