
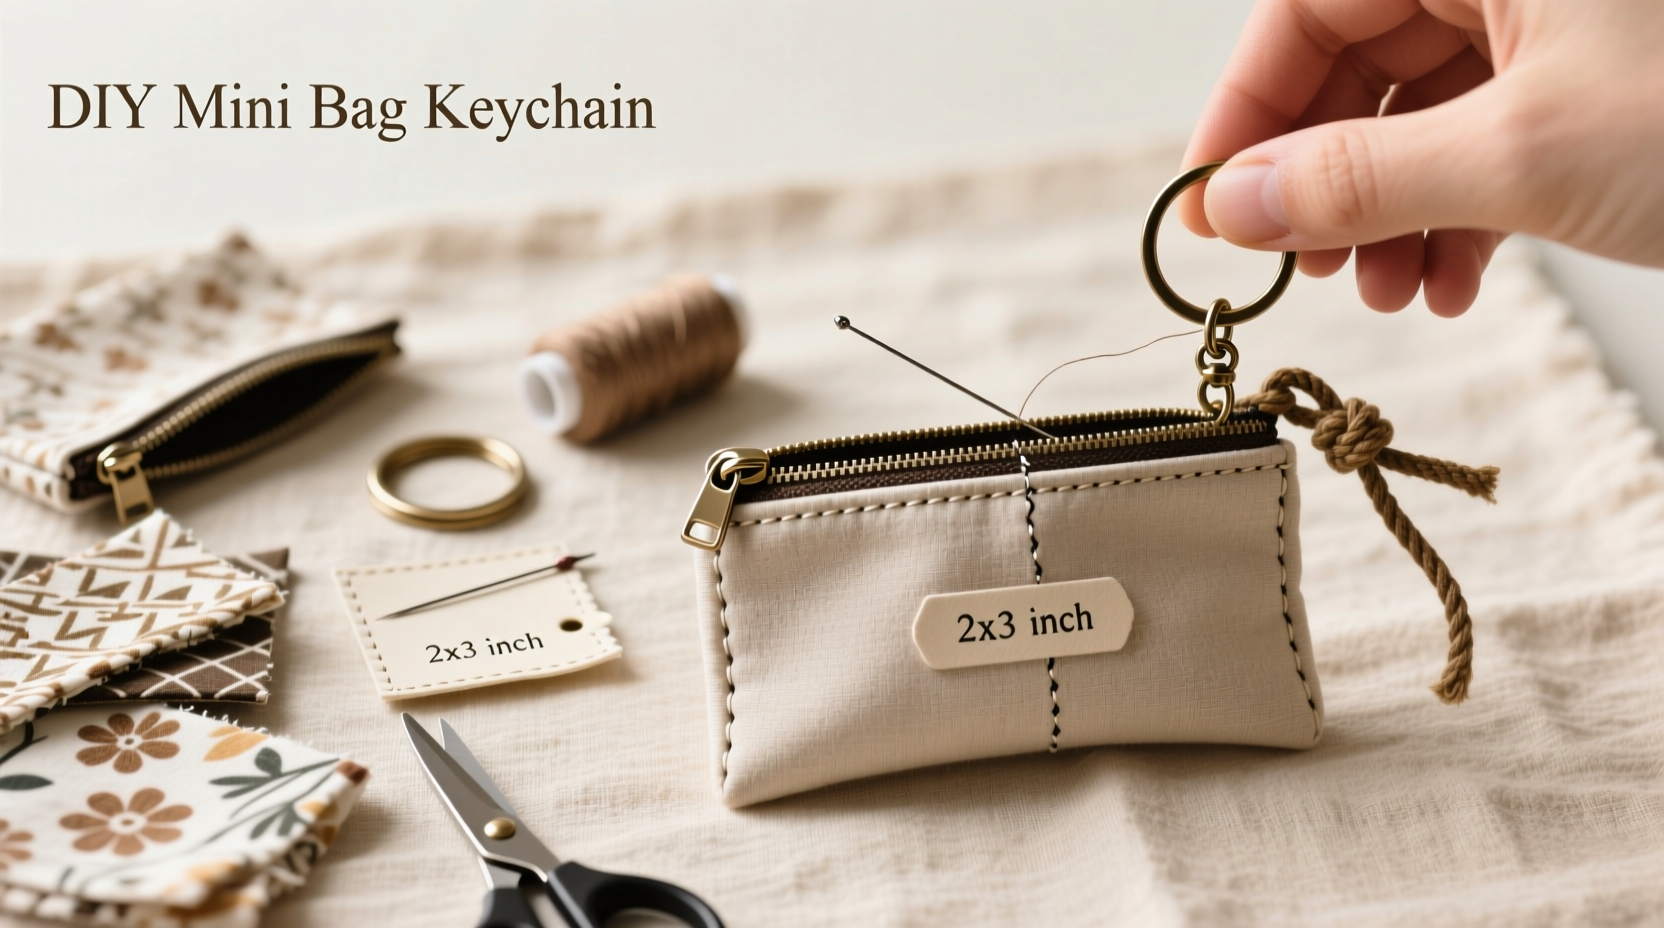
Crafting your own accessories doesn’t require expensive tools or years of experience. A mini bag keychain is a charming, functional project that blends creativity with practicality. Whether you're making it as a gift, a personal keepsake, or a starter piece in handmade accessories, this small but stylish item can reflect your personality while serving a daily purpose. With just a few common supplies and attention to detail, you can create a polished, fashion-forward keychain that rivals store-bought designs.
Gathering Your Materials and Tools
The foundation of any successful craft lies in preparation. Before cutting or gluing, ensure you have all necessary components on hand. The beauty of this project is its accessibility—most items can be found at home or purchased inexpensively from craft stores.
- Faux leather, felt, or sturdy fabric (approx. 4” x 6”)
- Small zipper or magnetic snap (optional, for closure)
- Keyring (15–20mm size recommended)
- Sewing needle and strong thread (nylon or polyester)
- Hot glue gun or fabric glue
- Scissors and precision cutter (like an X-Acto knife)
- Ruler and fabric marker or chalk
- Pins or clips for holding layers together
- Embellishments: beads, embroidery floss, studs, or patches
Design Planning and Template Creation
Before cutting, sketch a simple outline of your mini bag. Most mini keychain bags are between 2.5” and 3.5” tall. A classic rectangular silhouette works well for beginners, but you can explore heart shapes, trapezoids, or even tiny tote styles for variety.
- Draw the front and back panels on paper—identical rectangles measuring 3” x 2.5”.
- Add a flap if desired: extend the top edge by 1” on one side for a fold-over closure.
- Create a strip for the sides: 3” long and 0.75” high (this wraps around the perimeter).
- Trace these templates onto cardboard to make reusable stencils.
Once satisfied with the shape, transfer the design onto your chosen material using a fabric marker. Cut two main panels and one side strip. If adding a flap, cut it separately and attach later.
| Material Type | Pros | Cons |
|---|---|---|
| Faux Leather | Durable, sleek finish, easy to wipe clean | Harder to sew by hand, may crack over time |
| Felt | Soft, cuts cleanly, no fraying | Less structured, not water-resistant |
| Cotton Fabric | Breathable, customizable with prints | Requires lining to prevent fraying |
Assembly: Step-by-Step Construction
With pieces cut and ready, begin assembling your mini bag. Precision at this stage ensures a professional result.
- Attach the side strip: Apply a thin line of fabric glue or use pins to align the long edge of the side strip to the outer edge of one main panel. Wrap it around and secure to the second panel. Let dry completely if using glue.
- Reinforce corners: For durability, fold and glue small triangular reinforcements inside each bottom corner.
- Add closure (optional): Sew or glue a tiny magnetic snap to the front panel and flap. Alternatively, install a miniature zipper along the top edge before sealing the sides.
- Create a strap: Cut a 4” x 0.3” strip of matching material. Fold edges inward and glue or sew into a loop. Attach one end to each side of the bag near the top.
- Attach the keyring: Slide the keyring through the loop. For extra strength, reinforce the strap ends with a dab of glue or a few tight stitches.
Personalization and Embellishment Ideas
A handmade keychain stands out when it carries a personal touch. This is where your creativity can shine.
- Use embroidery floss to stitch initials or tiny floral patterns on the front.
- Glue on miniature metal studs in geometric arrangements.
- Add a charm or enamel pin to the keyring for layered interest.
- Paint edges with fabric paint for a contrasting trim.
- Line the interior with patterned fabric scraps for a surprise detail when opened.
“Handmade accessories gain value not just from appearance, but from the story behind them. A monogrammed keychain becomes more than utility—it’s memory made tangible.” — Lena Torres, Artisan Jewelry Designer
Consider thematic variations: pastel colors for spring, metallic accents for evening wear, or holiday motifs for gifting. The mini scale allows for playful experimentation without wasting resources.
Mini Case Study: Emma’s Gift Keychains
Emma, a college student from Portland, began making mini bag keychains as birthday gifts for her friends. She used leftover denim from jeans repairs and added embroidered initials. One friend loved hers so much she requested five more for her coworkers. Encouraged, Emma started a small Etsy shop. Within three months, she had sold over 70 units, pricing them at $12 each. Her secret? Consistency in sizing, attention to clean stitching, and packaging each with a handwritten note. What began as a casual craft evolved into a micro-business built on thoughtful design and reliable quality.
Troubleshooting Common Issues
Even simple projects come with challenges. Anticipating problems helps maintain confidence and outcome.
- Uneven edges: Always measure twice and use sharp scissors. A rotary cutter on a cutting mat improves accuracy.
- Weak strap attachment: Reinforce with both glue and stitching. Avoid relying solely on adhesive.
- Zipper misalignment: Baste the zipper in place with temporary thread before permanent sewing.
- Material stiffness: Faux leather can resist folding. Score the back lightly with a craft knife to ease bends without breaking the surface.
Frequently Asked Questions
Can I wash my DIY mini bag keychain?
Spot clean only. Dip a cotton swab in mild soapy water and gently wipe the surface. Avoid soaking, especially if glue was used, as moisture weakens adhesion over time.
How long does it take to make one keychain?
For beginners, allow 45–60 minutes including drying time. With practice, construction can take as little as 20 minutes per unit.
Is sewing required, or can I glue everything?
Glue works well for lightweight materials like felt. However, for heavier use or faux leather, hand-sewing with a backstitch adds durability. Combining both methods—glue for positioning, stitches for reinforcement—offers optimal results.
Checklist: Crafting Your Mini Bag Keychain
- ☐ Choose and cut materials using template
- ☐ Assemble body with glue or stitches
- ☐ Reinforce corners and edges
- ☐ Attach strap securely
- ☐ Add closure (snap, zipper, or open-top)
- ☐ Personalize with embroidery or embellishments
- ☐ Attach keyring and test functionality
- ☐ Inspect for loose parts or excess glue
Final Thoughts and Call to Action
Creating a DIY mini bag keychain is more than a craft—it's an invitation to slow down, engage your hands, and produce something meaningful. In a world of mass-produced accessories, a handmade piece carries intention and individuality. Each stitch, color choice, and tiny detail reflects your aesthetic and care. Whether you make one or a dozen, the process builds skill, sparks joy, and offers a tangible way to express yourself.


 浙公网安备
33010002000092号
浙公网安备
33010002000092号 浙B2-20120091-4
Comments
No comments yet. Why don't you start the discussion?