
Crafting accessories at home has seen a resurgence, and among the most charming additions to any wardrobe are pearl-adorned scrunchies. Once associated with 90s nostalgia, scrunchies have evolved into elegant fashion statements—especially when embellished with imitation pearls. These soft, lustrous hair ties combine practicality with sophistication, making them ideal for everyday wear or as thoughtful handmade gifts. With just a few affordable materials and basic sewing skills, you can create stunning imitation pearl scrunchies that rival boutique designs.
Gathering Your Materials
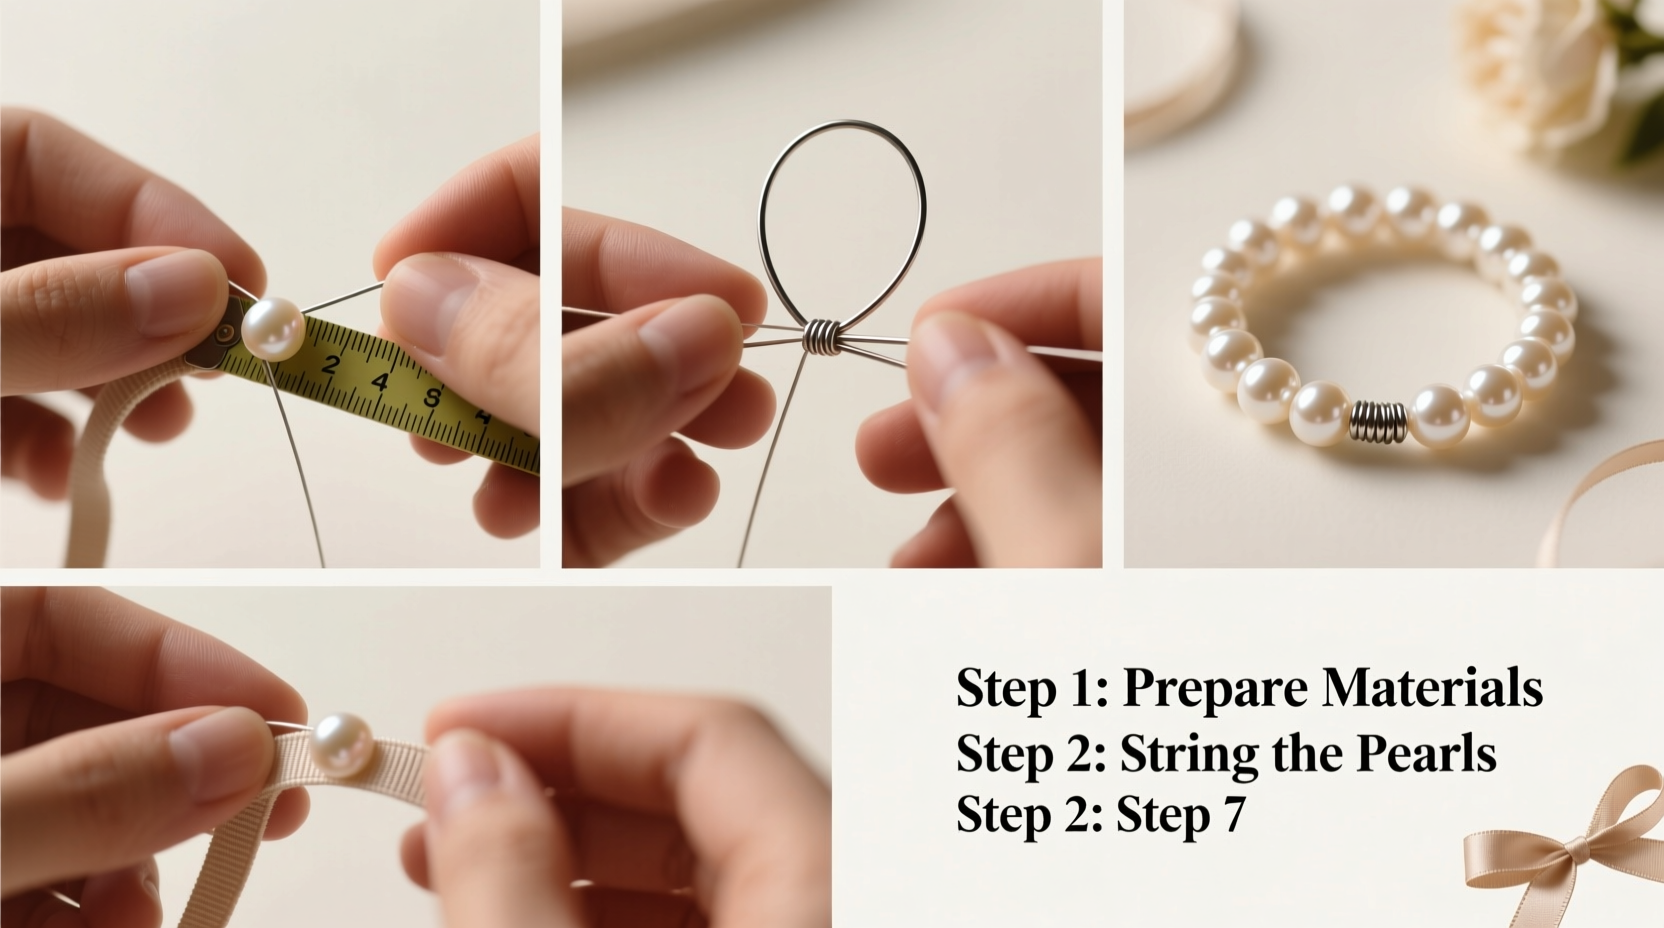
The foundation of a high-quality homemade scrunchie lies in selecting the right components. Unlike mass-produced versions, handcrafted scrunchies allow full control over texture, color, and detail. Begin by assembling the essential supplies:
- Fabric (satin, velvet, or silk) – 6” x 4” per scrunchie
- Elastic band – 8” length, 1/4 inch width
- Imitation pearls – 4mm to 6mm size, with flat backs or holes for sewing
- Needle and thread (matching or contrasting, depending on design)
- Hot glue gun (optional, for non-sew attachment)
- Scissors, pins, and a fabric marker
- Tape measure or ruler
Step-by-Step Construction Process
Creating a durable and attractive scrunchie involves precision and patience. Follow this timeline to ensure professional results every time.
- Cut the Fabric: Measure and cut a rectangle of fabric measuring 6 inches long and 4 inches wide. For wider scrunchies, increase width to 5 inches.
- Prepare the Elastic: Cut an 8-inch piece of elastic. This allows enough stretch for most hair types while ensuring a secure fit.
- Sew the Tube: Fold the fabric in half with the right sides together. Sew along the 6-inch edge using a 1/4-inch seam allowance. Turn the tube right side out using a safety pin or turning tool.
- Insert the Elastic: Attach a safety pin to one end of the elastic and carefully thread it through the fabric tube. Avoid twisting the fabric during this step.
- Secure the Ends: Overlap the elastic ends by 1/2 inch and sew them together securely. Reinforce with several backstitches.
- Close the Scrunchie: Align the open fabric edges and hand-stitch them closed using a ladder stitch for an invisible finish.
- Add Pearls: Position the pearls evenly around the scrunchie’s outer edge. Sew each pearl in place using strong thread, or use a small dot of fabric-safe hot glue for faster results.
Design Variations and Customization
One of the joys of DIY scrunchies is the ability to personalize each piece. Consider these creative options to elevate your designs:
- Color Coordination: Match the fabric and pearl tones for monochromatic elegance, or contrast them for bold visual impact (e.g., black velvet with white pearls).
- Pearl Arrangement: Use a single row of pearls around the edge, cluster them in one section, or scatter them asymmetrically for a modern twist.
- Dual-Layer Scrunchies: Combine two fabrics—one sheer overlay on a solid base—for added depth and texture.
- Seasonal Themes: Create holiday-themed scrunchies using red and green fabric with gold pearls, or pastels with iridescent beads for spring.
| Fabric Type | Best For | Recommended Pearl Style |
|---|---|---|
| Satin | Formal looks, shine enhancement | Round, 5mm pearls with high luster |
| Versace-style Velvet | Luxury feel, winter wear | Oval or teardrop pearls in antique gold settings |
| Cotton Blend | Casual, washable scrunchies | Matte-finish imitation pearls |
| Sheer Mesh | Boho or layered styles | Small seed pearls or rhinestone accents |
Mini Case Study: The Bridal Hair Accessory Line
Sophia, a hairstylist from Portland, began making pearl scrunchies as part of her bridal service packages. She noticed brides loved subtle elegance without heavy accessories. Using ivory satin and freshwater-style imitation pearls, she crafted custom scrunchies that matched wedding themes. Within six months, demand grew so much she launched a small Etsy shop. Her bestseller? A champagne-gold scrunchie with scattered pearls, praised for holding thick hair without slipping. “It’s not just functional,” she says, “it’s part of the look.”
Expert Insight on Craft Quality
“Attention to detail separates handmade from homemade. A neatly stitched closure and evenly spaced embellishments make all the difference.” — Lena Torres, Textile Artist & Craft Instructor
Torres emphasizes that durability and symmetry are key. She recommends practicing the stitching technique on scrap fabric before working on the final piece. “Many people rush the closing step,” she notes, “but a poorly hidden seam ruins the aesthetic.” Taking time to master the ladder stitch ensures a seamless, polished appearance.
Avoiding Common Mistakes
Even experienced crafters can fall into pitfalls when making scrunchies. Be mindful of these frequent errors:
- Using weak elastic: Thin or low-quality elastic stretches out quickly. Opt for braided or knit varieties designed for garments.
- Overcrowding pearls: Too many embellishments make the scrunchie stiff and uncomfortable. Stick to 6–10 pearls per standard size.
- Skipping fabric pre-washing: Untreated fabric may shrink after cleaning, distorting the scrunchie’s shape.
- Twisting the fabric tube: If the fabric twists before sewing the ends, the scrunchie will have a spiral flaw. Check alignment before stitching.
FAQ
Can I wash pearl scrunchies?
Yes, but hand wash only. Submerge briefly in lukewarm water with mild detergent, then air dry flat. Avoid soaking, as moisture can loosen glued pearls or weaken thread.
How long does it take to make one scrunchie?
For beginners, about 25–35 minutes. With practice, construction time drops to 15 minutes per scrunchie, especially if pre-cutting materials in batches.
Are imitation pearls safe for sensitive skin?
Most modern imitation pearls are coated and hypoallergenic. However, if sensitivity is a concern, choose pearls labeled “nickel-free” and avoid direct contact with broken coatings.
Checklist: Crafting Your First Pearl Scrunchie
- ✔ Gather fabric, elastic, pearls, and tools
- ✔ Pre-wash and iron fabric (if needed)
- ✔ Cut fabric and elastic to correct size
- ✔ Sew and turn the fabric tube
- ✔ Thread and secure the elastic
- ✔ Hand-stitch the opening closed
- ✔ Attach pearls evenly and securely
- ✔ Inspect for loose threads or gaps
Conclusion
Crafting imitation pearl scrunchies at home blends creativity with functionality, offering a rewarding way to enhance your accessory collection or start a small creative venture. Each scrunchie reflects personal taste—from fabric choice to pearl placement—and carries the warmth of handmade craftsmanship. Whether you’re making one for yourself or a dozen as gifts, the process fosters mindfulness and artistic expression. With the right materials and attention to detail, your scrunchies won’t just hold hair—they’ll hold attention.


 浙公网安备
33010002000092号
浙公网安备
33010002000092号 浙B2-20120091-4
Comments
No comments yet. Why don't you start the discussion?