
Creating your own shoes from scratch may seem like a daunting task, especially if you're new to leatherwork or sewing. Yet, with the right guidance, patience, and basic tools, it’s entirely possible to design and build a pair of custom-fitted, handmade shoes in your own home. Unlike mass-produced footwear, handmade shoes offer superior comfort, unique style, and a deep sense of personal achievement. This guide walks you through every stage—from selecting materials to stitching the sole—so you can begin crafting footwear that fits not just your feet, but your vision.
Understanding the Basics of Shoemaking
Shoemaking, or cordwaining, is an ancient craft rooted in precision and craftsmanship. At its core, it involves shaping upper material (typically leather), constructing a lasting structure over a foot-shaped form (called a last), and attaching a durable sole. For beginners, starting with simple lace-up oxfords or moccasins is recommended due to their relatively straightforward construction.
The foundation of any successful handmade shoe lies in three elements: accurate measurements, quality materials, and consistent technique. Rushing any phase can compromise fit and durability. Take time to study the anatomy of a shoe—upper, lining, insole, midsole, outsole, heel, and welt—and understand how each component contributes to function and aesthetics.
“Handmade shoes are not about perfection on the first try. They’re about learning how materials behave under tension, heat, and time.” — Rafael Mendez, Master Cordwainer
Essential Tools and Materials Checklist
Before cutting any leather, ensure you have the necessary tools. While professional setups can cost thousands, a beginner-friendly kit can be assembled affordably. Here’s what you’ll need:
- Leather cutter or utility knife
- Shoemaker’s waxed thread (size 6 or 9)
- Needles (glovers or harness needles)
- Wooden or plastic shoe lasts (matching your foot size)
- Vegetable-tanned leather (2–3 mm thickness for soles; 1.2–1.6 mm for uppers)
- Lining leather or soft fabric
- Edge beveler and burnishing tool
- Clamps or T-pins
- Hole punch or rotary punch
- Hammer (ball-peen or setting)
- Shoe glue (contact cement type)
- Awl for marking and pricking
- Cardboard or heavy paper for pattern making
Step-by-Step Guide to Crafting Your First Pair
Follow this structured process to go from idea to wearable art. Allow yourself two weekends for your first attempt—precision matters more than speed.
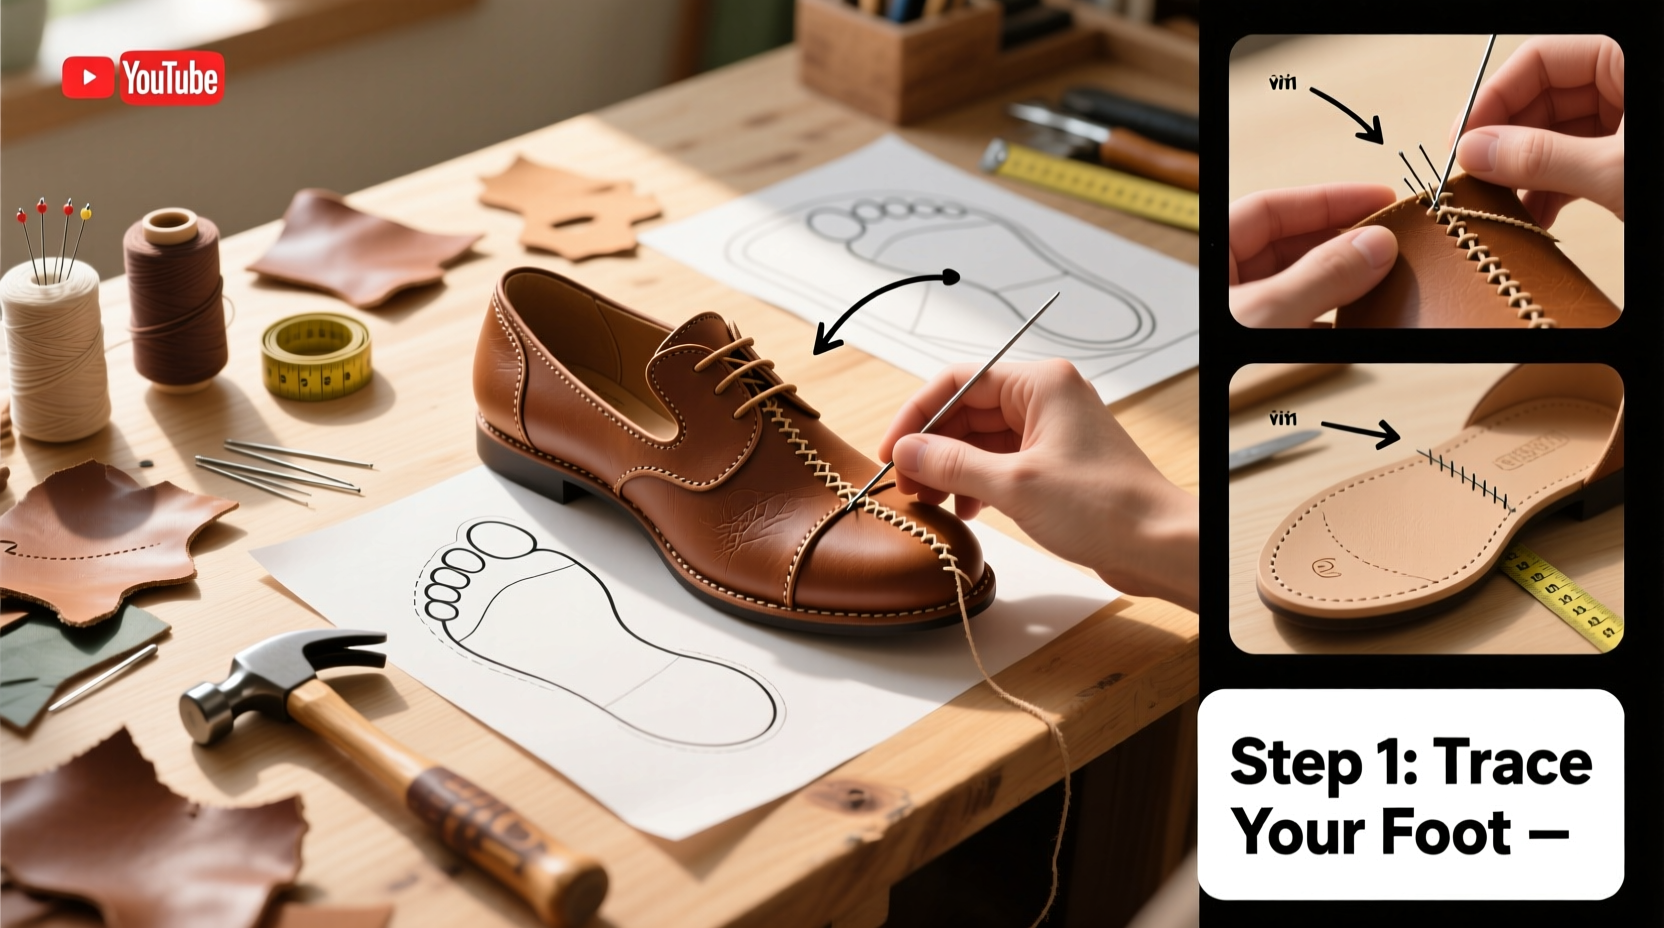
- Create a Foot Tracing and Develop a Last Match
Stand barefoot on a large sheet of paper. Trace around both feet, marking key points: ball, heel, and arch. Measure length and width. Use these tracings to select or modify a shoe last. If purchasing, order lasts in your exact size and width. - Design and Cut the Upper Pattern
Place the last on cardboard and sketch the desired shoe silhouette—start with a simple moccapina or derby cut. Transfer this shape into individual panels: vamp, quarters, tongue, heel counter. Label each piece. Cut duplicates from leather using a sharp knife and metal ruler. - Prepare and Assemble the Upper
Lay pieces flat, inside facing up. Apply contact cement along seam edges. Clamp aligned sections together and let dry for 5 minutes. Sew seams using a saddle stitch: two needles from opposite ends, double-threaded. Pull tight after every few stitches for durability. - Last the Shoe
Slip the upper onto the last. Begin at the toe, stretching gently with a rubber mallet. Secure the heel end with T-pins. Let sit for 24 hours. This shapes the leather permanently to foot contours. - Attach the Insole and Prepare for Soleing
Glue a vegetable-tanned insole to the bottom of the lasted shoe. Trace the outline of the foot onto the insole edge. Punch stitching holes every 5–6 mm along this line using an awl or pricking iron. - Sew or Cement the Outsole
Cut the outsole from 3 mm leather, slightly larger than the insole. Sand both surfaces, apply contact cement, and press together. For Goodyear-welted strength, hand-stitch through the insole, welt, and outsole. Alternatively, use reinforced adhesive for beginners. - Finish the Edges and Heel
Bevel the outer edge where sole meets upper. Burnish with water and a wooden slicker for a polished look. Attach a stacked leather heel using nails or adhesive. Trim excess and level with a rasp. - Final Conditioning and Break-In
Remove the shoe from the last. Clean off glue residue. Condition the leather with neutral cream. Wear indoors for short periods to mold to your foot naturally.
Material Comparison: Choosing What’s Right for You
Different leathers and techniques suit different styles and climates. Consider this comparison when planning your build:
| Material | Best For | Pros | Cons |
|---|---|---|---|
| Cowhide Leather | Oxfords, boots | Durable, ages beautifully, water-resistant | Stiff initially, requires breaking in |
| Deerskin | Moccasins, slippers | Soft, flexible, excellent drape | Less abrasion-resistant, delicate |
| Suede | Casual shoes, loafers | Textured appearance, comfortable | Stains easily, not waterproof |
| Vegan Leather (PU) | Eco-conscious builds | Animal-free, consistent texture | Less breathable, lower longevity |
Real Example: Sarah’s First Moccasins
Sarah, a graphic designer from Portland, had never touched leather before attempting her first pair of soft-bottom moccasins. She started with online templates and a $40 beginner’s kit. Her initial pattern was too tight across the instep, causing puckering. After adjusting the quarter panel by adding 3 mm and using a damp cloth to relax the leather during lasting, the second try fit perfectly. She stitched the sole by hand over two evenings, using beeswax to strengthen the thread. “I wore them to a picnic,” she said. “They weren’t perfect—but they were mine. That felt better than any store-bought pair.”
Common Mistakes and How to Avoid Them
Even experienced makers encounter setbacks. Awareness helps prevent repeat errors.
- Skipping the test fit: Always try the upper on the last before final assembly. Adjustments are easy pre-sole; impossible after.
- Over-gluing: Excess adhesive seeps out, creating stiff seams and messy finishes. Apply thin, even coats.
- Inconsistent stitching: Maintain even spacing and tension. Practice saddle stitching on scrap leather first.
- Ignoring grain direction: Leather stretches differently depending on grain alignment. Cut all upper pieces with grain running vertically for stability.
Frequently Asked Questions
How long does it take to make a pair of handmade shoes?
For beginners, expect 15 to 25 hours spread over several days. Simpler styles like moccasins take less time; structured lace-ups with welts require more precision and drying time between stages.
Can I make shoes without a sewing machine?
Absolutely. Traditional hand-stitching methods like the saddle stitch are stronger than machine stitching and preferred by artisans. All you need are needles, waxed thread, and practice.
Where can I find affordable shoe lasts?
Online marketplaces like Etsy, eBay, or specialty suppliers such as Taylor Lasts or Simply Shoes offer used or budget lasts. Some crafters repurpose dense foam blocks to carve custom lasts at home.
Start Crafting Today
There’s no greater satisfaction than slipping on a pair of shoes you built with your own hands. Each stitch tells a story of patience, creativity, and resilience. This craft isn’t reserved for experts—it begins with curiosity and a willingness to learn. Whether you dream of crafting elegant brogues or cozy winter slippers, the journey starts with a single cut of leather. Gather your tools, trace your foot, and take that first step. The shoes you wear tomorrow could be the ones you create today.


 浙公网安备
33010002000092号
浙公网安备
33010002000092号 浙B2-20120091-4
Comments
No comments yet. Why don't you start the discussion?