
Crafting custom resin dog tags is more than a hobby—it’s a way to personalize meaningful accessories that reflect identity, loyalty, or style. Whether you're making them for your pet, as gifts, or for a military-inspired project, resin allows for endless creativity. With embedded colors, textures, and messages, each tag becomes a unique piece of wearable art. This guide walks through the entire process, from material selection to finishing touches, ensuring your creations are durable, safe, and visually striking.
Choosing the Right Materials
The foundation of any successful resin project lies in using high-quality materials. For dog tags, durability and safety are paramount—especially if they’ll be worn regularly. Epoxy resin is ideal due to its clarity, strength, and resistance to yellowing over time. Avoid polyester resins, which are brittle and prone to discoloration.
Silicone molds shaped like traditional dog tags are widely available in various sizes and thicknesses. Opt for 30mm x 50mm molds for standard pet tags or larger military-style dimensions (2” x 1”) for human wear. Ensure the mold has a loop or hole attachment built in for later use with chains or straps.
Supplies you'll need include:
- Epoxy resin and hardener (preferably UV-resistant)
- Silicone dog tag molds
- Pigments: alcohol inks, mica powders, or resin dyes
- Mixing cups and stir sticks (disposable)
- Pipettes or syringes for precise pouring
- Heat gun or torch for removing bubbles
- Gloves, mask, and well-ventilated workspace
- Sandpaper (400–2000 grit) for polishing
- Jewelry findings: stainless steel or nickel-free chains or split rings
Design Planning and Personalization Ideas
Before mixing resin, plan your design. Sketch it out or create a digital mockup. Consider what makes the tag special: a name, date, paw print, flag, call sign, or symbolic color scheme. The beauty of resin lies in layering—each pour can represent a different element.
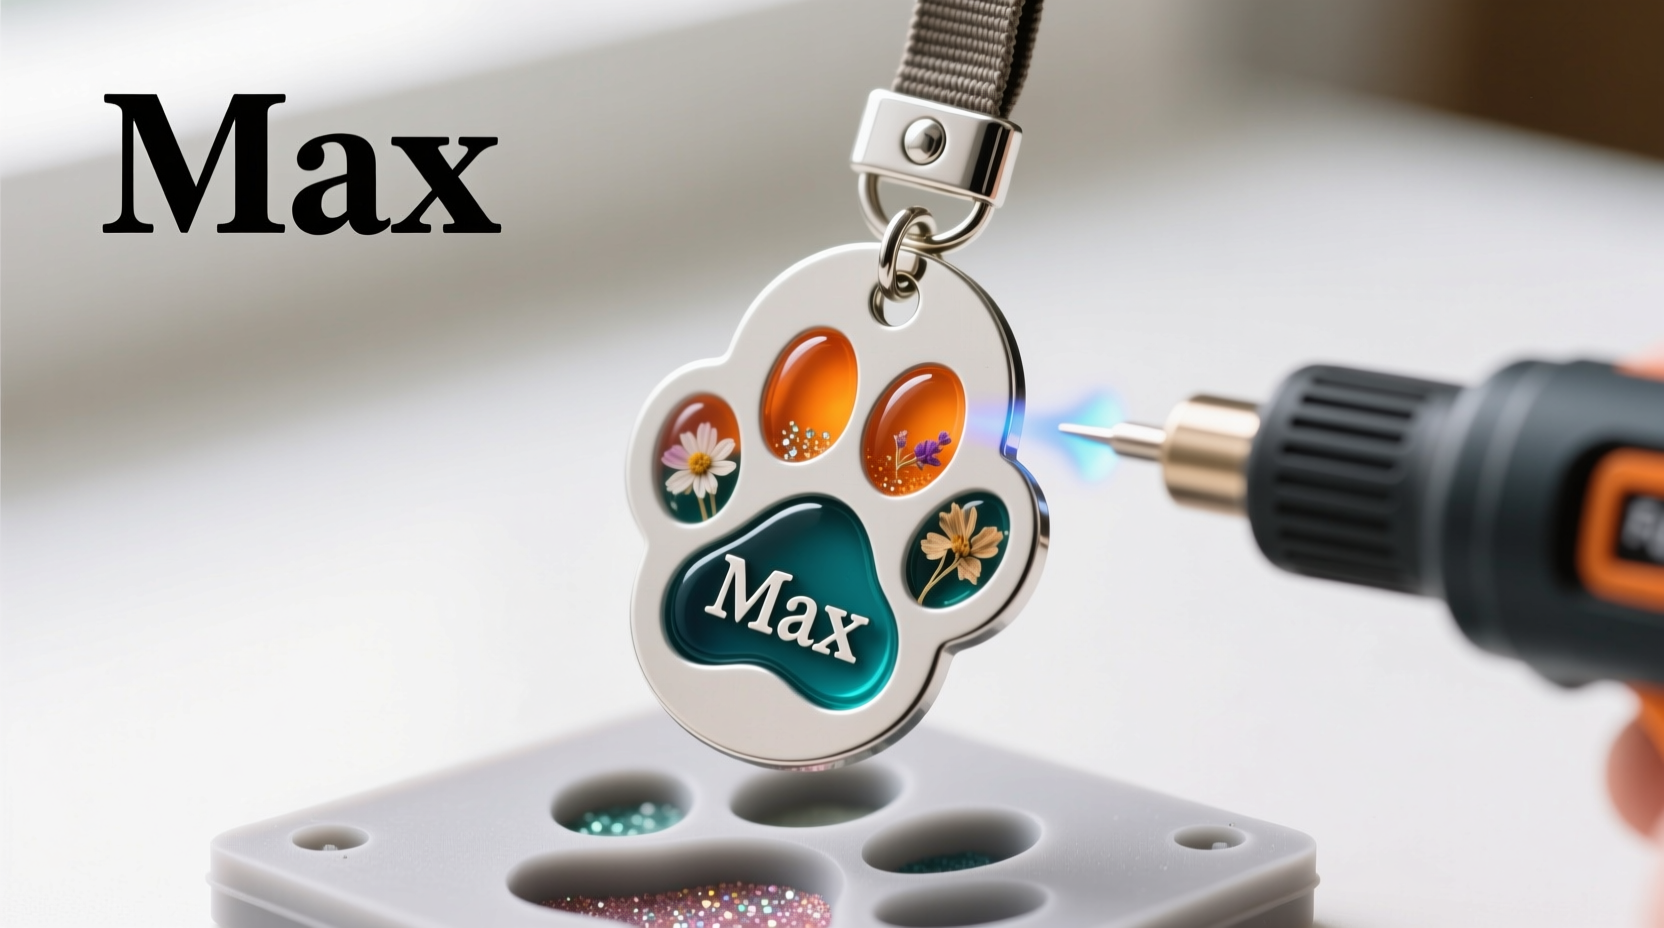
For pet tags, embed non-toxic elements like dried flowers, glitter, or tiny charms. Military-style tags often feature engraved text, unit insignias, or camouflage patterns. Use stencils or vinyl cutouts placed at the bottom of the mold to achieve clean lettering.
If including photos or paper elements, laminate them first or coat with a thin layer of resin to prevent degradation. Alternatively, print miniature images on waterproof sticker paper sized to fit the mold base.
“Resin lets you encapsulate memories. A dog tag isn’t just identification—it’s a story held in polymer.” — Lila Monroe, Resin Artist & Educator
Step-by-Step Crafting Process
Follow this detailed timeline to ensure professional results:
- Prepare your workspace: Cover surfaces with craft paper or silicone mats. Wear gloves and work in a dust-free, warm area (70–75°F is ideal).
- Measure and mix resin: Follow manufacturer ratios precisely (usually 1:1 or 2:1). Stir slowly for 3–5 minutes to avoid introducing air bubbles.
- Add color: Divide resin into separate cups if using multiple colors. Mix in pigments gradually until desired opacity is reached.
- First pour (base layer): Pour a thin layer into each mold cavity. If embedding flat items (photos, foil, etc.), place them now and let resin slightly tack up (about 20–30 minutes).
- Add decorative elements: Sprinkle glitter, mica flakes, or small charms. Use tweezers for precision.
- Second pour (fill layer): After the first layer has set but is still tacky (typically 2–4 hours), pour the second layer to fill the mold completely.
- Remove bubbles: Pass a heat gun or lighter flame briefly over the surface to pop trapped air. Do not overheat.
- Cure: Let resin cure undisturbed for 24 hours. Avoid moving or covering molds during this time.
- Demold: Gently flex the silicone mold to release tags. Trim any excess flash with nail files or clippers.
- Wet sand and polish: Start with 400-grit sandpaper and progress through higher grits up to 2000. Finish with a buffing cloth for a glass-like shine.
- Attach hardware: Thread a split ring or chain through the loop. For pets, consider adding a quiet rubber silencer to reduce jingling.
Do’s and Don’ts of Resin Dog Tag Making
| Do’s | Don’ts |
|---|---|
| Use UV-stable resin to prevent yellowing in sunlight | Don’t rush demolding—wait full 24+ hours |
| Label mixing cups when using multiple colors | Don’t mix resin batches beyond recommended volume |
| Seal porous inclusions (paper, fabric) before embedding | Don’t pour thick layers in one go—layer instead |
| Keep a dedicated resin toolkit to avoid contamination | Don’t dispose of uncured resin down drains |
| Test pigments for compatibility with your resin brand | Don’t skip protective gear—even brief exposure matters |
Real Example: Creating a Memorial Pet Tag
Sarah, a dog owner from Portland, wanted a lasting tribute to her late rescue terrier, Max. She collected some of his fur, a tiny paw print ink impression, and his favorite collar charm. Using a two-part epoxy system, she poured a clear base layer, embedded the pressed fur and charm, then sealed it with a second pour tinted light brown to match Max’s coat. After curing, she sanded the edges smooth and attached a brushed steel chain. The result was a deeply personal keepsake she wears around her neck. “It feels like he’s still with me,” she said. “And it started with one careful pour.”
Frequently Asked Questions
Can I make resin dog tags safe for pets to wear?
Yes, provided you use non-toxic, fully cured epoxy resin and secure all attachments. Avoid sharp edges and ensure the tag doesn’t have small parts that could break off and become choking hazards. Stainless steel hardware prevents rust and allergic reactions.
How long do resin dog tags last?
With proper formulation and care, resin dog tags can last 5–10 years or more. UV-resistant resins prevent yellowing, while polished finishes resist scratching. Avoid prolonged water submersion (e.g., swimming) to extend lifespan.
Can I engrave names directly into the resin?
You can, but it's difficult and may cloud the surface. It’s better to embed printed or hand-lettered labels during the pour. For permanent text, use fine-tipped permanent markers rated for plastics after curing, or laser-engrave metal blanks placed inside the mold.
Final Checklist Before You Begin
- ☐ Workspace protected and ventilated
- ☐ All materials gathered and within shelf life
- ☐ Mold cleaned and ready (use isopropyl alcohol)
- ☐ Design planned with color layout and inclusions
- ☐ Safety gear (gloves, mask, eye protection) on hand
- ☐ Mixing tools and containers labeled and ready
- ☐ Curing area free from dust and disturbances
- ☐ Sanding and polishing supplies prepared for post-cure finishing
Create Something That Lasts
Crafting custom resin dog tags blends artistry with purpose. Each piece carries emotion, identity, and intention—whether honoring a beloved pet, commemorating service, or gifting something truly original. With attention to detail and patience through the curing process, your tags will stand out for their clarity, depth, and personal touch. The resin captures more than pigment and glitter; it holds meaning in liquid form, hardened into permanence.


 浙公网安备
33010002000092号
浙公网安备
33010002000092号 浙B2-20120091-4
Comments
No comments yet. Why don't you start the discussion?