
Crafting a custom stuffed toy cat is more than a hobby—it’s an act of creation that blends imagination with craftsmanship. Whether you’re making a gift for a child, designing a collectible plush, or expressing your love for felines through fabric, the process offers deep personal satisfaction. Unlike store-bought toys, handmade stuffed cats carry character, charm, and a unique story. With the right materials, attention to detail, and patience, anyone can bring a soft, cuddly feline companion to life.
Selecting the Right Materials
The foundation of any well-made stuffed toy lies in material selection. The fabrics and fillings you choose affect not only the appearance but also the durability, safety, and tactile experience of the finished piece.
| Material | Purpose | Recommended Options |
|---|---|---|
| Fabric | Outer body and features | Minky, fleece, cotton, faux fur (for realistic coats) |
| Filling | Body stuffing | Polyester fiberfill, wool roving (for organic feel) |
| Embroidery Thread | Facial details | 6-strand cotton floss (DMC brand recommended) |
| Thread for Sewing | Seams and assembly | All-purpose polyester or silk thread for delicate fabrics |
| Safety Eyes/Nose (optional) | Facial features | Securely screwed-in plastic eyes (suitable for children) |
Faux fur requires special handling—brush it in one direction before cutting to maintain consistent pile orientation. For children's toys, prioritize non-toxic, washable materials and avoid small detachable parts unless securely fastened.
Designing Your Cat Pattern
Every stuffed cat begins with a pattern. You can either adapt a free template or draft your own design. Sketching allows full creative control over ear shape, tail length, and facial expression.
- Sketch the silhouette: Start with a simple side profile of a sitting or standing cat. Focus on proportions—heads are typically one-third of the total height.
- Break into sewable pieces: Divide the body into front/back, ears (left/right), limbs, and tail. Include seam allowances (¼ inch is standard).
- Test with paper: Cut out your paper pattern and tape it together. Adjust until the form looks balanced.
- Create a muslin mock-up: Use inexpensive fabric to test fit and make final adjustments.
If you're new to pattern-making, consider starting with a basic oval body and rounded limbs. As confidence grows, experiment with dynamic poses like curled sleeping cats or playful kittens mid-pounce.
“Handmade plush animals succeed when their proportions evoke emotion—even subtle changes in eye placement or ear angle can shift a toy from cute to mischievous.” — Lena Torres, Soft Sculpture Artist & Educator
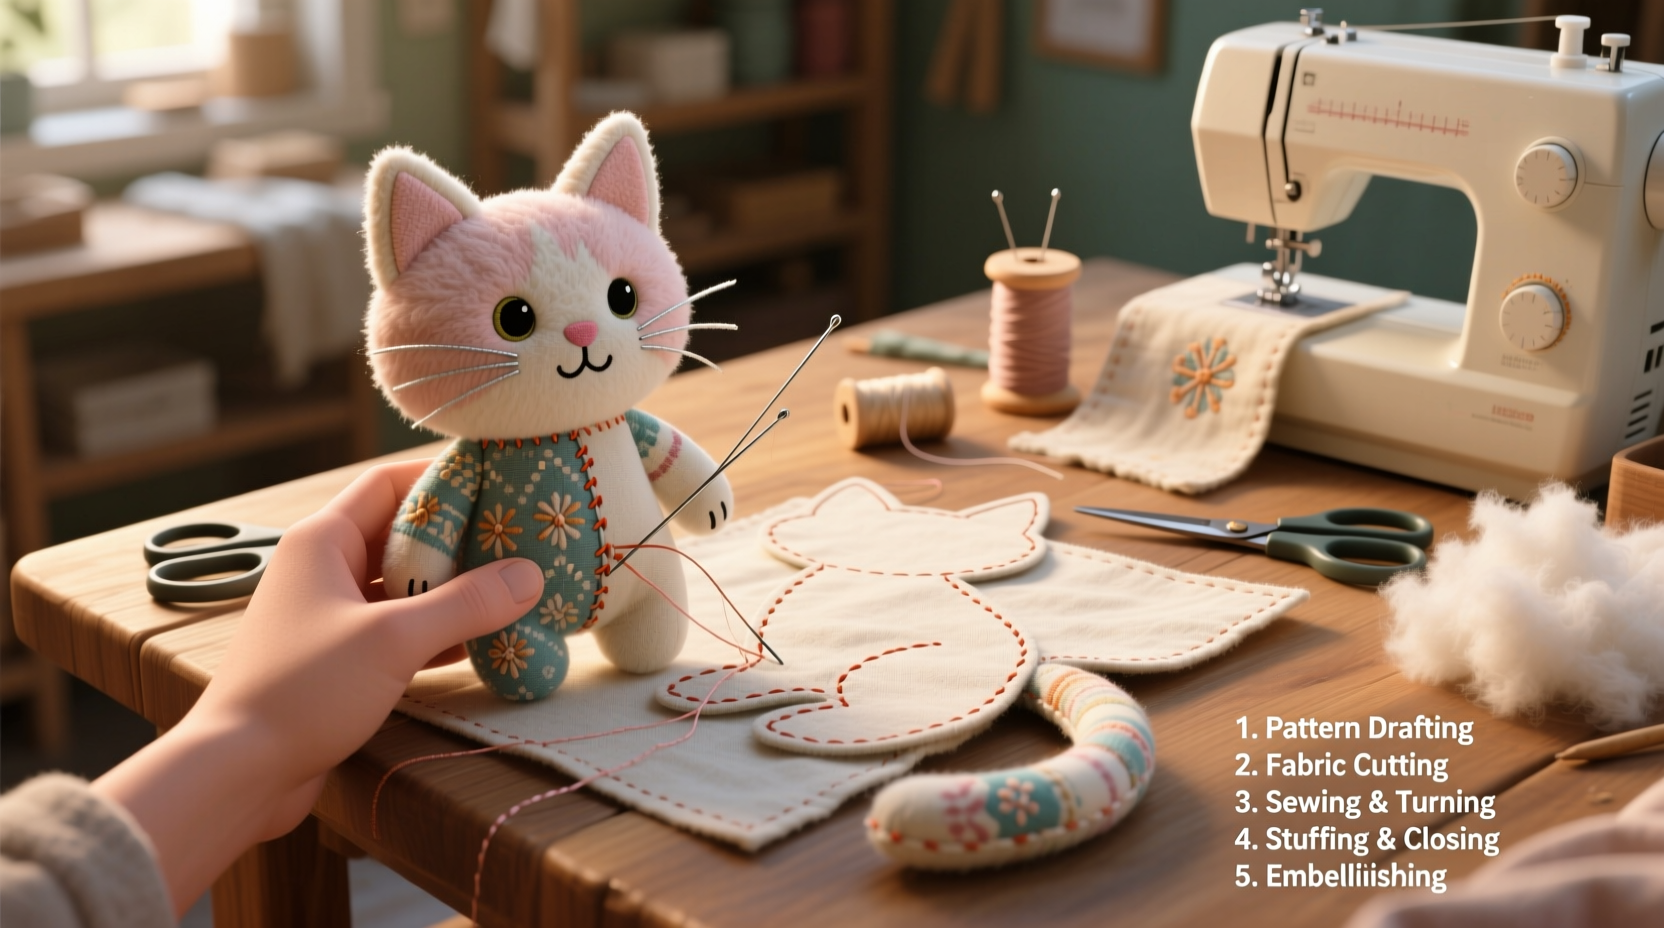
Step-by-Step Assembly Process
Once your pattern and materials are ready, follow this structured sequence for clean, professional results.
1. Transfer and Cut the Pattern
Pin the finalized paper pattern onto folded fabric and cut carefully along the edges. For symmetrical parts (like ears or paws), cutting fabric folded ensures perfect matches.
2. Sew the Body Panels
Place right sides together and stitch around each pair of pieces using a ¼-inch seam allowance. Leave a 2–3 inch gap for turning. Backstitch at start and end to reinforce stress points.
- Use a shorter stitch length (2.0 mm) for curved areas to reduce puckering.
- Clip curves and notch convex edges to allow smooth turning.
3. Turn and Shape
Turn each piece right-side out using a blunt tool like a chopstick or loop turner. Push out corners gently. Press lightly with a cloth-covered iron if needed, especially on cotton fabrics.
4. Stuff Firmly but Evenly
Begin stuffing from the extremities—fingers first go into ears, tails, and paws. Use small handfuls of fiberfill, distributing evenly. Overstuff slightly in areas like cheeks or bellies for a plump, huggable look.
5. Close the Opening
Use a ladder stitch (invisible hand-sewing technique) to close the gap. Pull tightly as you go to ensure no stuffing bulges out.
6. Attach Limbs and Features
Sew arms, legs, and tail using strong thread doubled over. Reinforce joints with multiple passes. Position them symmetrically before final stitching.
7. Add Facial Details
Embroider eyes, nose, and mouth using satin or backstitch. For safety, embroider eyes instead of using plastic ones if the toy is for a young child.
Finishing Touches and Creative Techniques
The personality of your stuffed cat emerges in the details. Consider these advanced touches:
- Shading with embroidery: Use French knots for whisker dots or blend thread colors to create depth in the nose or eyelids.
- Variegated fur: Layer different colored faux fur patches to mimic tabby markings or calico patterns.
- Weighted bodies: Insert a small bag of poly pellets in the base for a “sit-friendly” toy that stays upright.
- Custom accessories: Sew a tiny collar with a bell or a removable scarf for added charm.
Washability should be considered early. If the toy will be loved by a child, use colorfast threads and secure all embellishments. Label the toy with care instructions: “Surface wash with damp cloth; air dry flat.”
Checklist: Crafting Your Stuffed Toy Cat
- ☐ Choose safe, durable fabrics and fillings
- ☐ Draft or select a pattern with seam allowances
- ☐ Cut all pieces accurately with right sides facing
- ☐ Sew, leaving turning gaps
- ☐ Clip curves and turn pieces right-side out
- ☐ Stuff evenly, focusing on extremities first
- ☐ Close openings invisibly with ladder stitch
- ☐ Attach limbs securely with reinforced stitching
- ☐ Embroider facial features or install safety eyes
- ☐ Add personalized details (collar, name tag, etc.)
Mini Case Study: Maya’s Memorial Mitten Cat
Maya wanted to honor her late rescue cat, Mitten, who had distinctive black paws and one crooked ear. She collected photos, sketched a simplified version emphasizing those traits, and used gray minky fabric with black fleece paw pads. Instead of plastic eyes, she embroidered large green French knots to capture Mitten’s gaze. Inside the chest, she stitched a small fabric heart with the cat’s name and lifespan. The result wasn’t just a toy—it became a cherished keepsake her family passed around during tough days. This project illustrates how customization transforms craft into emotional heirloom.
Frequently Asked Questions
Can I machine-wash my handmade stuffed cat?
It depends on materials. Toys made with cotton, minky, or fleece and securely attached parts can usually be surface-washed or gently machine-washed in a pillowcase on cold. Air dry thoroughly. Avoid washing if wool or delicate embroidery is used.
How do I make my cat stand or sit upright?
Incorporate weight in the base. Add a small pouch filled with plastic pellets or steel shot into the bottom of the body before closing. Alternatively, under-stuff the lower half slightly and shape the fabric to flatten the base.
What if my seams pucker after sewing?
Puckering often occurs with stretchy or thick fabrics. Use a walking foot on your sewing machine, reduce presser foot pressure, or switch to a shorter stitch length. Pin frequently and avoid pulling fabric while feeding.
Bring Your Feline Vision to Life
Crafting a custom stuffed toy cat is both an art and a labor of love. From selecting the softest fabric to capturing a beloved pet’s expression in thread, every decision adds meaning. These handmade creations endure not because they’re perfect, but because they’re personal. They become confidants for children, comfort objects during grief, or whimsical decor that sparks joy.


 浙公网安备
33010002000092号
浙公网安备
33010002000092号 浙B2-20120091-4
Comments
No comments yet. Why don't you start the discussion?