
Creating your own keychains isn’t just a fun pastime—it’s a way to express individuality, save money, and make thoughtful gifts. With minimal supplies and a bit of creativity, you can craft durable, fashionable keychains from everyday materials found around the house or purchased inexpensively. Whether you're drawn to minimalist designs, bold colors, or meaningful charms, this guide walks you through five distinct methods that blend simplicity with style.
Why Make Your Own Keychains?
Store-bought keychains often lack personal flair and are made from low-grade plastics or metals that wear out quickly. Homemade versions allow full control over materials, durability, and design. You can incorporate initials, favorite colors, or symbolic elements that reflect hobbies, memories, or personality traits. Plus, handmade items carry emotional value—perfect for gifting to friends, family, or as party favors.
“Handcrafted accessories like keychains connect us to small acts of creation. They remind us that beauty lives in details we design ourselves.” — Lila Monroe, Craft Educator & Author of *Everyday Making*
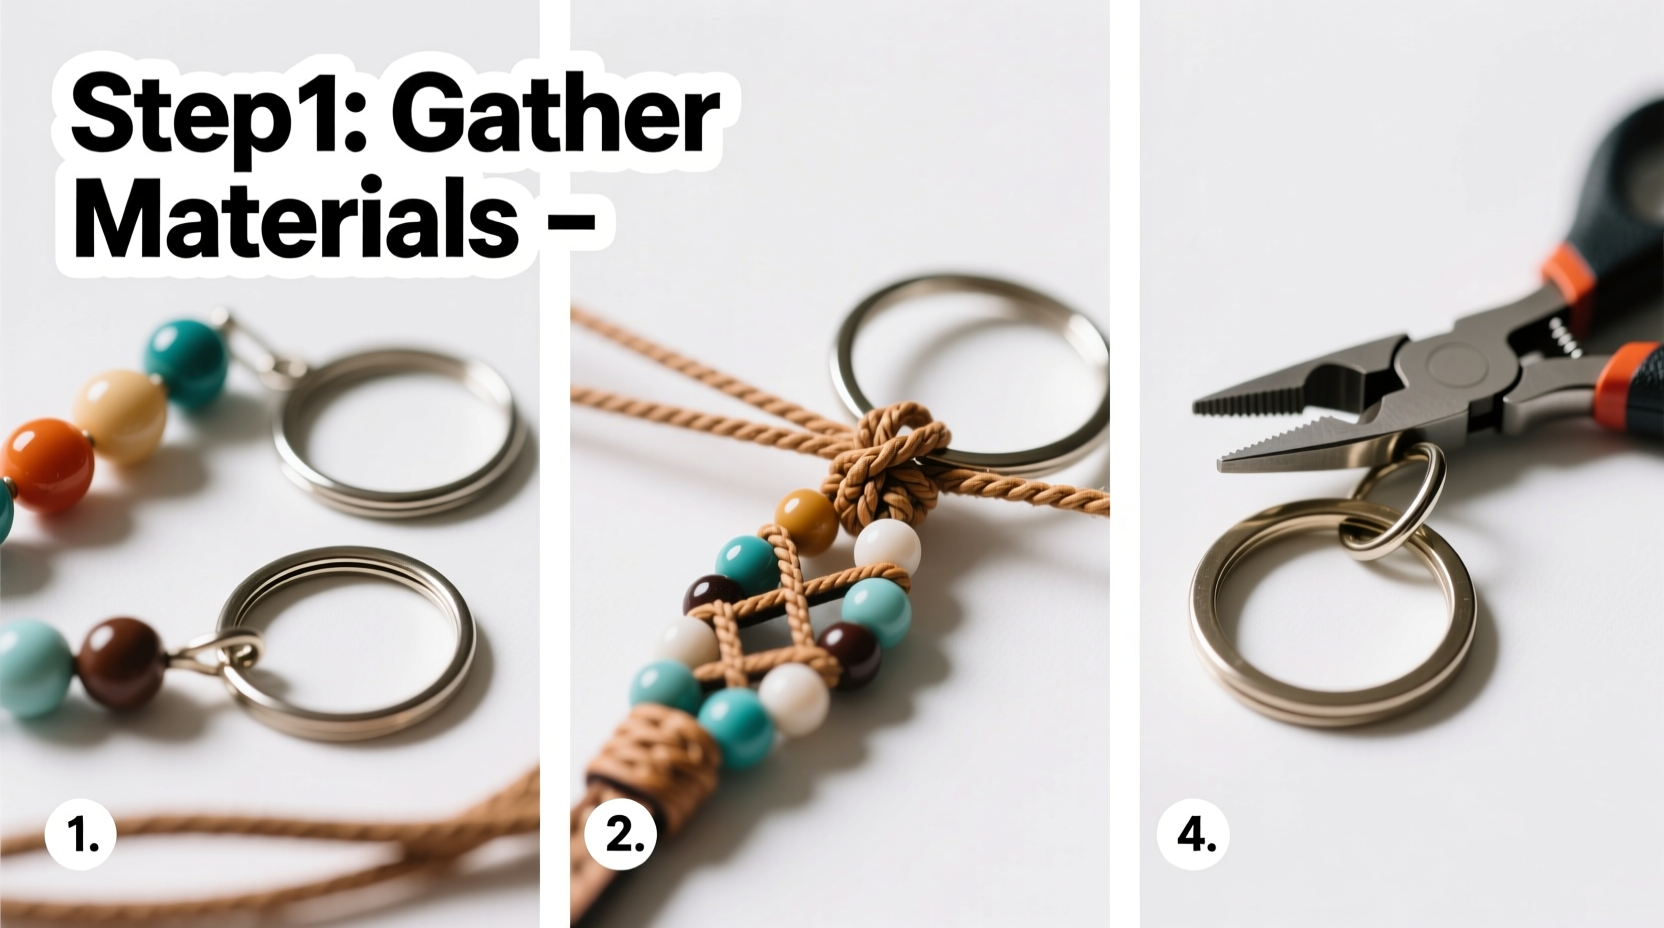
Essential Materials and Tools
Before diving into projects, gather basic supplies. Most can be reused across different styles, making future creations faster and more affordable.
- Keyring hardware (available in various sizes and finishes)
- Pony beads, seed beads, or wooden beads
- Leather cord, faux suede lace, or embroidery floss
- Scissors and glue (E6000 or strong craft adhesive)
- Shrink plastic sheets and markers
- Clay (polymer or air-dry)
- Molds, stamps, or letter cutters
- Baking tray and oven (for polymer clay)
- Clear sealant spray or varnish
Keep a dedicated container for these items so they’re ready whenever inspiration strikes. A small toolbox or pencil case works well for storage.
Five Stylish DIY Keychain Projects
1. Beaded Alphabet Keychain
A simple yet striking option, this project uses colorful beads to spell names, mottos, or initials. Ideal for beginners and customizable for all ages.
- Cut a 12-inch length of elastic cord or thin wire.
- Select beads in desired colors and thread them in sequence to form letters or patterns.
- For alphabetic designs, use letter beads or position round beads to resemble block letters visually.
- Once arranged, tie both ends securely through the keyring using a double knot.
- Apply a drop of glue on the knot for reinforcement and trim excess cord.
2. Leather Wrap Keychain
This sleek design mimics high-end accessories but costs only a few dollars. It’s rugged, elegant, and ages beautifully.
- Cut a strip of leather or faux suede about 18 inches long and ¼ inch wide.
- Thread one end through the keyring and fold it over to create a loop.
- Begin wrapping the long end tightly around both the base and the standing part of the loop.
- Continue wrapping until ½ inch remains, then apply adhesive to the end and press firmly against the wrapped section.
- Let dry completely before use.
Add texture by using stamped leather strips or burnishing the edges with a cotton swab dipped in rubbing alcohol.
3. Shrinky Dink Custom Charm Keychain
Bring childhood nostalgia into modern accessory design with shrink plastic art. Draw any shape—animals, symbols, even caricatures—and turn it into a glossy charm.
- Cut a piece of shrink plastic sheet to desired shape (e.g., heart, star, freeform).
- Use fine-tip permanent markers to draw your design. Colors intensify when baked.
- Punch a hole near the top for the keyring before baking.
- Place on a lined baking tray and bake at 325°F (160°C) for 1–3 minutes until flat again (it curls first, then flattens).
- Cool completely, then attach to a keyring with a jump ring or directly if large enough.
4. Polymer Clay Shape Keychain
Polymer clay offers endless sculpting possibilities. From geometric shapes to tiny food replicas, this medium rewards detail-oriented makers.
- Condition a small piece of polymer clay by kneading until soft.
- Roll into a ball, flatten with a rolling pin, or mold into 3D shapes.
- Use cookie cutters or knives for clean edges; imprint textures with fabric or stamps.
- If adding letters or numbers, press them gently into the surface.
- Bake according to package instructions (usually 275°F for 15–20 minutes).
- After cooling, sand rough edges lightly and apply a clear gloss varnish.
- Attach to keyring with a metal eye-pin or embedded wire loop.
5. Braided Cord Tassel Keychain
Boho-chic and fast to assemble, this tassel-style keychain uses three strands of embroidery floss for a vibrant, textured look.
- Cut three strands of floss, each 24 inches long.
- Align ends and tie a knot 1 inch from the top.
- Braid tightly down to the end, securing with another knot.
- Fold the braid in half so the top knot meets the bottom, forming a loop.
- Slide keyring through the loop and wrap a shorter strand around the center to hide the fold.
- Tie off the wrap thread and glue the knot. Trim the ends of the braid for a tassel effect.
Do’s and Don’ts of DIY Keychain Crafting
| Do | Don't |
|---|---|
| Test fit components before gluing permanently | Rush the drying time of adhesives |
| Use gloves when handling uncured polymer clay | Bake clay in a kitchen oven used for food without ventilation |
| Seal porous materials like wood or air-dry clay | Expose finished pieces to excessive moisture |
| Label tools dedicated to crafting only | Mix food-safe utensils with craft chemicals |
| Store unused materials in resealable bags | Leave small parts within reach of young children |
Real-Life Example: A Gift That Opened Doors
Sophia, a college student majoring in graphic design, started making keychains as stress-relief during exams. She crafted a set of shrinky dink keychains featuring her friends’ zodiac signs. One friend loved hers so much she posted it online—and within weeks, Sophia received custom orders from classmates. By semester’s end, she had launched a small Etsy shop. What began as a casual project became a side hustle, proving that passion paired with practicality can yield unexpected opportunities.
Checklist: Build Your First Keychain in Under 30 Minutes
- ☐ Choose a design style (beaded, braided, clay, etc.)
- ☐ Gather necessary materials from your craft stash
- ☐ Prepare workspace with scissors, glue, and protective covering
- ☐ Assemble the main component (bead string, clay charm, etc.)
- ☐ Attach securely to a metal keyring
- ☐ Allow adhesive to cure fully before handling
- ☐ Inspect for sharp edges or weak points
- ☐ Present or use proudly!
Frequently Asked Questions
Can I wash my DIY keychain?
Most homemade keychains should not be submerged in water. Wipe gently with a damp cloth if needed. Avoid moisture exposure for clay, paper-based, or glued designs.
How do I prevent my beads from slipping off the cord?
Knot the end of the cord before stringing, or use crimp beads with pliers to secure the finish. A dab of glue on the final knot adds extra insurance.
Are these safe for young children?
Only if designed without small detachable parts. Supervise closely and avoid sharp tools or toxic materials. Air-dry clay and large yarn tassels are safer options for kids’ crafts.
Final Thoughts
DIY keychains prove that impactful style doesn’t require a big budget or advanced skills. Each piece tells a story—whether it’s a color combination that lifts your mood, a symbol that represents a milestone, or a gift made with someone specific in mind. These small objects become daily companions, jingling reminders of creativity in motion.


 浙公网安备
33010002000092号
浙公网安备
33010002000092号 浙B2-20120091-4
Comments
No comments yet. Why don't you start the discussion?