
Crafting a custom dice keychain is more than just a fun weekend project—it’s a way to express personality, commemorate special moments, or create meaningful handmade gifts. Whether you're drawn to the nostalgic charm of board games or simply love wearable miniatures, a personalized dice keychain combines creativity with practicality. With basic supplies and a bit of patience, you can design a unique accessory that fits your style and tells your story—no advanced crafting skills required.
Gather Your Materials and Tools
Before beginning, ensure you have all necessary components on hand. The beauty of this project lies in its simplicity and accessibility. Most items can be found at craft stores, online marketplaces, or even repurposed from old games or jewelry.
- Blank resin or wooden dice (6-sided standard or specialty shapes)
- Fine-grit sandpaper (optional, for smoothing edges)
- Acrylic paint or permanent markers in desired colors
- Paintbrushes (fine tip recommended for detail work)
- Clear sealant spray or brush-on varnish (matte or glossy)
- Keychain ring (stainless steel or nickel-free brass)
- Jewelry jump ring or split ring
- Pliers (for opening and closing jump rings)
- Drill with a small bit (1/16 inch) if dice aren’t pre-drilled
- Tweezers (helpful for handling small pieces)
- Protective gloves and mask (when drilling or spraying)
Design and Personalize Your Dice
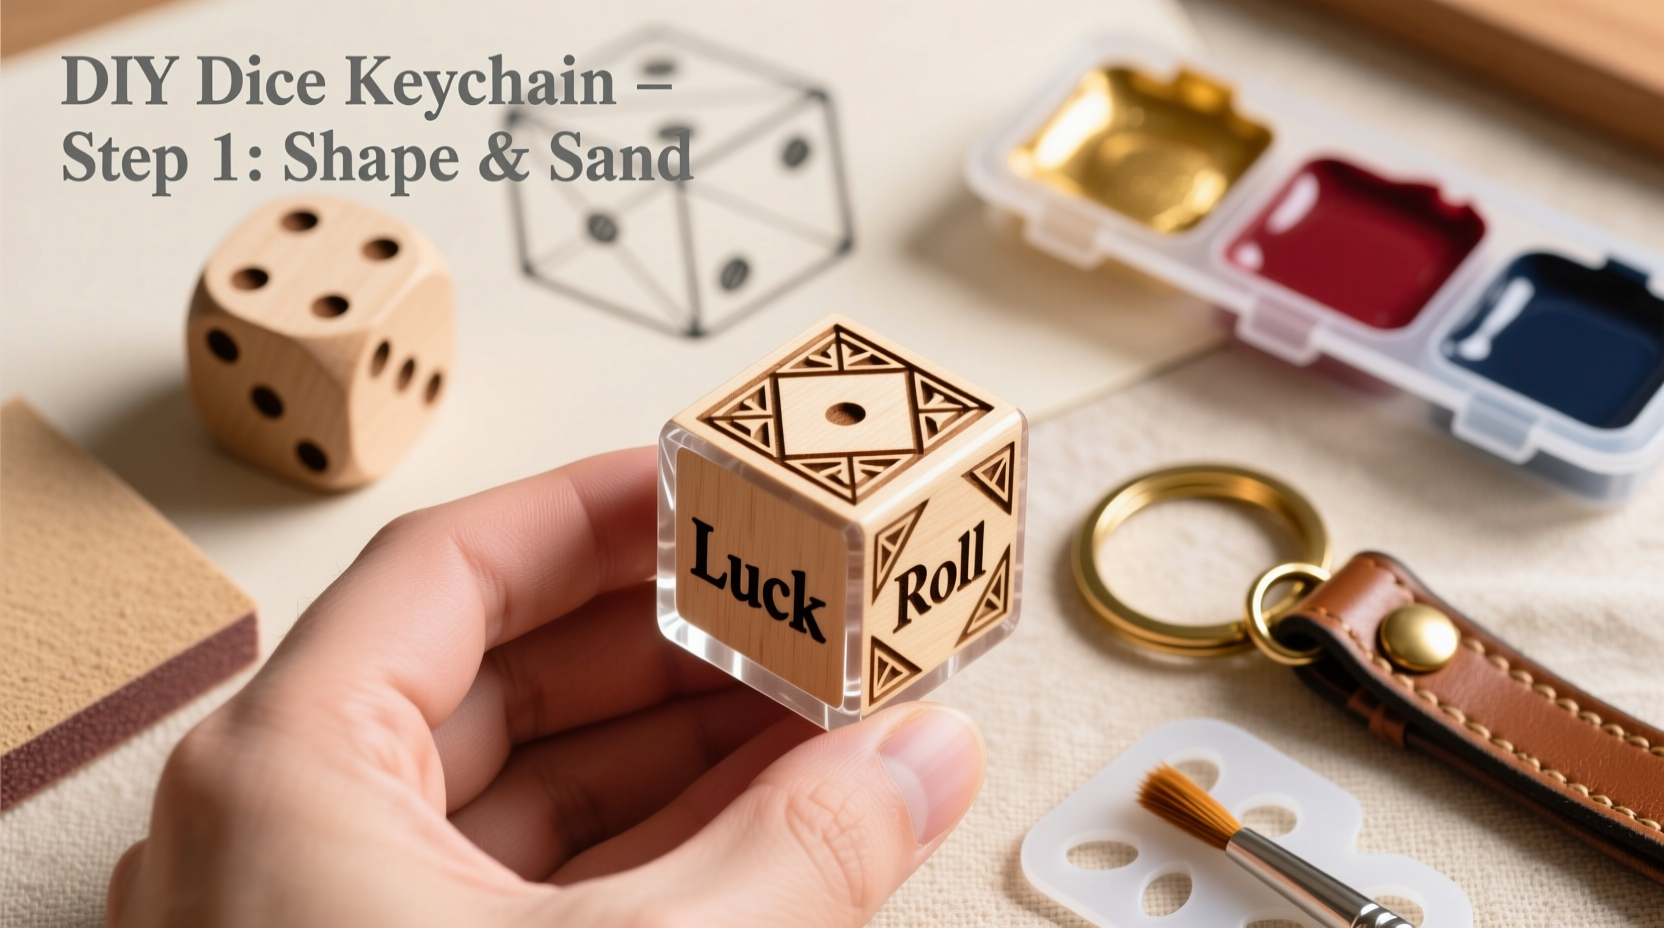
The most rewarding part of this process is transforming a plain die into a miniature canvas. Consider what the keychain will represent: a favorite game character, a lucky number, a color scheme tied to a team or holiday, or even a tribute to someone special.
Start by lightly sanding any rough spots on the dice, especially if using wood. Wipe clean with a dry cloth. Then decide how to decorate:
- Painting: Use acrylics for opaque coverage. Apply thin layers and let each dry completely before adding another. For crisp lines, use painter’s tape as a mask.
- Marking: Permanent markers like Posca or Sharpie offer precision. Test on a spare surface first to avoid bleeding.
- Embellishing: Embed tiny symbols—stars, hearts, runes—using micro-stickers or hand-drawn details. For translucent dice, place small paper cutouts or sequins inside before sealing (if hollow).
“Personalization turns an ordinary object into a keepsake. A dice keychain with a birthstone color or engraved initial carries emotional weight far beyond its size.” — Lena Torres, Handmade Accessories Designer
Drilling and Assembly Process
If your dice don’t come with a pre-drilled hole, you’ll need to create one. This step requires care but is manageable with basic tools.
- Secure the die in a small vise or clamp, or hold firmly with pliers wrapped in cloth to prevent slipping.
- Mark the center point on the top face where you want the hole.
- Wearing safety goggles, slowly drill through the top face toward the bottom. Apply light pressure to avoid cracking.
- Blow out dust or rinse gently if needed. Let dry completely.
- Thread the jump ring through the hole and attach it to the keychain ring using pliers to open and close the loop securely.
Sealing and Finishing Touches
Once decorated and assembled, protect your artwork with a clear sealant. This prevents chipping, fading, and wear from daily use.
Spray sealants provide even coverage; apply in thin coats outdoors or in a ventilated area. Allow drying between layers—typically 15–30 minutes. For brush-on options, use a fine-tipped applicator and coat all sides evenly.
After final drying (usually 2–4 hours), inspect for sharp edges or rough spots. Lightly sand if needed and reapply sealant to exposed areas.
| Sealant Type | Best For | Drying Time | Notes |
|---|---|---|---|
| Matte Spray | Subtle finish, no glare | 20 min per coat | Ideal for vintage or minimalist styles |
| Gloss Spray | Vibrant colors, shiny look | 15 min per coat | Enhances depth in layered designs |
| Resin Coating | Durable, glass-like finish | 6–12 hours | Use for high-wear items; requires careful pouring |
Real Example: A Gamer’s Tribute Keychain
Jamal, a long-time Dungeons & Dragons player, wanted a keychain that reflected his campaign’s theme. He selected a clear 20-sided die and painted the numbers 17–20 in gold—representing critical success rolls for his rogue character. Inside the hollow die, he placed a tiny red heart symbol (representing his in-game companion) and sealed it with UV resin. After drilling and attaching a black-oxide keyring, he applied two coats of matte sealant to reduce shine during gameplay. The result was both functional and sentimental—a daily reminder of memorable adventures with friends.
Common Pitfalls and How to Avoid Them
Even simple projects can encounter setbacks. Being aware of common issues helps ensure a polished outcome.
- Cracked dice during drilling: Use a slow speed and steady hand. Pre-chilling resin dice helps.
- Smudged paint: Allow full drying time between coats. Avoid touching painted surfaces with bare fingers.
- Weak sealant bond: Clean the surface with rubbing alcohol before sealing to remove oils.
- Loose jump ring: Always close the ring fully with pliers—never leave it partially open.
Checklist: Build Your Dice Keychain in 7 Steps
- Choose your dice type (wood, resin, pre-colored)
- Gather tools and protective gear
- Sand and clean the surface
- Decorate with paint, markers, or embedded elements
- Drill a hole if not pre-made
- Attach the jump ring and keychain clasp
- Seal with protective coating and cure fully
FAQ
Can I make a dice keychain without drilling?
Yes. Use adhesive-backed keychain findings designed for gluing onto flat surfaces. Epoxy glue works best for durability, though the attachment won’t be as secure as a drilled-through design.
How long does the entire process take?
Active crafting time is about 30–60 minutes. However, factoring in drying and curing time for paint and sealant, allow 4–6 hours total before regular use.
Are these safe to wash or expose to water?
Once properly sealed, dice keychains can withstand light moisture. Avoid prolonged soaking or submersion. Reapply sealant every 3–6 months for continued protection.
Final Thoughts and Creative Inspiration
A handmade dice keychain is more than an accessory—it’s a conversation starter, a token of memory, and a testament to personal craftsmanship. From choosing the perfect shade of blue to engraving a secret symbol only you understand, every decision adds meaning. These small creations carry big significance when gifted to fellow gamers, partners, or friends who share your passions.
As you refine your technique, consider experimenting with glow-in-the-dark paint, metallic leafing, or themed sets (like elemental dice for a fantasy series). The only limit is imagination.


 浙公网安备
33010002000092号
浙公网安备
33010002000092号 浙B2-20120091-4
Comments
No comments yet. Why don't you start the discussion?