
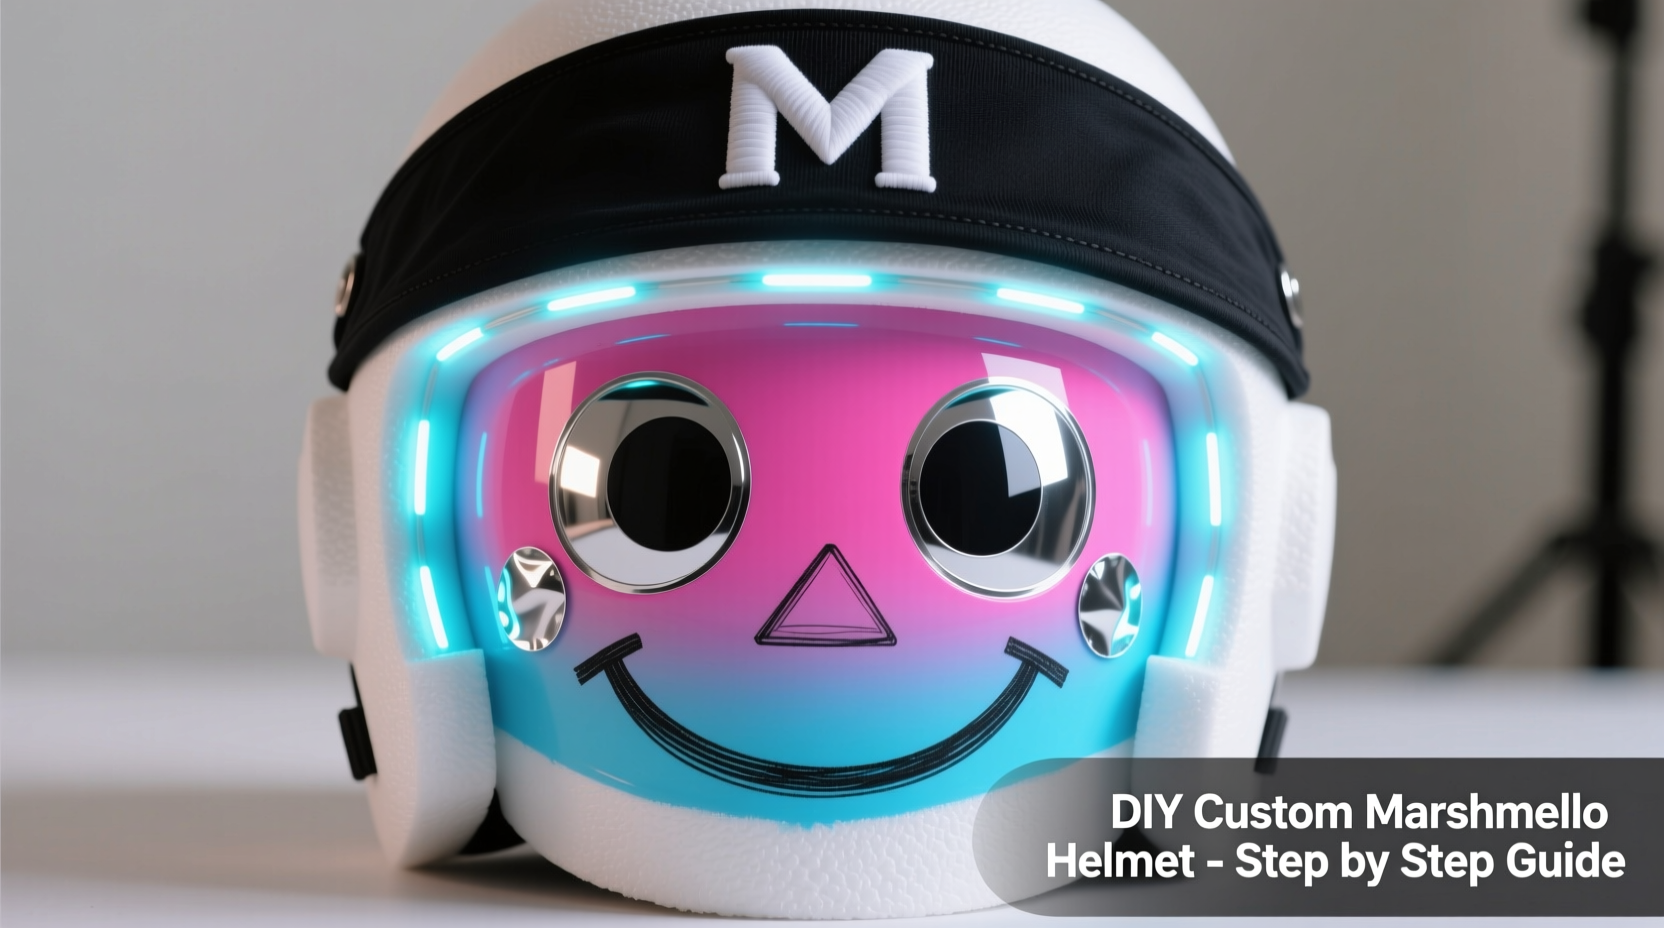
Creating a custom Marshmello helmet isn’t just for professional cosplayers or prop makers. With the right materials, patience, and attention to detail, you can build a high-quality replica in your garage or workshop. The iconic white, expressionless DJ helmet has become a symbol of modern electronic music culture, and replicating it offers a fun challenge for crafters and fans alike. This guide walks through every phase—from selecting base materials to final detailing—so you can produce a durable, lightweight, and visually accurate helmet that turns heads at conventions, parties, or photo shoots.
Gather Your Materials and Tools
The foundation of a successful DIY Marshmello helmet lies in choosing the right supplies. Unlike mass-produced props, a homemade version allows customization in size, comfort, and durability. You don’t need industrial equipment, but precision matters when shaping and finishing the helmet.
Below is a checklist of essential items:
Materials Checklist
- Polystyrene or EVA foam mannequin head (or use your own head with protective covering)
- Fiberglass resin and cloth (or paper mache alternative for beginners)
- Latex or silicone sealant (for smoothing seams)
- White automotive-grade spray paint (gloss finish)
- Fine-grit sandpaper (400–1000 grit)
- Respirator mask and gloves (safety first when handling chemicals)
- Duct tape and plastic wrap (for mold protection)
- Hot glue gun and adhesive suitable for plastics
- Black vinyl sheets or paint for eye slits
- Interior padding foam and moisture-wicking fabric for lining
Build the Helmet Base: Shaping the Form
Start by securing your mannequin head or creating a personal mold. If using your own head, wrap it thoroughly in plastic wrap and wear a tight-fitting swim cap to prevent adhesives from touching your hair or skin. This method ensures an exact fit but requires assistance and extra caution.
- Wrap the head form in duct tape (shiny side out) to create a non-stick surface.
- Cut EVA foam or apply paper mache strips in layers to build up the rounded dome shape. Smooth transitions are critical—avoid sharp edges.
- Once the basic shape is achieved, let it dry completely. Sand down any uneven areas using progressively finer grits.
- For added strength, apply two layers of fiberglass cloth soaked in resin. Allow 24 hours to cure in a well-ventilated area.
The result should be a smooth, seamless sphere with slight indentation where the face would be. Precision here directly affects how authentic the final product looks.
“Even small imperfections in the base structure become glaring under bright stage lights. Take time during shaping—it’s the most important phase.” — Derek Lin, Prop Designer for Electronic Music Tours
Carve and Refine Facial Features
Marshmello’s helmet features minimalistic, curved eye slits and no mouth. These elements must be symmetrical and proportionate. Use reference images from multiple angles to map out placement accurately.
| Feature | Dimensions (Approximate) | Guidelines |
|---|---|---|
| Eye Slits | 5 inches long, 0.75 inches tall | Angled slightly upward; centered horizontally |
| Nose Area | No cutout | Slight inward curve below eyes |
| Chin Curve | Smooth U-shape | Follow natural jawline contour |
Use a rotary tool or fine saw to carefully cut the eye openings. After cutting, sand the edges until they’re perfectly smooth. Fill any gaps or rough spots with auto body filler or latex caulk, then sand again once dry. Repeat this process until light reflects evenly across the surface.
Seal, Paint, and Finish
A flawless white finish defines the Marshmello look. Rushing this stage risks streaks, bubbles, or yellowing over time. Patience and proper technique are key.
- Apply a primer made for plastics or fiberglass. Let dry fully.
- Lightly sand with 600-grit paper to remove dust nibs.
- Spray 3–4 thin coats of high-gloss white automotive paint, waiting 15–20 minutes between coats.
- Finish with a clear UV-protective coat to prevent sun damage and maintain shine.
Allow the helmet to cure for at least 48 hours before handling. Avoid touching the surface with bare hands to prevent oil transfer.
Mini Case Study: Alex’s Convention-Ready Helmet
Alex, a college student and EDM enthusiast, built his Marshmello helmet over three weekends using a bike helmet as a base. He used paper mache for shaping (to avoid fiberglass fumes), then sealed it with Mod Podge before painting. After initial flat results, he added a gloss topcoat recommended in an online forum. At his first convention, attendees assumed it was store-bought. “I got asked for autographs,” he joked. His total cost: under $40. The experience boosted his confidence to try more complex cosplay builds.
Interior Comfort and Final Assembly
An uncomfortable helmet won’t be worn long, no matter how good it looks. Focus on breathability, weight distribution, and secure fit.
- Line the inside with 1/2-inch memory foam cut to match contact points (forehead, back of head, temples).
- Cover foam with black anti-slip fabric or neoprene to prevent sliding.
- Add adjustable elastic straps or a chin strap for stability during movement.
- Consider drilling small vent holes near the crown (hidden under gloss) if heat becomes an issue.
Ensure all internal components are securely glued but removable for cleaning. Electronics like LED lights or Bluetooth speakers can be integrated later, though purists may prefer the original silent aesthetic.
Frequently Asked Questions
Can I make this without fiberglass?
Yes. Paper mache, cardboard layering, or expanding foam can work for lightweight versions. However, these materials are less durable and may require additional sealing to resist moisture.
How do I clean the helmet after use?
Wipe the exterior with a damp microfiber cloth and mild soap. Never submerge it. Clean interior padding separately with fabric-safe disinfectant wipes.
Is it legal to wear this in public?
In most places, yes—but some venues restrict face-covering accessories for security reasons. Always check local regulations before wearing it at events or in crowded areas.
Final Steps and Creative Encouragement
You now have everything needed to build a striking, personalized Marshmello helmet. Whether you're honoring your favorite artist, preparing for a performance, or expressing creativity through cosplay, this project blends artistry with practical craftsmanship. Every layer, sand, and coat brings you closer to a standout piece that reflects both fandom and skill.


 浙公网安备
33010002000092号
浙公网安备
33010002000092号 浙B2-20120091-4
Comments
No comments yet. Why don't you start the discussion?