
Motorcycle riders know that foot protection is just as critical as helmet or jacket safety. While riding boots offer some defense, the toe and side panels are often vulnerable to road debris, heat, and abrasion during slides. Commercial protectors exist, but many lack customization, comfort, or durability. Crafting your own motorcycle shoe protector allows you to tailor fit, material strength, and impact resistance to your specific riding style and boot design. This guide walks through the entire process—from material selection to final installation—ensuring a robust, functional solution that enhances safety without compromising mobility.
Why Build Your Own Shoe Protector?
Prefabricated motorcycle shoe guards often prioritize aesthetics over performance or fail to fit non-standard boot shapes. Custom-built protectors solve these issues by letting you control thickness, flexibility, and coverage area. Riders who frequently commute, tour, or ride in urban environments benefit most from reinforced toe boxes and lateral shields that absorb impacts from gravel, curbs, or accidental drops.
Additionally, DIY construction reduces costs significantly compared to high-end branded accessories. With proper materials and attention to detail, a homemade protector can outlast store-bought versions while offering better ventilation and weight distribution.
“Riders who modify their gear for personal fit report higher confidence and reduced fatigue on long rides.” — Diego Mendez, Motorcycle Safety Instructor & Gear Designer
Materials and Tools You’ll Need
Selecting the right components is essential for both durability and comfort. Below is a breakdown of recommended supplies:
| Material/Tool | Purpose | Recommended Type |
|---|---|---|
| Thermoplastic Polyurethane (TPU) Sheet | Main protective shell | 3–5mm thick, flexible grade |
| Nylon Webbing Straps (1-inch) | Attachment system | UV-resistant, tensile strength >500 lbs |
| Hook-and-Loop Fastener (Velcro®) | Adjustable closure | Heavy-duty, sew-on or adhesive-backed |
| Aluminum Rivets or Pop Rivets | Secure strap anchoring | 3/16” diameter, corrosion-resistant |
| Heat Gun | Molding TPU to boot shape | Variable temperature setting |
| Scissors, Utility Knife, Ruler | Cutting and measuring | Sharp, precision blades |
| Durable Adhesive (Epoxy or Polyurethane-based) | Bonding layers | Waterproof, high shear strength |
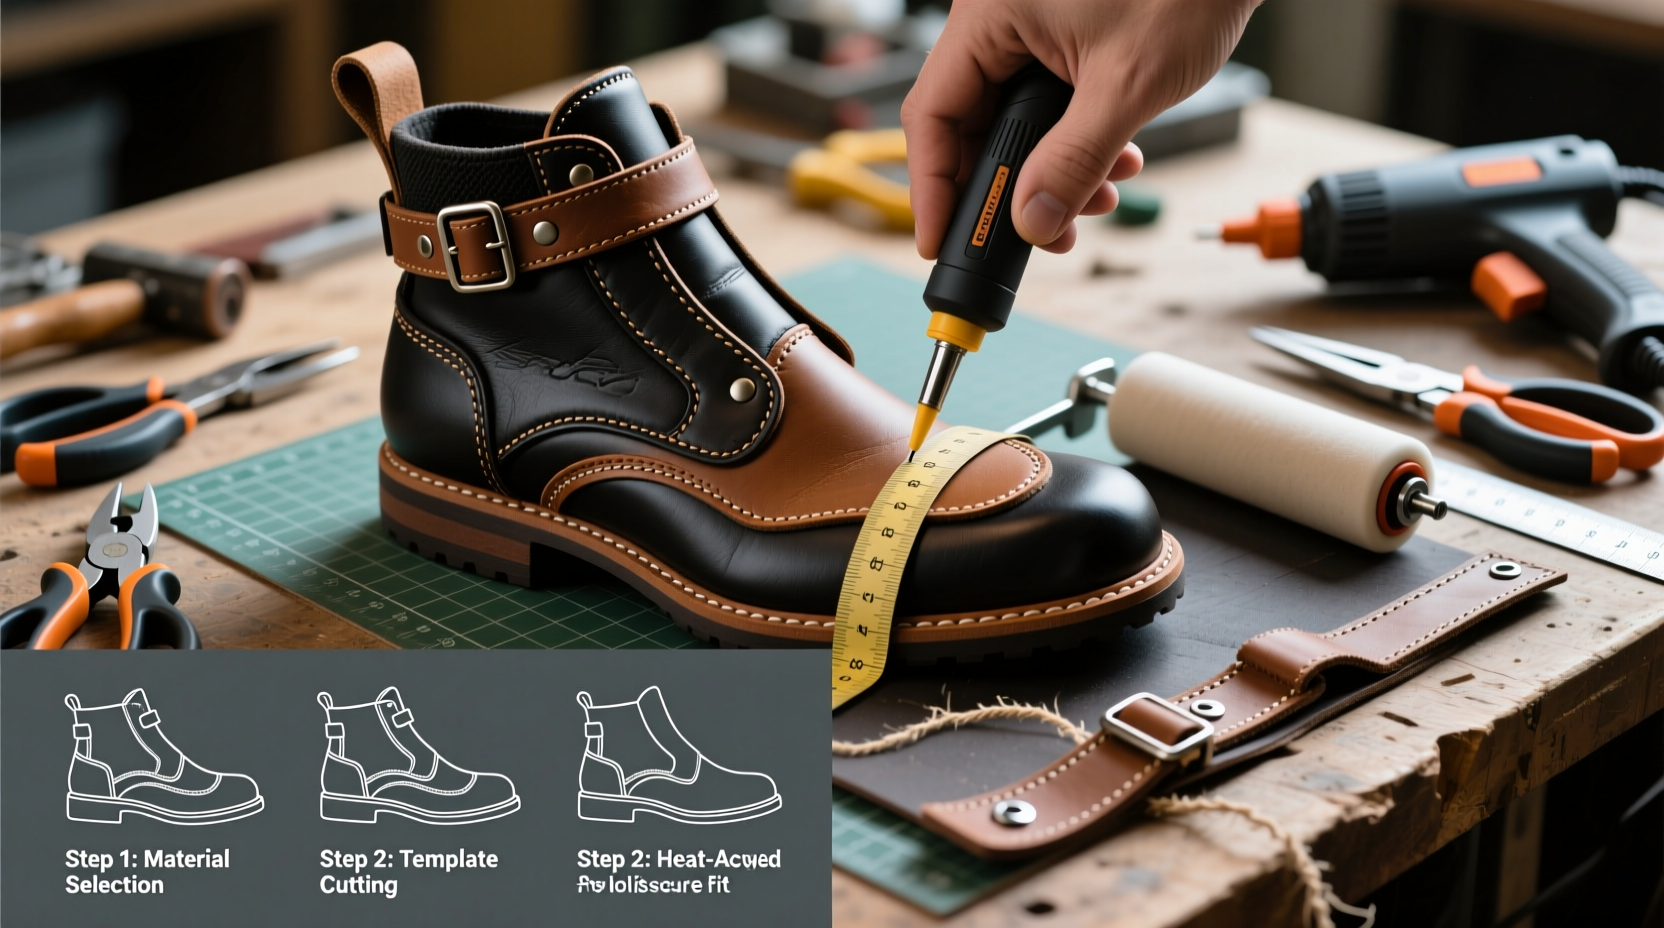
Step-by-Step Construction Process
- Trace Your Boot’s Profile: Place your motorcycle boot on paper and trace the outer edge of the toe and instep area where protection is needed. Add ¾ inch beyond the seam line for full coverage.
- Cut the Base Shell: Transfer the outline onto the TPU sheet using a permanent marker. Score lightly with a utility knife, then cut gradually in passes to avoid cracking. Smooth rough edges with fine sandpaper.
- Heat and Mold the Protector: Use a heat gun on medium setting to warm the TPU evenly until it becomes pliable (approx. 2–3 minutes). Carefully drape it over the front of your boot and press gently into contours. Hold in place until cooled (~5 minutes).
- Reinforce Stress Points: Apply a second layer of thinner TPU (2mm) over the toe cap and side zones prone to scraping. Bond with polyurethane adhesive and clamp overnight.
- Attach Mounting Straps: Position two 10-inch webbing straps—one across the ankle, one under the sole arch. Secure each end with aluminum rivets drilled through the TPU. Reinforce holes with washers to prevent tearing.
- Add Closure System: Sew or glue heavy-duty hook-and-loop strips to the free ends of the straps. Ensure at least 2 inches of overlap for secure fastening.
- Test Fit and Adjust: Wear the boot with the protector and walk around. Check for pinching, slippage, or interference with controls. Trim excess material or reposition straps if necessary.
Real-World Example: Commuter Rider Upgrade
Jamal, a daily commuter in Seattle, noticed his leather boots were scuffing within weeks due to rainy-season gravel and frequent sidewalk dismounts. After researching options, he built a custom protector using 4mm TPU and reflective webbing for nighttime visibility. He molded the guard to wrap slightly around the medial side of his boot—the area most exposed when stopping at intersections. After six months of year-round use, including winter salt exposure and a minor slide on wet pavement, the protector remained intact and prevented any damage to the underlying leather. “It added maybe eight ounces,” Jamal noted, “but saved me nearly $200 in premature boot replacement.”
Do’s and Don’ts of DIY Shoe Protectors
| Do | Don't |
|---|---|
| Use flexible thermoplastics like TPU or PE for impact absorption | Rely solely on rigid plastics like acrylic or polycarbonate—they can crack under stress |
| Allow ventilation gaps near the ankle to reduce sweat buildup | Seal the entire foot—this leads to discomfort and fungal risk |
| Inspect straps monthly for fraying or loosening rivets | Ignore wear signs—replace damaged parts immediately |
| Customize reflectivity or color for visibility | Paint directly on TPU without primer—paint will peel off quickly |
Frequently Asked Questions
Can I remove the protector easily for cleaning or storage?
Yes. Since the design relies on adjustable straps and hook-and-loop fasteners, you can detach it in seconds. Store it flat in a dry space away from direct sunlight to maintain elasticity.
Will this affect my ability to operate the motorcycle controls?
If properly fitted, no. The protector should sit flush against the boot without extending past the shift lever or brake pedal contact point. Always test movement while seated on the bike before riding.
Is TPU safe for prolonged skin contact?
Medical-grade TPU is commonly used in prosthetics and wearable devices. Ensure you’re using non-toxic, BPA-free sheets from reputable suppliers. Avoid low-cost craft plastics that may contain harmful stabilizers.
Final Checklist Before First Ride
- ✅ Protector fits snugly without shifting during walking motion
- ✅ All rivets are fully seated and secured with washers
- ✅ Straps allow easy adjustment with gloves on
- ✅ No sharp edges or protrusions near ankle or heel
- ✅ Ventilation zones prevent excessive sweating
- ✅ Reflective elements are visible from driver approach angles
Conclusion: Ride Safer, Ride Smarter
Creating your own motorcycle shoe protector isn’t just about saving money—it’s an investment in personalized safety. By understanding your riding habits and biomechanical needs, you can build a guard that performs better than mass-produced alternatives. Whether navigating city streets or weekend canyon runs, knowing your feet are shielded gives peace of mind that enhances every mile.
Start with precise measurements, choose resilient materials, and never skip the fit-testing phase. Once completed, your DIY protector will serve as a reliable companion through seasons of riding. Share your build story, tweak designs for different boots, and inspire others to take control of their gear. Safety begins at the ground—make sure your foundation is strong.


 浙公网安备
33010002000092号
浙公网安备
33010002000092号 浙B2-20120091-4
Comments
No comments yet. Why don't you start the discussion?