
Installing or reinstalling Windows doesn’t have to mean relying on outdated optical drives or complex network setups. A bootable USB drive is the modern, fast, and portable solution for deploying Windows on any compatible machine. Whether you're upgrading your system, troubleshooting a corrupted OS, or setting up a new PC, a properly created bootable USB ensures a clean, efficient installation process.
This guide walks through every essential step—from choosing the right hardware to verifying the final product—using only trusted tools and proven techniques. No technical background? No problem. With clear instructions and practical tips, anyone can create a reliable bootable USB for Windows 10 or Windows 11.
Why Use a Bootable USB Drive?
A bootable USB drive functions as a standalone operating environment that allows a computer to start up (or \"boot\") directly from the device rather than the internal hard drive. For Windows installations, this means you can launch the setup wizard, partition disks, and install a fresh copy of the OS—even if the current system is unbootable.
Compared to traditional DVD-based installations, USB drives offer faster read/write speeds, reusable storage, and universal compatibility with modern laptops and desktops that often lack built-in optical drives.
What You’ll Need Before You Begin
Before diving into the creation process, gather the necessary components. Having everything ready prevents interruptions and reduces the risk of errors during critical stages.
- A working computer (Windows, macOS, or Linux) with internet access
- A blank USB flash drive (minimum 8GB; 16GB recommended)
- The official Windows ISO file from Microsoft
- Administrative privileges on the host machine
- At least 10 minutes of uninterrupted time
Note: All data on the USB drive will be erased during the process. Back up any important files stored on it before proceeding.
Choosing the Right Method: Tools Compared
There are several ways to make a bootable Windows USB, but not all are equally reliable. Some third-party tools may inject unwanted software or fail on certain hardware. The safest approach uses officially supported utilities provided by Microsoft.
| Tool | Platform | Best For | Limits |
|---|---|---|---|
| Microsoft Media Creation Tool | Windows only | Simplest method for Windows 10/11 users | Not available for macOS/Linux |
| Rufus | Windows | Advanced options, older systems, UEFI/Legacy control | Requires downloading external tool |
| UNetbootin | Cross-platform | Linux-focused, limited Windows support | Not recommended for Windows ISOs |
| Terminal (macOS dd command) | macOS | Creating bootable USB from Mac | High risk of error; requires precision |
For most users, the Microsoft Media Creation Tool is the gold standard—it's free, digitally signed, and designed specifically for Windows deployment. However, power users who need fine-grained control over boot modes or want to preserve existing USB data might prefer Rufus.
“Using official tools eliminates the risk of malware injection and ensures full compliance with Microsoft licensing.” — David Lin, Systems Deployment Engineer at TechDeploy Inc.
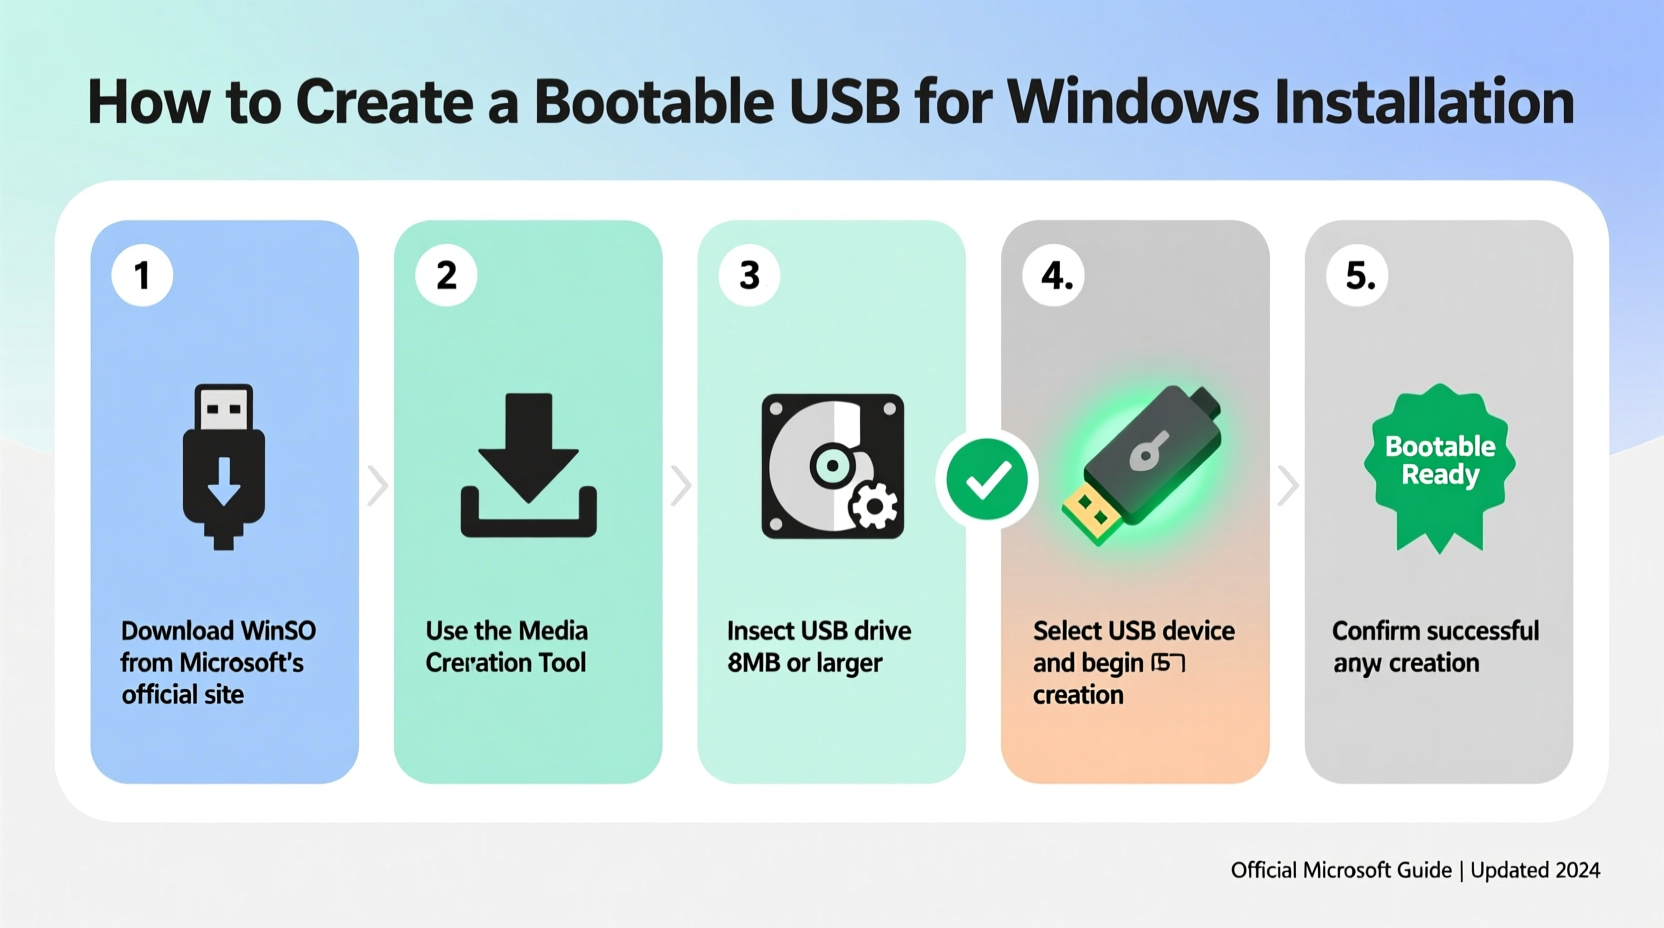
Step-by-Step: Creating a Bootable USB Using Microsoft Media Creation Tool
This section details the most straightforward and secure way to create a bootable USB drive using Microsoft’s own utility. Follow these steps carefully to ensure success.
- Download the Media Creation Tool
Visit the official Microsoft website and download the “Media Creation Tool” for Windows 10 or Windows 11. Ensure you’re onwww.microsoft.com/en-us/software-downloadto avoid phishing sites. - Run the Tool as Administrator
Locate the downloaded file (usually namedMediaCreationTool23H2.exeor similar), right-click it, and select “Run as administrator.” This grants the tool permission to modify system settings and write to external devices. - Accept License Terms
Click “Accept” when prompted to agree to Microsoft’s license agreement. Without acceptance, the tool cannot proceed. - Select “Create Installation Media”
Choose the option to create installation media (USB flash drive, DVD, or ISO file) for another PC. Avoid upgrading this PC unless explicitly intended. - Choose Language, Edition, and Architecture
Select your preferred language, edition (typically Windows 10/11 Home or Pro), and architecture (64-bit recommended; include 32-bit if supporting older hardware). If unsure, leave defaults. - Select USB Flash Drive Option
Insert your USB drive into an available port. When asked how to create the media, choose “USB flash drive.” The tool will detect connected drives automatically. - Pick Your USB Drive
From the list of available drives, select your USB device. Double-check the drive letter and capacity to avoid accidentally formatting the wrong disk. - Wait for Process Completion
The tool downloads the latest Windows version and writes it to the USB drive. This may take 15–30 minutes depending on internet speed and USB write performance. Do not remove the drive during this phase. - Eject Safely
Once complete, click “Finish” and safely eject the USB via the system tray icon. Your bootable drive is now ready for use.
Alternative Method: Using Rufus on Windows
If you already have a Windows ISO file or need more control over the boot configuration, Rufus is an excellent alternative. It supports advanced features like selecting between GPT (UEFI) and MBR (Legacy BIOS) partition schemes, which is crucial for compatibility with older machines.
Steps to Use Rufus:
- Download Rufus from the official site (
rufus.ie). Avoid third-party mirrors. - Launch Rufus (no installation required).
- Under “Device,” select your USB drive.
- Click “SELECT” and choose your downloaded Windows ISO file.
- Set “Partition scheme” based on target PC:
- GPT for UEFI systems (modern PCs, Windows 11 compliant)
- MBR for Legacy BIOS (older hardware)
- File system: Leave as NTFS; cluster size default.
- Click “START” and confirm warnings about data loss.
- Wait for completion (typically under 10 minutes).
- Safely eject the drive after success notification.
Rufus also includes checksum verification and the ability to add extended drivers or patches—ideal for technicians building custom deployment kits.
Booting from the USB Drive
Creating the drive is only half the job. To actually install Windows, you must boot from it.
How to Access Boot Menu:
- Insert the USB drive into the target computer.
- Power on the machine.
- Press the designated boot key repeatedly during startup. Common keys include:
- F12 – Dell, Lenovo, HP
- ESC or F10 – HP
- F8 or F12 – ASUS
- Option – Mac (when using Boot Camp)
- Select the USB drive from the boot menu.
If the system bypasses the boot menu, enter BIOS/UEFI settings (usually via F2, DEL, or ESC) and manually change the boot order to prioritize the USB device.
“Incorrect boot mode selection is the #1 reason installation fails—even with a perfectly made USB.” — Sarah Kim, IT Infrastructure Lead
Troubleshooting Common Issues
Even with careful preparation, problems can occur. Here are frequent issues and their solutions:
- “No bootable device found”: Verify the USB was written correctly. Re-create it using Rufus with correct partition scheme (GPT vs MBR).
- Stuck at logo screen: Disable Fast Startup in BIOS and ensure Secure Boot is enabled for Windows 11.
- Slow installation or freezes: Use a high-quality USB 3.0+ drive; avoid cheap no-name brands.
- Missing drivers during install: On older systems, prepare additional storage drivers on a separate USB and load them manually via “Load Driver” option.
Checklist: Create a Bootable Windows USB Successfully
Use this checklist to ensure nothing is missed:
- ✅ Downloaded official Windows ISO or Media Creation Tool
- ✅ Used a USB drive with at least 8GB capacity
- ✅ Backed up data on the USB drive
- ✅ Ran tool as administrator
- ✅ Selected correct Windows edition and architecture
- ✅ Chose appropriate partition scheme (GPT for UEFI, MBR for Legacy)
- ✅ Waited for writing process to finish completely
- ✅ Safely ejected the USB drive
- ✅ Verified bootability on target system
Real-World Example: Recovering a Frozen Laptop
Mark, a freelance graphic designer, encountered a black screen after his Windows update failed. His laptop wouldn’t boot past the manufacturer logo. He followed this process:
Using a friend’s computer, he downloaded the Windows 11 Media Creation Tool and created a bootable USB. He then accessed the boot menu on his frozen laptop by pressing F12, selected the USB drive, and launched the installer. From there, he chose “Repair your computer,” ran Startup Repair, and restored functionality without losing personal files. When that didn’t fully resolve the issue, he performed a clean install—getting back to work within two hours.
This scenario highlights how a pre-made bootable USB isn't just for new installations—it's a vital recovery tool.
FAQ
Can I use the same bootable USB for multiple computers?
Yes. A single bootable USB can be used to install Windows on multiple machines, provided each has a valid license. Just remember to activate Windows separately on each device.
Is it safe to create a bootable USB on a Mac?
Yes, but not with the Media Creation Tool (Windows-only). Instead, use Terminal with the dd command or third-party apps like BalenaEtcher. Ensure the ISO is compatible and format the USB as MS-DOS (FAT).
Will my files be deleted during installation?
If you choose “Custom: Install Windows only (advanced),” you can decide which partitions to format. To keep files, avoid formatting the main drive. For a clean slate, back up first, then delete and recreate partitions.
Final Thoughts and Next Steps
A bootable USB drive is one of the most powerful tools in a user’s digital toolkit. It enables quick OS reinstalls, seamless upgrades, and emergency recoveries—all without needing physical discs or complicated network configurations. By following the steps outlined here, you’ve gained the knowledge to create a reliable, official-grade installation medium that works across modern and legacy systems alike.
Don’t wait until your system crashes to act. Build your bootable USB today while you still have access to a working machine. Store it in a safe place alongside your product keys, and you’ll always be prepared for unexpected failures.


 浙公网安备
33010002000092号
浙公网安备
33010002000092号 浙B2-20120091-4
Comments
No comments yet. Why don't you start the discussion?