
A well-crafted bun is one of the most versatile hairstyles in modern grooming. Whether you're heading to the office, attending a wedding, or enjoying a casual brunch, a polished bun offers elegance without sacrificing practicality. The cat eye hair tie—a sleek, oval-shaped elastic with a smooth outer shell—has emerged as a favorite among stylists and wearers alike. Unlike traditional elastics that can snag or crease hair, the cat eye design distributes tension evenly, reduces breakage, and maintains a refined look even after hours of wear.
This guide walks through the process of creating a chic, long-lasting bun using a cat eye hair tie. From preparation to finishing touches, each step ensures your style stays intact while protecting your hair’s integrity.
Why Choose a Cat Eye Hair Tie?
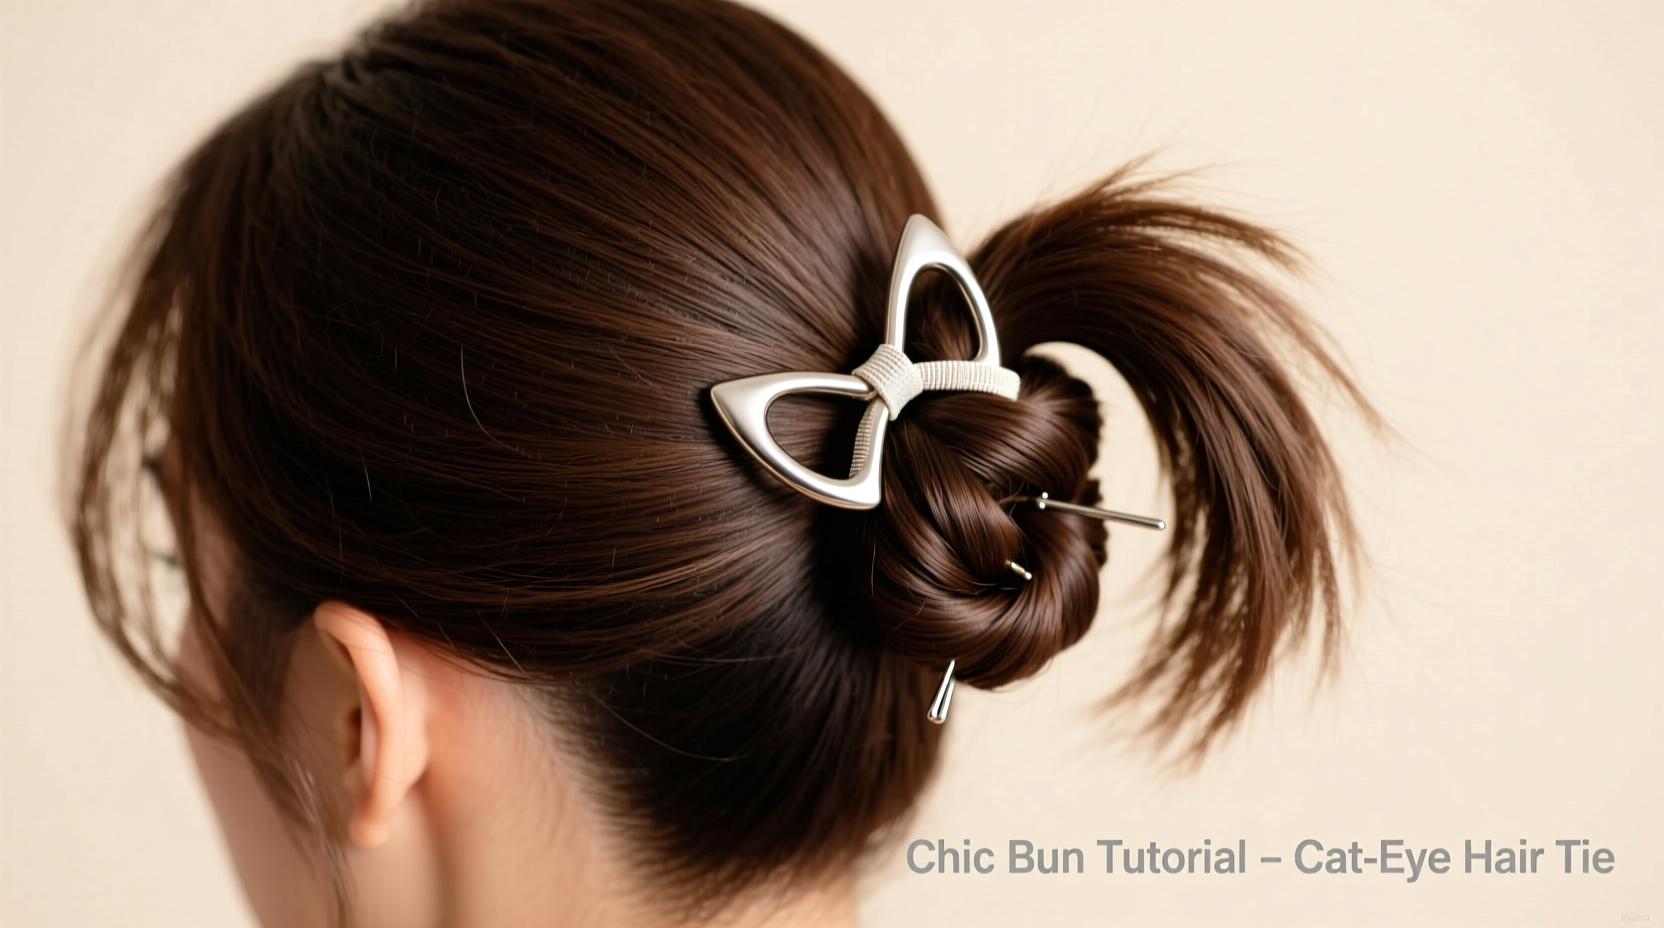
The cat eye hair tie isn’t just another accessory—it’s a functional upgrade. Its unique structure features a rounded, flattened oval made from soft silicone or fabric-coated material that glides smoothly over hair strands. Because it doesn’t twist or pinch like coiled or knotted elastics, it minimizes friction and prevents kinks.
Stylists appreciate its ability to hold volume without flattening roots, making it ideal for updos. Additionally, the smooth surface resists tangling, which means fewer broken ends when removing the tie at the end of the day.
“Cat eye hair ties are a game-changer for clients who wear their hair up regularly. They reduce stress on the scalp and keep styles looking fresh longer.” — Lila Monroe, Celebrity Hairstylist and Educator
Essential Tools and Preparation
Before beginning, gather the necessary tools. Having everything ready streamlines the process and prevents interruptions that could disrupt your styling flow.
What You’ll Need:
- One cat eye hair tie (preferably matching your hair color)
- Fine-tooth comb or tail comb
- Light-hold hairspray or texture spray
- Bobby pins (matched to your hair color)
- Optional: small clear elastic for securing loose ends
Start with clean, dry hair. If your hair is too freshly washed, it may lack texture and slip out more easily. For optimal hold, style day-old hair or use a dry shampoo to boost volume and friction. Brush your hair thoroughly to remove tangles and ensure a smooth base.
Step-by-Step Guide to the Chic Bun
Follow this timeline to create a neat, elegant bun that stays secure throughout the day.
- Gather your hair into a high ponytail. Use a comb to smooth hair toward your desired part line—center, side, or slightly off-center for asymmetry. Secure tightly at the crown with your fingers.
- Position the cat eye hair tie. Loop it once around the base of the ponytail. Do not tighten fully yet; leave enough slack to wrap the length of your hair around the base.
- Twist and wrap. Begin twisting the length of your ponytail tightly. As you rotate, guide the twisted hair around the base of the ponytail, forming a coil. Keep the tension consistent to avoid gaps.
- Secure the coil. Once the entire length is wrapped into a circular shape, slide the cat eye hair tie over the coil to lock it in place. The smooth surface will grip the hair without crushing the form.
- Adjust and shape. Gently pull on the edges of the bun to loosen or fluff it slightly, creating a softer, more voluminous appearance. Avoid tugging too hard, which can loosen the tie.
- Pin stray pieces. Use bobby pins to anchor any short layers or flyaways. Slide them underneath the bun and into the base for invisible support.
- Set with hairspray. Apply a light mist of flexible-hold hairspray from about 12 inches away. Focus on the perimeter and any areas prone to frizz.
Common Mistakes and How to Avoid Them
Even experienced stylists make errors when rushing through updos. Below is a comparison of common pitfalls and their solutions.
| Mistake | Why It Happens | Solution |
|---|---|---|
| Bun feels loose or falls apart | Insufficient twisting or weak initial tie | Ensure tight twist and double-loop the cat eye tie if needed |
| Visible crease or dent in hair | Using a standard elastic instead of cat eye | Switch to a smooth cat eye tie to prevent kinking |
| Flat or unshaped appearance | Over-tightening or skipping volume prep | Loosen gently and use texture spray before styling |
| Stray hairs ruin clean look | Not addressing shorter layers or baby hairs | Use edge control gel and bobby pins strategically |
Real-Life Example: A Wedding Day Styling Session
Jessica, a bridesmaid preparing for an outdoor summer wedding, wanted a hairstyle that would last from morning until midnight. Her fine, straight hair typically slips out of traditional buns by midday. After consulting her stylist, she opted for the cat eye hair tie method.
The stylist began by applying a sea salt spray to Jessica’s second-day hair to enhance texture. She created a high, centered ponytail and used a black cat eye tie to secure it. After tightly twisting and wrapping the hair into a low-slung bun, she pinned hidden sections and set the style with a humidity-resistant spray. Despite dancing, wind, and humidity, the bun remained intact—without a single snag or visible dent—proving the effectiveness of the right tool and technique.
Pro Checklist: Perfect Bun in 7 Steps
Keep this checklist handy for quick reference every time you style:
- ☐ Wash or refresh hair (avoid overly slick strands)
- ☐ Detangle completely with a wide-tooth comb
- ☐ Apply texturizing product for grip
- ☐ Smooth into desired ponytail position
- ☐ Secure base with cat eye hair tie (not fully tightened)
- ☐ Twist and wrap hair into a coil
- ☐ Lock in place, adjust shape, pin flyaways, and set with spray
Frequently Asked Questions
Can I use a cat eye hair tie on thick or curly hair?
Absolutely. The cat eye design works exceptionally well on thicker textures because it holds volume without compressing curls. For very dense hair, consider using two cat eye ties—one for the base and another to reinforce the wrapped section.
Will the cat eye hair tie damage my hair?
No. In fact, it’s one of the gentlest options available. Its smooth, non-metal construction avoids snags, and the even pressure distribution prevents traction breakage. Just avoid pulling too tightly to minimize scalp strain.
How do I clean my cat eye hair tie?
Wipe it down with a damp cloth and mild soap. Let it air dry completely before reuse. Avoid soaking it for long periods, as this can degrade the inner elastic over time.
Final Thoughts and Next Steps
The chic bun created with a cat eye hair tie combines beauty, functionality, and hair health. It’s a minimalist solution with maximum impact—ideal for busy mornings, formal events, or days when you want to look put-together with minimal effort.
Mastering this style isn’t just about aesthetics; it’s about adopting smarter habits that protect your hair in the long run. By replacing old, damaging elastics with thoughtful tools like the cat eye hair tie, you invest in both your daily confidence and your hair’s future resilience.


 浙公网安备
33010002000092号
浙公网安备
33010002000092号 浙B2-20120091-4
Comments
No comments yet. Why don't you start the discussion?