
In today’s hybrid work environments, seamless collaboration is no longer optional—it's essential. Microsoft SharePoint has emerged as a cornerstone of modern workplace productivity, offering teams a centralized hub for document management, communication, and project coordination. However, simply having access to SharePoint isn’t enough. The real value comes from setting up a well-structured site tailored to your team’s workflow. This guide walks through the process of creating a new SharePoint site that enhances efficiency, encourages engagement, and supports long-term collaboration.
1. Define Your Site’s Purpose and Audience
Before clicking any buttons in SharePoint, take time to clarify the site’s primary objective. Is it for a specific project? A department-wide knowledge base? Or an ongoing cross-functional initiative? Understanding the purpose directly influences structure, permissions, and content strategy.
Equally important is identifying who will use the site. Will it be limited to a small project team, or open to the entire organization? Knowing your audience helps determine security settings, navigation design, and the types of tools you’ll enable—such as calendars, task lists, or news posts.
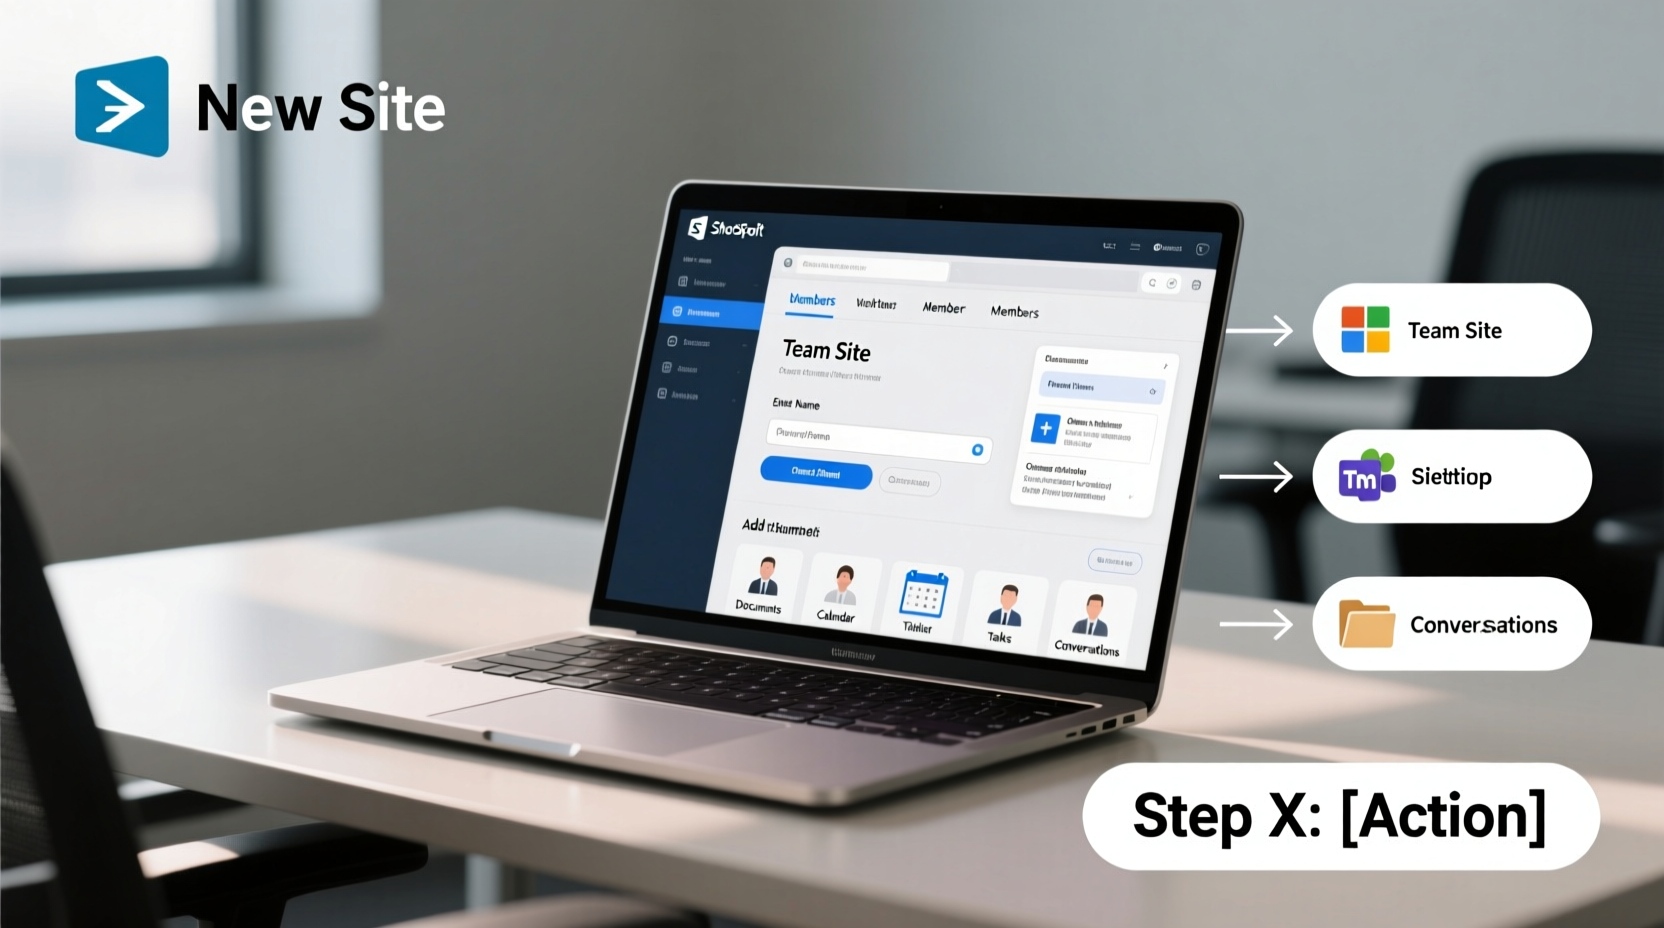
2. Create the SharePoint Site: Step-by-Step Process
Once your objectives are clear, follow this structured sequence to create your site within the Microsoft 365 ecosystem.
- Log in to Microsoft 365: Navigate to
https://www.office.comand sign in with your organizational account. - Open the SharePoint Home Page: Click the app launcher (waffle icon) and select “SharePoint” from the menu.
- Start Site Creation: On the SharePoint home page, click the “+ Create site” button in the top-right corner.
- Choose Site Type: Select “Team site” for collaborative work with a Microsoft 365 group, or “Communication site” if the goal is primarily informational (e.g., company announcements).
- Enter Site Details:
- Site name: Use a clear, descriptive title (e.g., “Marketing Campaign Q3 2024”).
- Privacy setting: Choose between “Private” (invite-only) or “Public” (anyone in the organization can join).
- Description (optional): Add a short summary of the site’s purpose.
- Finalize and Create: Click “Finish.” SharePoint automatically provisions the site and links it to a Microsoft 365 group, which includes shared email, calendar, and OneDrive folders.
The entire process takes less than three minutes. Once created, you land on the homepage where customization begins.
3. Organize Structure and Permissions
A clean information architecture prevents clutter and confusion. Begin by mapping out logical sections using SharePoint’s built-in navigation and library features.
| Section | Purpose | Recommended Tool |
|---|---|---|
| Documents | Central repository for files | Document Library with versioning enabled |
| Meetings | Agendas, minutes, recordings | Folder structure or dedicated library |
| Tasks | Project tracking | Planner or Tasks app integration |
| Resources | Templates, guides, external links | Link library or wiki-style pages |
Next, configure permissions carefully. By default, members of a private team site have edit rights, while owners manage membership and settings. Avoid giving everyone full control—limit ownership roles to 2–3 trusted individuals to maintain consistency.
“Poorly managed permissions are one of the top reasons SharePoint sites become disorganized within months.” — Rajiv Mehta, Microsoft 365 Consultant, TierOne Technologies
4. Customize and Enhance User Experience
A functional site should also be intuitive. Leverage SharePoint’s modern interface to build a user-friendly experience.
- Edit the homepage: Use web parts to add quick links, embedded calendars, news highlights, or file carousels.
- Create subsites or hubs: For larger departments, connect related sites to a hub for unified navigation.
- Set up automatic alerts: Enable notifications for document changes or upcoming deadlines using Power Automate integrations.
- Apply consistent branding: Upload your team logo, adjust theme colors, and standardize page templates to reinforce identity.
Consider pinning frequently used documents to the top of libraries and using metadata columns (e.g., Status, Priority, Owner) to make filtering easier.
5. Real-World Example: Launching a Product Development Site
Consider a mid-sized tech firm preparing to launch a new SaaS product. The product team needed a secure space to coordinate design specs, track sprint progress, store marketing assets, and share customer feedback.
Rather than scattering files across emails and drives, they created a private SharePoint site titled “Project Orion – Product Launch.” They structured it with four main libraries: “Design & Wireframes,” “Development Backlog,” “Marketing Collateral,” and “Customer Research.”
They integrated a Planner board for sprint tasks, embedded a Teams meeting calendar, and set up automated approval flows for final asset sign-offs. Within six weeks, leadership reported a 40% reduction in status update meetings due to improved transparency and real-time access.
Checklist: Essential Actions After Site Creation
To ensure your site remains useful and secure, complete these steps immediately after setup:
- ✅ Assign at least two site owners for continuity
- ✅ Set up initial folder hierarchy or libraries
- ✅ Invite core team members with appropriate permissions
- ✅ Create a welcome page with site purpose and guidelines
- ✅ Enable version history on all document libraries
- ✅ Schedule a monthly review to archive outdated content
- ✅ Integrate with Microsoft Teams for chat and meetings
Frequently Asked Questions
Can I change my site from private to public later?
Yes, but only if your organization’s policies allow it. Go to Site Settings > Site Permissions > Change Sharing Permission. Note that changing privacy affects existing member access and search visibility.
What happens to the site if a team member leaves the company?
If the individual was a site owner, their access is revoked upon license removal. Ensure at least one other active owner exists. Files remain intact unless explicitly deleted, and admins can reassign ownership via the Microsoft 365 admin center.
How does SharePoint differ from OneDrive?
OneDrive is for personal file storage and sharing, while SharePoint is designed for team collaboration. SharePoint offers advanced features like workflows, metadata, permissions tiers, and integrated apps—making it ideal for shared projects.
Conclusion
Creating a SharePoint site is more than a technical task—it’s an opportunity to redefine how your team works together. With intentional planning, smart structuring, and ongoing maintenance, your SharePoint site can become the backbone of efficient collaboration, reducing redundancy and increasing accountability. Don’t wait for chaos to set in. Build your site right the first time, empower your team with access and clarity, and watch productivity grow.


 浙公网安备
33010002000092号
浙公网安备
33010002000092号 浙B2-20120091-4
Comments
No comments yet. Why don't you start the discussion?