
Handwriting is more than just a way to communicate—it’s a reflection of personality, rhythm, and individuality. In an age dominated by standardized fonts, there's something deeply personal about seeing your own script rendered in digital form. Whether you're a designer, educator, or simply someone who loves the look of their penmanship, turning your handwriting into a custom font is both achievable and rewarding. With the right tools and a methodical approach, you can create a fully functional, reusable typeface that carries the authenticity of your hand.
Why Create a Custom Handwritten Font?
A personalized font isn’t just a novelty; it has practical and emotional value. It can be used in wedding invitations, branding materials, journaling apps, educational resources, or even as a signature style in digital communication. Teachers use them to make worksheets feel more familiar to students. Entrepreneurs incorporate them into logos for a human touch. And individuals preserve their writing long after pens are set down.
Creating a font also demystifies typography. You gain insight into how letters function across different contexts—spacing, kerning, ligatures—and develop a deeper appreciation for design details most people overlook.
“Your handwriting is a living artifact of identity. Digitizing it ensures it remains legible, usable, and timeless.” — Dr. Lena Torres, Typography Historian, Rhode Island School of Design
What You’ll Need to Get Started
Before diving into creation, gather the necessary tools. The good news? No expensive software or graphic tablet is required. Everything can be done with basic household items and free online platforms.
- A printer and blank paper (preferably with light grid lines)
- A black ink pen (fine-tip marker or ballpoint—consistent thickness works best)
- A scanner or smartphone with a high-resolution camera
- A computer with internet access
- Free font-generation software such as Calligraphr or MyScriptFont
Step-by-Step Process: From Paper to Font
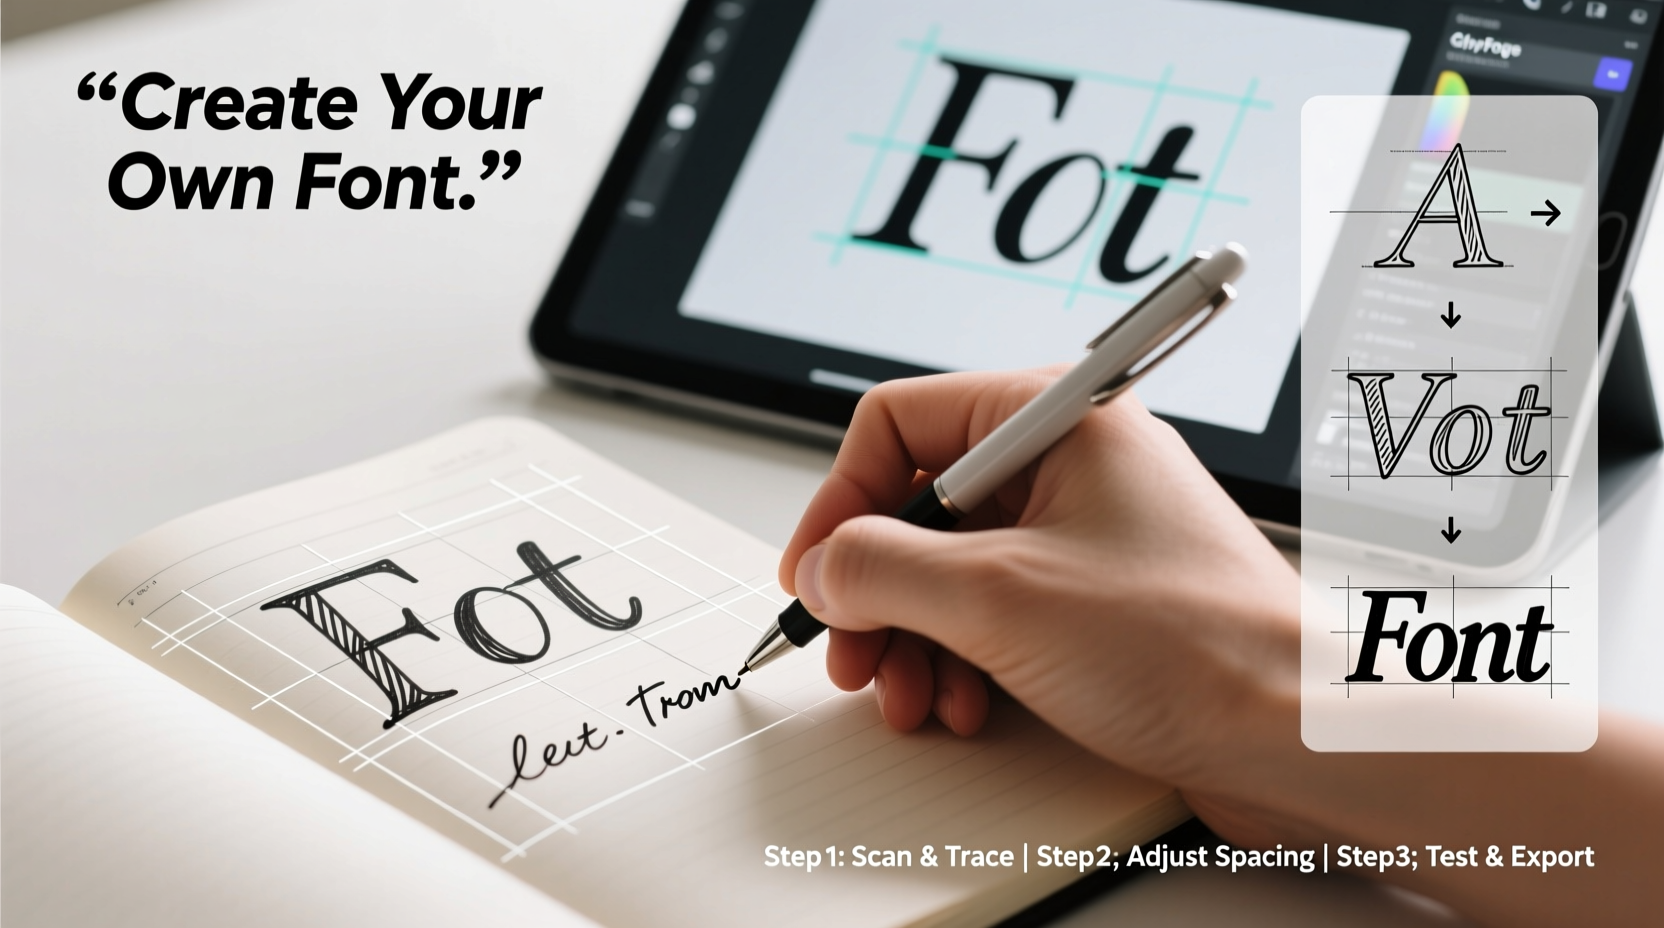
Follow this structured workflow to transform your handwriting into a downloadable font file compatible with Word, Photoshop, Canva, and other applications.
- Download a Font Template: Visit Calligraphr.com and create a free account. Download their printable template (PDF), which includes boxes for uppercase, lowercase, numbers, punctuation, and special characters.
- Print and Prepare Your Workspace: Use standard A4 or letter-sized paper. Place it on a flat, well-lit surface. Ensure your hand won’t smudge previous lines as you write.
- Write Neatly and Consistently: Fill in each character box with your natural handwriting. Avoid lifting the pen unnecessarily between connected letters if you write cursive. Write at a comfortable pace—don’t rush. Uniform pressure helps maintain stroke consistency.
- Scan or Photograph Your Sheet: For best results, scan at 300 DPI. If using a phone, take the photo directly overhead with no shadows or glare. Crop tightly around the page.
- Upload to Calligraphr: Log in to your account, start a new project, and upload your image. The platform will auto-detect each character based on the template grid.
- Map Characters Correctly: Review each detected glyph. Drag and drop corrections if a letter was misread. This step ensures 'b' doesn’t appear when you press 'd', for example.
- Generate and Download Your Font: Once all characters are verified, compile the font. Calligraphr allows free users to download in .ttf format (TrueType Font). Save it to your desktop.
- Install the Font on Your Device: On Windows, right-click the .ttf file and select “Install.” On macOS, double-click and click “Install Font” in Font Book. Restart any open applications like Word or Illustrator.
Refining Your Font: Beyond the Basics
Once installed, test your font by typing full sentences. You may notice uneven spacing, inconsistent sizing, or missing punctuation. These are normal in first drafts.
To refine further:
- Adjust kerning (space between specific letter pairs) manually in advanced editors like Glyphs or FontForge.
- Add alternate characters (like swash tails or flourishes) by uploading additional sheets labeled as alternates in Calligraphr.
- Incorporate ligatures (e.g., 'fi', 'fl') if your handwriting naturally connects them. Some platforms support this via extended templates.
For professional use—such as selling your font or using it in client work—consider upgrading to a paid plan. Paid versions often remove watermarks, allow commercial licensing, and support OpenType features.
Common Pitfalls and How to Avoid Them
| Do’s | Don’ts |
|---|---|
| Write slowly and deliberately for consistent form | Rush through characters, leading to erratic sizing |
| Use bold, dark ink for clear scanning | Use pencils or faint ink that scanners miss |
| Fill the entire character box without touching edges | Let letters overflow or cluster toward one side |
| Test the font in multiple programs after installation | Assume it works everywhere immediately |
| Save backups of your source files and generated fonts | Delete originals after one successful install |
Real Example: How Sarah Created Her Classroom Font
Sarah, a third-grade teacher in Portland, wanted her worksheets to feel more personal. She noticed students responded better to materials that looked “handmade.” Using the Calligraphr method, she spent one evening filling out the template with her looping cursive. She included smiley faces and stars as special characters.
After uploading and correcting three mismatched symbols, she downloaded the font and installed it on her school laptop. Now, every spelling quiz and homework reminder uses “Sarah’s Script.” Parents commented on how warm and inviting the materials felt. One student said, “It looks like Ms. Sarah wrote it just for me.”
The font also saved her hours. Instead of handwriting 25 copies of a note, she types once and prints. Her success inspired two colleagues to create their own.
Frequently Asked Questions
Can I create a font from cursive or connected handwriting?
Yes, but it requires careful planning. Use a template designed for connected scripts, or treat each letter as a standalone form while mimicking your natural flow. Fully joined text may not work across all software unless converted to outlines.
Is it legal to sell a font made from my handwriting?
Yes—your handwriting is yours. However, ensure you’re not replicating an existing copyrighted font style. Platforms like MyScriptFont and Calligraphr require you to certify originality before commercial distribution.
Will my font work on mobile devices?
Once installed on a device, yes. But mobile apps vary in font support. For broad compatibility, use your font in exported designs (PDFs, images) rather than expecting universal app integration.
Final Checklist Before Launch
- ✅ Completed template with all letters, numbers, and punctuation
- Double-check for skipped characters.
- ✅ High-contrast, well-lit scan or photo
- No shadows, blurriness, or skewed angles.
- ✅ Verified character mapping
- Each key outputs the correct glyph.
- ✅ Installed and tested in multiple applications
- Try Microsoft Word, Google Docs, Canva, Adobe Illustrator.
- ✅ Backed up source and font files
- Store in cloud storage or external drive.
Make Your Mark—Literally
Turning your handwriting into a font bridges the analog and digital worlds in a profoundly personal way. It preserves a piece of who you are and makes it usable in everyday life. The process takes patience and attention to detail, but the result—a font that speaks in your voice—is worth the effort.
Start small. Print the template tonight. Spend 20 minutes writing your alphabet. By tomorrow, you could have a working prototype. Share it with friends, use it in your next project, or pass it down as a digital heirloom. Your handwriting deserves more than fading ink on paper. Give it a permanent home in pixels and code.


 浙公网安备
33010002000092号
浙公网安备
33010002000092号 浙B2-20120091-4
Comments
No comments yet. Why don't you start the discussion?