
Laundry baskets are essential in every household, yet store-bought versions can be expensive, flimsy, or lack personal style. Creating your own fabric laundry basket is an affordable, sustainable, and rewarding project that allows you to customize size, color, and durability. With basic sewing skills and common household tools, you can build a long-lasting basket that withstands heavy use. This guide walks you through the entire process—from material selection to final stitching—ensuring your DIY basket is both functional and attractive.
Selecting the Right Materials
The strength and longevity of your laundry basket depend heavily on the materials used. Unlike decorative fabric projects, this one must endure weight, frequent handling, and regular washing. Choose fabrics and stabilizers that offer resilience without sacrificing flexibility.
Begin with two primary components: outer fabric and interfacing. The outer fabric determines appearance and surface texture. Medium-weight cotton canvas, denim, or upholstery fabric works best due to their natural durability. Avoid thin cotton or stretchy knits, which wear out quickly under load.
For structure, use heavyweight fusible interfacing such as Pellon 987F or Vlieseline H640. These stiff but sewable materials reinforce the fabric, preventing sagging when the basket is full. Some builders also insert a thin sheet of plastic canvas between fabric layers for added rigidity, especially along the base.
Essential Tools and Supplies Checklist
- Measuring tape or ruler
- Scissors or rotary cutter
- Pins or fabric clips
- Sewing machine with heavy-duty needle (size 90/14 or 100/16)
- Thread (polyester or heavy-duty cotton-wrapped polyester)
- Fusible interfacing (heavyweight)
- Iron and ironing board
- Chalk or fabric marker
- Two coordinating fabric pieces (outer and lining)
Design and Measurements
Before cutting, decide on the basket’s dimensions. A standard laundry basket measures approximately 14 inches wide, 12 inches deep, and 10 inches high. Adjust based on your space and usage needs—for example, a taller basket saves floor space; a wider one accommodates bulky items like towels.
The basket consists of five pattern pieces: one base, two side panels, and two end panels. All are rectangular. Add a ½-inch seam allowance to each edge. For a 14” x 12” x 10” basket:
| Panel | Finished Size | Cut Size (with seam allowance) |
|---|---|---|
| Base | 14\" × 12\" | 15\" × 13\" |
| Sides (×2) | 12\" × 10\" | 13\" × 10.5\" |
| Ends (×2) | 14\" × 10\" | 15\" × 10.5\" |
If you're making a lined basket (recommended for durability and aesthetics), cut identical pieces from both outer fabric and lining fabric. Interface only the outer fabric pieces—this keeps the lining soft while maintaining structural integrity.
“Using double-layered fabric with proper interfacing can increase a fabric container’s load capacity by up to 70%.” — Dr. Lena Torres, Textile Engineer, Sustainable Home Goods Institute
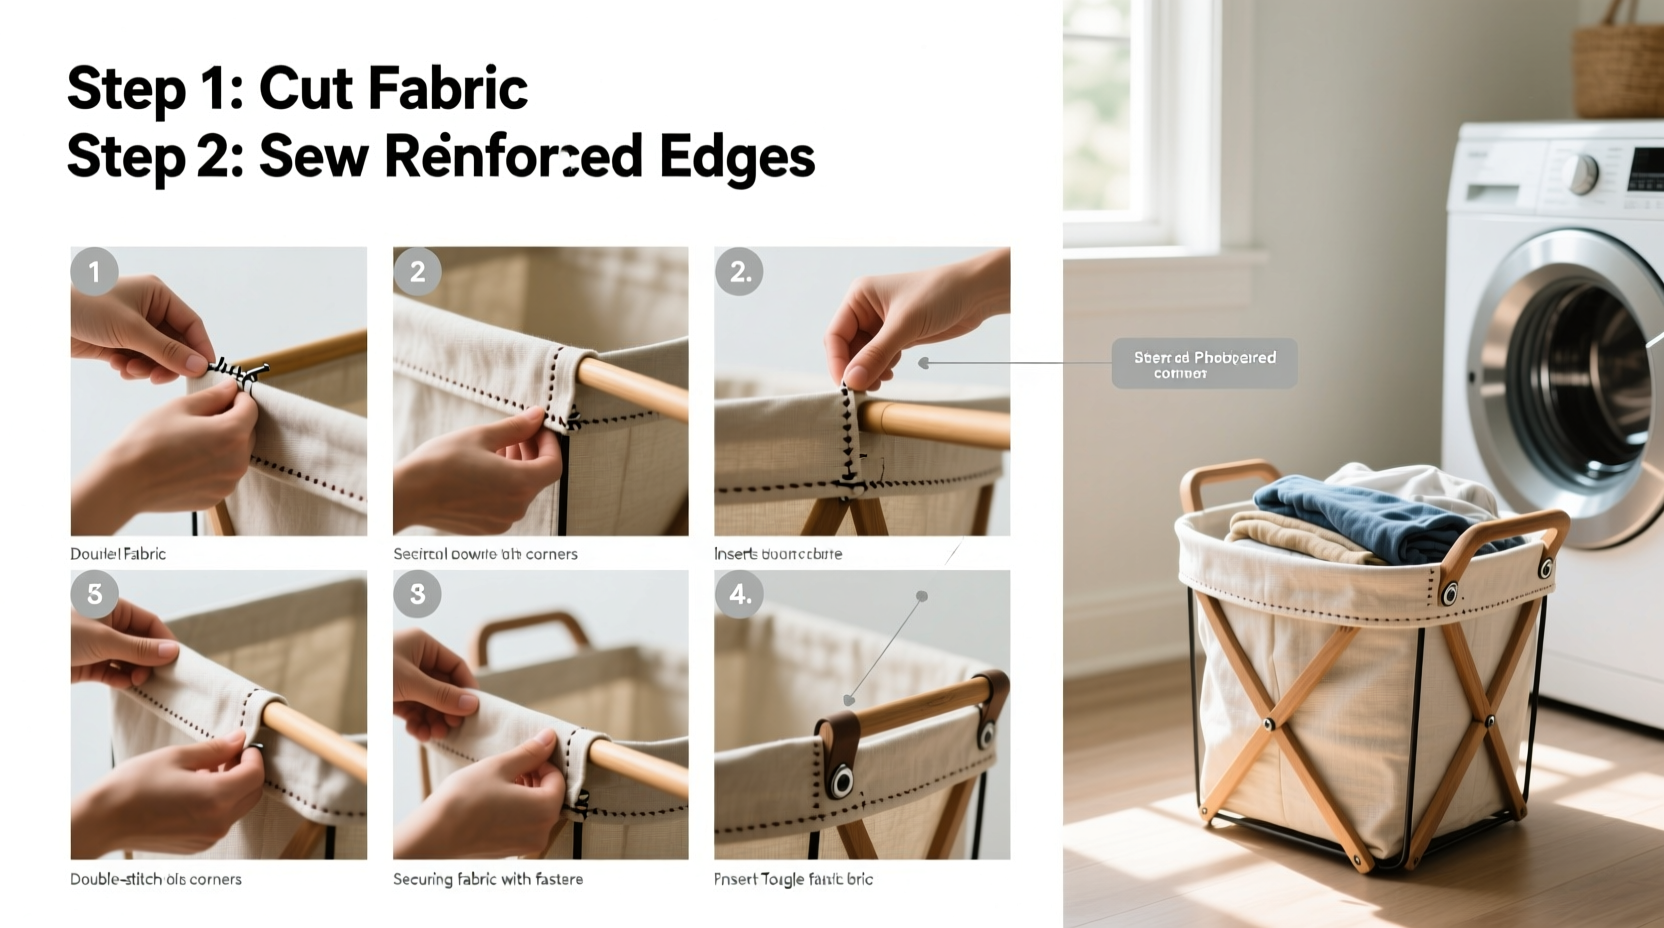
Step-by-Step Construction Process
Follow these steps carefully to assemble a professional-quality laundry basket.
- Apply interfacing: Iron the fusible side of the interfacing onto the wrong side of each outer fabric piece—base, sides, and ends. Use a dry iron on medium-high heat, pressing firmly for 10–15 seconds per section.
- Prepare side and end panels: Fold the top edge of each panel (both outer and lining) down ½ inch to create a clean hem. Press with an iron, then fold again ½ inch and stitch along the inner edge to secure. Repeat for all four panels.
- Sew the outer shell: Place one side panel right side up. Attach an end panel at a right angle, aligning raw edges and pinning securely. Sew along the ½-inch seam line. Continue around until the four vertical panels form a box, leaving the bottom open. Set aside.
- Sew the lining shell: Repeat the same process with the lining fabric pieces. Do not attach the lining base yet.
- Attach the base: Pin the outer base to the bottom of the outer shell, right sides together. Sew around all four edges. Repeat with the lining base and lining shell.
- Join outer and lining: Turn the outer shell upside down. Place the lining shell inside it, right sides facing each other. Align the top edges and pin thoroughly. Sew all the way around the top rim.
- Turn and finish: Pull the entire basket through the gap left in the lining (if you didn’t close it). Push the lining into the outer shell, creating a hidden interior pocket. Hand-stitch or machine-stitch the opening closed. Lightly press the top edge for a crisp finish.
Enhancements and Real-World Application
Jamila, a homemaker from Portland, wanted a stylish yet durable solution for her children’s overflowing toy and laundry bins. After trying several cheap plastic baskets that cracked within months, she built three fabric laundry baskets using leftover outdoor canvas and iron-on interfacing. She customized each with contrasting linings and reinforced corner gussets.
Two years later, they remain in daily use. “I was skeptical about fabric holding up,” she said, “but I’ve washed them by hand when needed, and they still look great. My kids even recognize their favorite colors.”
To improve functionality, consider adding handles. Cut two 3” x 12” fabric strips, fold lengthwise, and press. Open, fold edges toward center, then fold again and stitch along both long edges to create strong straps. Attach one handle near the top of each opposite side panel before assembling the shell.
Another upgrade is a snap or tie closure. Sew a button or snap to the outside of one end and a loop or corresponding snap to the other. This keeps contents covered and maintains shape during transport.
Do’s and Don’ts of DIY Fabric Baskets
| Do | Don’t |
|---|---|
| Use heavyweight thread and tight stitch length (2.5 mm) | Use lightweight quilting cotton without reinforcement |
| Pre-wash fabric to avoid post-project shrinkage | Skimp on interfacing to save time |
| Press seams flat for cleaner assembly | Wash the finished basket in a machine unless fabric permits |
| Add bar tacks at corners for stress resistance | Overload beyond intended capacity |
Frequently Asked Questions
Can I wash my DIY fabric laundry basket?
Yes, but with caution. If made with pre-washed, colorfast fabrics and strong construction, spot cleaning or gentle hand washing is safe. Avoid machine washing unless absolutely necessary, as agitation may weaken seams over time. Always air dry flat.
How long does it take to make one basket?
For a beginner, expect 3–4 hours including cutting, fusing, and sewing. Experienced sewers can complete one in 1.5 to 2 hours. Preparation (like ironing interfacing) takes longer than actual stitching.
Can I make a collapsible version?
Absolutely. Omit the rigid interfacing and use double-layered canvas with minimal stabilization. This creates a flexible basket that folds flat when not in use—ideal for small apartments or travel.
Final Thoughts and Call to Action
Building a sturdy DIY fabric laundry basket is more than a craft—it's a practical investment in your home’s organization and sustainability. By choosing quality materials and precise techniques, you create a product that outperforms most store-bought alternatives. Whether you're sewing for utility, style, or cost savings, this project proves that handmade can be both beautiful and resilient.


 浙公网安备
33010002000092号
浙公网安备
33010002000092号 浙B2-20120091-4
Comments
No comments yet. Why don't you start the discussion?