
Managing user accounts is a fundamental part of maintaining a secure and organized Windows 10 system. Whether you're setting up a computer for family members, employees, or guest users, creating separate accounts ensures privacy, personalized settings, and controlled access. This guide walks through the entire process—from account creation to advanced customization—so you can tailor each user experience efficiently and securely.
Why Separate User Accounts Matter
Each user account in Windows 10 operates independently, with its own desktop, documents, app preferences, and security settings. This separation prevents accidental changes to another user’s files and allows administrators to enforce restrictions where necessary. For households with children or shared office environments, individual accounts are essential for both functionality and data protection.
“User isolation is one of the most effective ways to reduce system-wide risks from malware or unauthorized changes.” — David Lin, IT Security Consultant
How to Create a New User Account
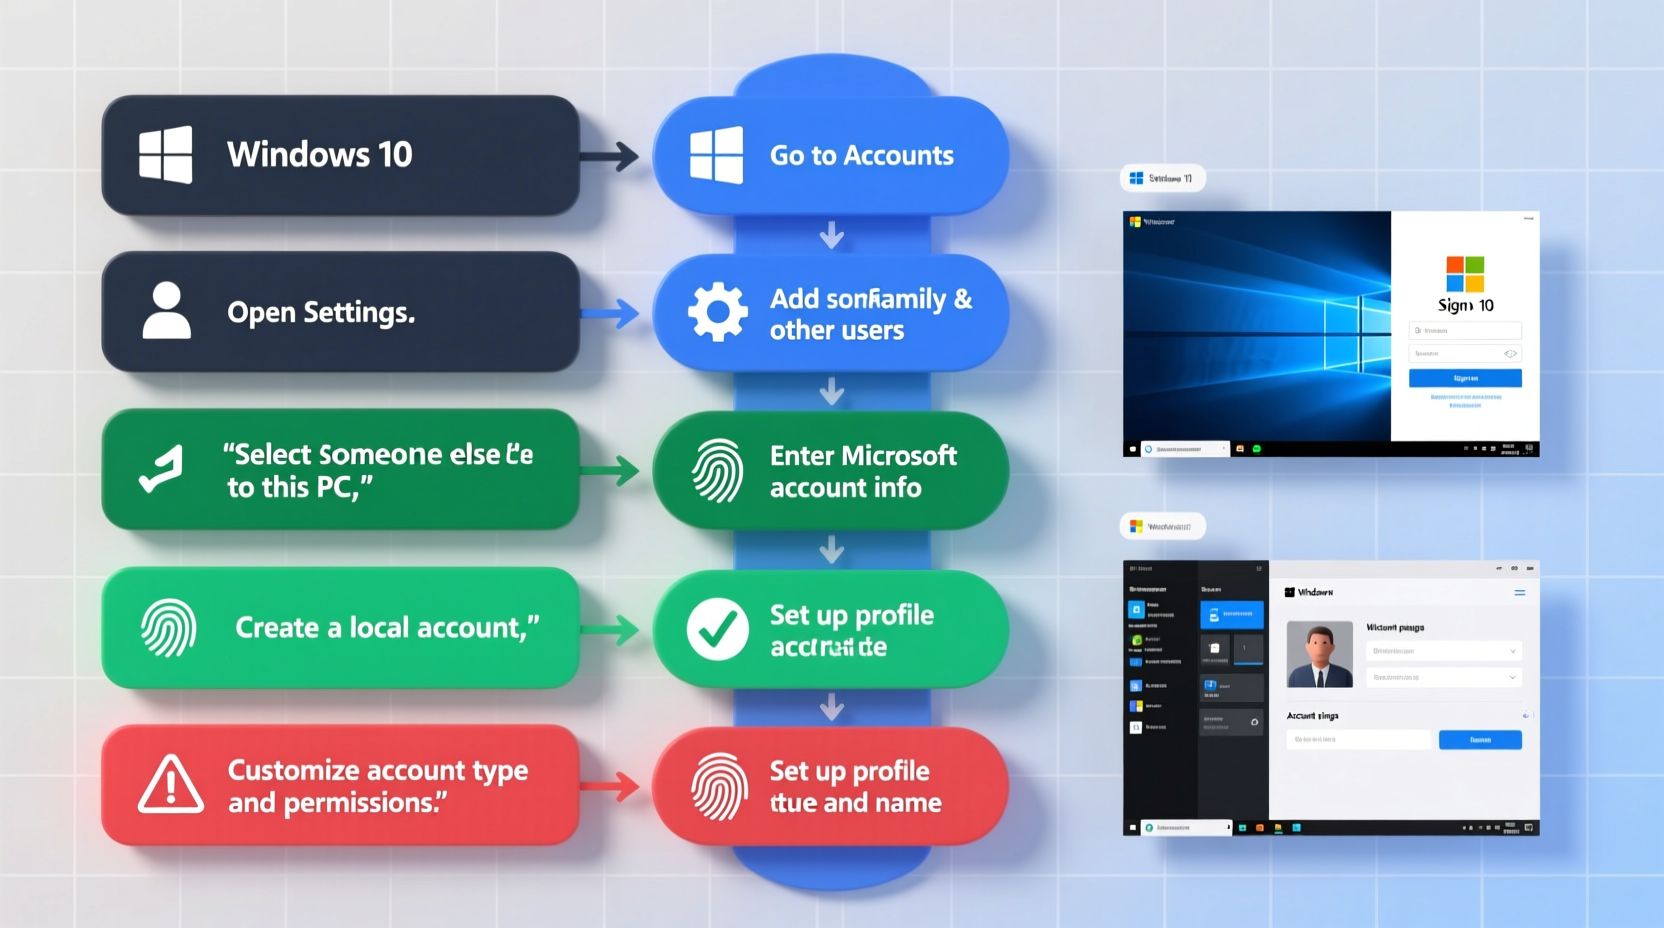
Creating a new user account in Windows 10 is straightforward and can be done through multiple methods. The recommended approach uses the Settings app for simplicity and clarity.
- Click the Start menu, then select Settings (gear icon).
- Navigate to Accounts > Family & other users.
- Under the “Other users” section, click Add someone else to this PC.
- A Microsoft account prompt will appear. If the user has one, enter their email address. To create a local account instead, click I don’t have this person’s sign-in information.
- Select Add a user without a Microsoft account.
- Enter a username, password (optional), password hint, and click Next.
The new account will now appear under “Other users.” You can switch to it via the login screen or assign specific privileges.
Customizing Account Type and Permissions
After creating an account, assigning the correct account type is crucial. Windows 10 supports two primary types: Standard and Administrator.
| Account Type | Permissions | Recommended For |
|---|---|---|
| Standard | Limited access; cannot install software or modify system settings | Children, guests, daily-use adults |
| Administrator | Full control over system settings, software installation, and user management | IT staff, primary users managing the device |
To change the account type:
- Go to Settings > Accounts > Family & other users.
- Select the user account, then click Change account type.
- Choose either Standard User or Administrator, then confirm.
“Defaulting to standard accounts reduces the risk of accidental system damage or malware gaining elevated privileges.” — Sarah Kim, Cybersecurity Analyst
Personalizing the User Experience
Once an account exists, customization enhances usability and comfort. Each user can personalize their environment without affecting others.
- Desktop background: Right-click the desktop > Personalize > choose a background image.
- Themes and colors: In Settings > Personalization, users can adjust accent colors, sounds, and mouse pointers.
- Start layout: Pin frequently used apps and resize tiles for easier access.
- Language and region: Found under Settings > Time & Language, these settings affect date formats, keyboard layouts, and display language.
Administrators can also pre-configure default settings for new users using the CopyProfile feature during deployment, though this requires advanced setup via sysprep.
Mini Case Study: Setting Up a Family Computer
Mark, a father of two, purchased a new laptop for his household. He created three accounts: one administrator (his own), and two standard accounts for his children, ages 10 and 14. He customized each child’s desktop with age-appropriate wallpapers and pinned educational apps. For added safety, he enabled parental controls through Microsoft Family Safety, which allowed him to monitor screen time and block inappropriate websites. By separating accounts, Mark ensured that his work documents remained private while giving his kids a personalized, safe computing space.
Advanced Customization Using Local Users and Groups (Pro Editions)
For users on Windows 10 Pro, Enterprise, or Education editions, deeper control is available through the Local Users and Groups manager—a tool not present in Home edition.
To access it:
- Press Windows + R, type
lusrmgr.msc, and press Enter. - In the console, navigate to Users to view all local accounts.
- Right-click any user to rename, set password policies, or assign group memberships.
This method allows granular control, such as disabling password expiration or scripting batch account setups in business environments.
Security Best Practices for User Accounts
While creating accounts is simple, securing them is critical. Follow these best practices to protect your system:
- Never share administrator credentials among multiple users.
- Enable password protection on all accounts, even local ones.
- Use Windows Hello (fingerprint, PIN, facial recognition) for faster, secure logins.
- Regularly review inactive accounts and remove them to minimize attack surface.
- Apply automatic updates to ensure login mechanisms remain secure against known exploits.
Checklist: Creating and Securing a New User Account
- ☐ Open Settings > Accounts > Family & other users
- ☐ Click \"Add someone else to this PC\"
- ☐ Choose between Microsoft or local account
- ☐ Set a strong password and hint
- ☐ Assign appropriate account type (Standard/Administrator)
- ☐ Customize desktop, themes, and privacy settings
- ☐ Enable parental controls if needed
- ☐ Review account periodically for unused or outdated entries
Frequently Asked Questions
Can I convert a local account to a Microsoft account later?
Yes. Go to Settings > Accounts > Your info, and click “Sign in with a Microsoft account instead.” Follow the prompts to link the account using an email and password.
What happens to a user’s files when the account is deleted?
Deleting a user account removes the profile folder (including Desktop, Documents, Downloads, etc.) unless manually backed up beforehand. Always confirm file backup before removal.
Is it possible to hide a user account from the login screen?
Yes, but only via Registry Editor. Navigate to HKEY_LOCAL_MACHINE\\SOFTWARE\\Microsoft\\Windows NT\\CurrentVersion\\Winlogon\\SpecialAccounts\\UserList, create a new DWORD value named after the username, and set it to 0. This is recommended only for advanced users due to potential system risks.
Final Thoughts and Action Steps
Creating and customizing user accounts in Windows 10 is more than a technical task—it's a step toward better digital hygiene and personalization. Whether you're managing a home PC or deploying devices in a small business, taking the time to set up proper accounts pays off in security, organization, and user satisfaction.
Start today by auditing your current user setup. Remove unused accounts, upgrade local profiles with strong passwords, and personalize environments to match how each person uses the machine. Small adjustments now can prevent major issues down the road.


 浙公网安备
33010002000092号
浙公网安备
33010002000092号 浙B2-20120091-4
Comments
No comments yet. Why don't you start the discussion?