
Creating professional-looking videos no longer requires a studio, a crew, or thousands of dollars in equipment. With the right approach and tools already available on most computers, anyone can produce polished, engaging videos from the comfort of their home office. Whether you're building a YouTube channel, producing training content for your team, or launching a personal brand, mastering video creation is one of the most valuable digital skills today.
The key isn't having the latest camera—it's understanding the process. From planning your message to publishing a final cut that looks clean and credible, each step contributes to the overall professionalism of your video. This guide walks you through every phase with practical, actionable advice so you can go from idea to finished product efficiently and confidently.
Plan Your Video with Purpose
Before hitting record, define the goal of your video. Are you educating? Demonstrating a product? Sharing a story? A clear objective shapes everything—from script structure to editing style. Start by writing down three things: your audience, your message, and your desired outcome.
Next, create a simple script or outline. Even if you prefer speaking naturally, having bullet points ensures you stay on track and avoid rambling. Break your content into segments: introduction, main points, and conclusion. This structure keeps viewers engaged and improves retention.
Set Up Your Recording Environment
Your surroundings matter more than you think. Viewers notice clutter, poor lighting, and echo—even if they don’t consciously realize it. Optimize your space with these fundamentals:
- Lighting: Face a natural light source like a window during daytime. Avoid backlighting (e.g., sitting with your back to a bright window). If natural light isn’t enough, use a soft desk lamp or an affordable ring light.
- Background: Keep it tidy and neutral. A plain wall, bookshelf, or virtual background works well. Avoid busy patterns or distracting movement behind you.
- Audio: Use headphones with a built-in microphone or a USB mic for clearer sound. Close windows, silence notifications, and choose a quiet room to minimize background noise.
“Good audio is more important than high-resolution video. If people can’t hear you clearly, they’ll click away.” — David Tran, Video Producer & Content Strategist
Choose the Right Tools for Recording and Editing
You don’t need premium software to make professional videos. Most modern computers come with capable tools, and many excellent free options exist. Here’s a comparison of popular choices:
| Software | Best For | Platform | Cost |
|---|---|---|---|
| OBS Studio | Screen recording + live streaming | Windows, Mac, Linux | Free |
| Shotcut | Beginner-friendly editing | Windows, Mac, Linux | Free |
| DaVinci Resolve | Professional-grade editing & color grading | Windows, Mac, Linux | Free (Studio version paid) |
| iMovie | Mac users starting out | Mac, iOS | Free |
| Camtasia | Tutorials and screen-based videos | Windows, Mac | Paid (free trial) |
If you’re recording your screen (for tutorials or presentations), OBS Studio offers powerful features like scene switching and audio mixing. For webcam-based vlogs or talking-head videos, use your computer’s built-in camera with QuickTime (Mac) or Camera app (Windows), or opt for higher quality with Logitech Capture or ManyCam.
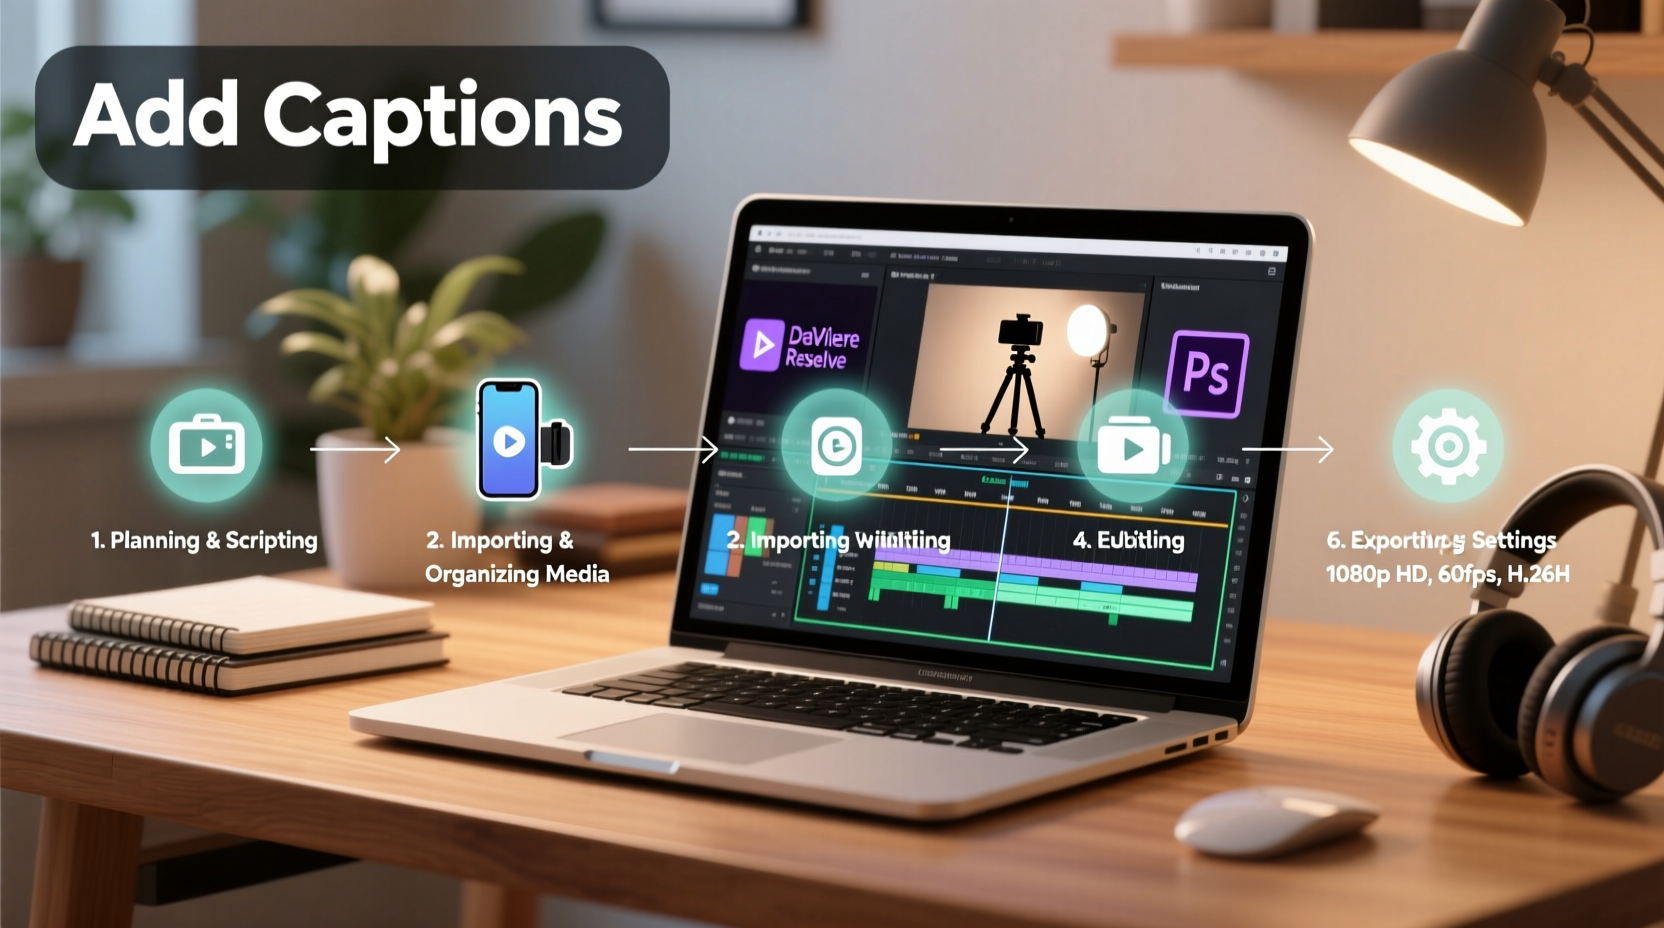
Follow This Step-by-Step Production Process
Consistency leads to quality. Follow this proven sequence to ensure nothing slips through the cracks:
- Write a script or outline – Clarify your key points and timing.
- Rehearse aloud – Practice delivery to reduce mistakes during recording.
- Set up your environment – Adjust lighting, close noisy apps, and position your camera at eye level.
- Record multiple takes – Do 2–3 versions. You’ll often find the best performance in the second or third take.
- Transfer files to editing software – Organize clips, audio, and images in a dedicated project folder.
- Edit for pace and clarity – Cut long pauses, ums, and repetitions. Add text overlays for emphasis.
- Add background music (optional) – Use royalty-free tracks from sites like Pixabay or Free Music Archive at low volume.
- Export in HD (1080p) – Choose MP4 format with H.264 encoding for broad compatibility.
- Review on multiple devices – Watch on phone, tablet, and laptop to check quality and sync.
- Publish and promote – Upload to YouTube, LinkedIn, or internal platforms with a strong title and description.
Real Example: How Sarah Built Her Online Course
Sarah, a financial advisor, wanted to launch a budgeting course but didn’t have video experience. She used her MacBook, a $30 USB microphone, and natural light from her living room window. Using iMovie, she recorded short 5–7 minute lessons based on a detailed script.
She filmed all content over a weekend, edited one module per evening, and added simple captions and transitions. After uploading to a private Vimeo link for beta students, she received feedback praising the video’s clarity and production quality. Within two months, her course generated its first $2,000 in sales—all from videos made entirely on her computer.
Sarah’s success wasn’t due to fancy gear. It came from preparation, consistency, and attention to detail at every stage.
Common Mistakes to Avoid
Even experienced creators fall into traps that hurt video quality. Steer clear of these:
- Skipping the script – Leads to disorganized content and longer editing time.
- Ignoring audio quality – Poor sound makes even HD video feel unprofessional.
- Overloading visuals – Too many effects, transitions, or text distracts from your message.
- Not exporting properly – Low resolution or wrong format can cause playback issues.
- Forgetting subtitles – Over 80% of social media videos are watched without sound.
Essential Video Creation Checklist
Use this checklist before every recording session to ensure a smooth workflow:
- ☐ Define the video’s purpose and target audience
- ☐ Write a script or structured outline
- ☐ Charge your devices and free up disk space
- ☐ Test microphone and camera input
- ☐ Optimize lighting and background
- ☐ Close unnecessary apps to prevent lag
- ☐ Record a test clip and review audio/video
- ☐ Save raw footage in a labeled folder
- ☐ Edit for clarity, not perfection
- ☐ Export in 1080p MP4 and preview before sharing
FAQ
Can I make professional videos using just my laptop’s built-in camera?
Yes. While external webcams offer better resolution, modern laptop cameras (especially on MacBooks and premium Windows laptops) capture decent 1080p video. The difference lies in setup—good lighting and steady framing compensate for hardware limitations.
How long should my videos be?
It depends on the platform and purpose. Educational content averages 5–12 minutes. Social media clips perform best under 60 seconds. Always prioritize value over length—end when your point is made.
Do I need to show my face in every video?
No. Screen recordings, slideshows, or voice-over animations work well for tutorials or data-driven topics. Showing your face builds trust, but it’s not mandatory for professionalism.
Final Thoughts
Creating professional videos on your computer is accessible, efficient, and increasingly essential. You don’t need a film degree or a studio setup—just a clear message, basic tools, and a methodical approach. By focusing on planning, audio quality, and clean editing, you can produce content that informs, engages, and reflects well on your personal or brand identity.


 浙公网安备
33010002000092号
浙公网安备
33010002000092号 浙B2-20120091-4
Comments
No comments yet. Why don't you start the discussion?