
Photo collages transform scattered memories into cohesive visual stories. Whether you're designing a birthday tribute, a travel recap, or a social media post, a well-crafted collage can communicate emotion, chronology, and creativity in a single frame. While smartphone apps offer quick fixes, your computer provides superior control, precision, and access to powerful software. This guide walks through the entire process—from selecting images to exporting high-quality results—using accessible tools and design principles that deliver professional-looking outcomes.
Choose the Right Software for Your Skill Level
The foundation of a great collage is the right editing platform. Unlike mobile apps, desktop software allows for multi-layer workflows, higher resolution handling, and advanced alignment tools. Consider your experience and goals when selecting a program.
| Software | Skill Level | Best For | Cost |
|---|---|---|---|
| Canva (Desktop) | Beginner | Social media, quick layouts | Free + Pro ($12.99/mo) |
| Pixlr X or E | Beginner to Intermediate | Flexible templates, layer support | Free + Premium |
| GIMP | Intermediate | Advanced editing, full customization | Free |
| Adobe Photoshop | Intermediate to Advanced | Pixel-perfect designs, masking, effects | $20.99/mo |
For beginners, Canva offers drag-and-drop simplicity with hundreds of pre-designed collage grids. GIMP and Photoshop are ideal if you want full creative control over spacing, blending modes, and typography.
Curate and Prepare Your Photos
A visually striking collage starts long before opening software. Selecting the right images ensures harmony in tone, color, and storytelling. Avoid tossing in every photo from an event—curation enhances impact.
- Define the theme: Is this a romantic anniversary? A family reunion? A vacation highlight reel? Choose a narrative to guide selection.
- Limited palette: Stick to 3–7 photos. Too many images create visual clutter.
- Vary composition: Mix close-ups, wide shots, and candid moments to add depth.
- Check resolution: Use images at least 150 DPI for print, 72 DPI for digital. Blurry or pixelated photos ruin even the best layout.
- Pre-edit key images: Adjust brightness, contrast, and crop consistently across photos before importing.
If your photos vary in orientation, consider standardizing them. For example, convert all landscape images to portrait by adding subtle matte borders (letterboxing). This creates uniformity without cropping out critical details.
Design Principles for Balanced Layouts
A collage isn’t just a cluster of photos—it’s a composition. Apply basic design rules to elevate your work from amateur to polished.
- Rule of thirds: Position focal points where grid lines intersect. In a 3x3 grid collage, place the most important image in one of the four intersection zones.
- Visual hierarchy: Make one image dominant—larger size or central placement—to anchor the design.
- Color harmony: Use photos with similar tones (e.g., warm sunsets or cool beach scenes) to create cohesion. If colors clash, apply a subtle filter or overlay (like sepia or desaturation) across all images.
- Whitespace: Leave breathing room between photos. Overcrowding distracts the eye.
- Alignment: Use grid guides or snap-to features to align edges and centers precisely.
“Great collages don’t just show multiple photos—they tell a story through rhythm, balance, and emotional pacing.” — Daniel Reyes, Digital Media Designer
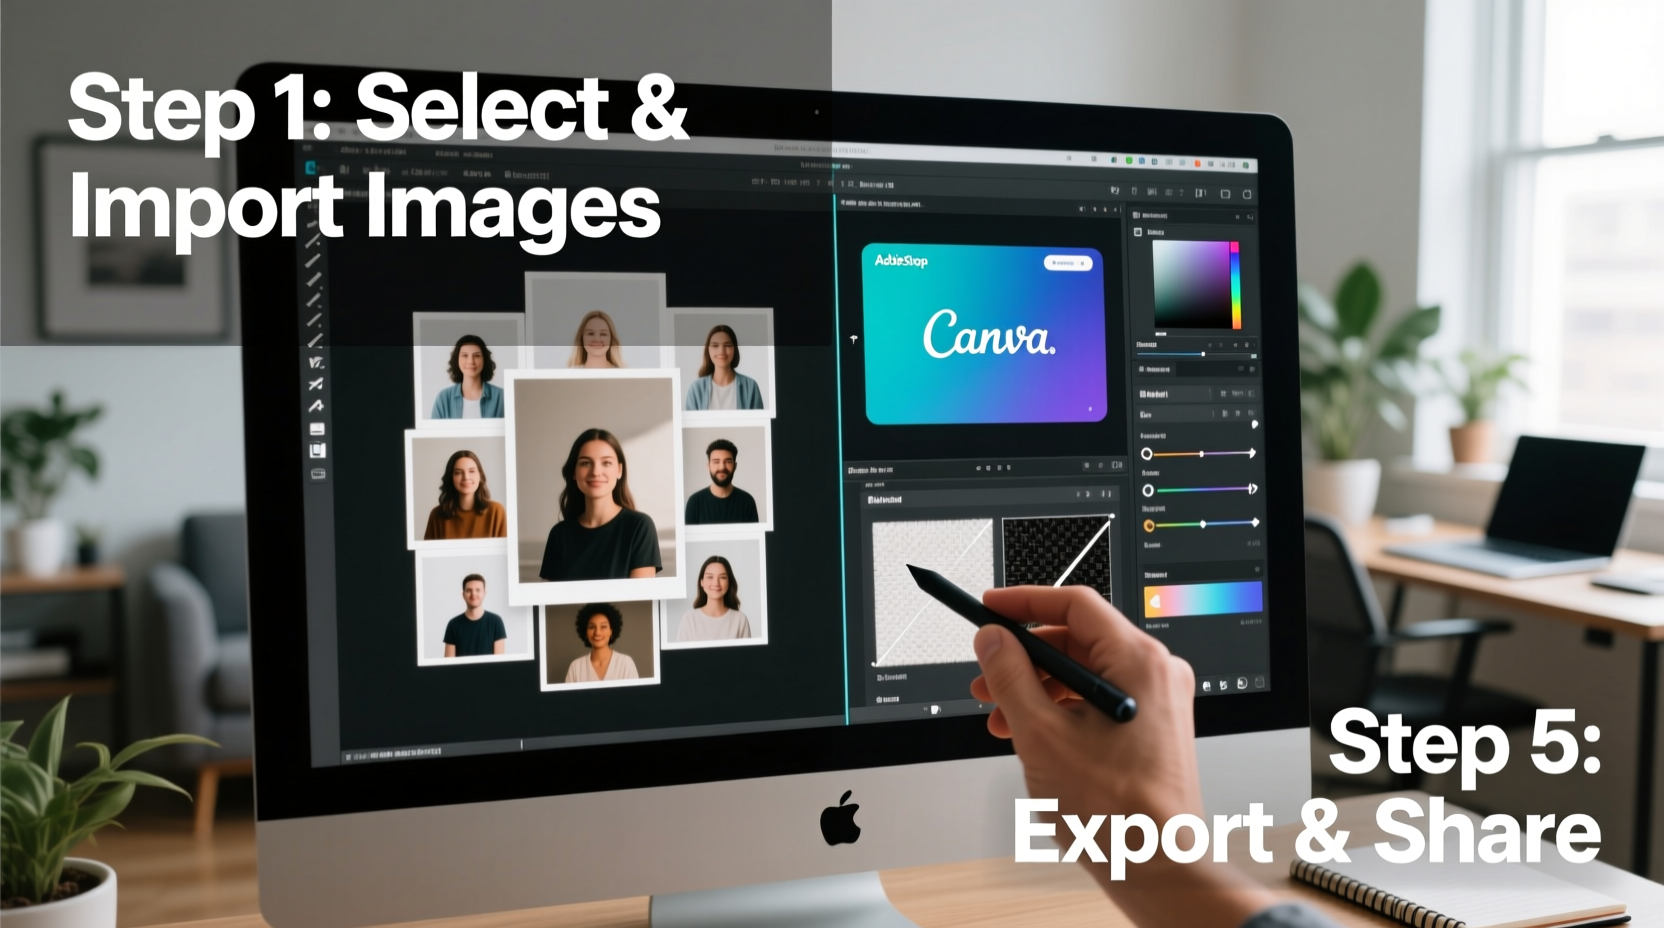
Step-by-Step Creation Process
Follow this timeline to build a compelling collage efficiently. The example uses Canva, but the logic applies to any tool.
- Open your software and create a new project. Choose dimensions based on use: 1080x1080 px for Instagram, 8x10 inches for printing.
- Select a template under “Collage” or “Grid Layout.” Start with a structured grid (e.g., 2x2, 3x3) or a freeform asymmetric design.
- Upload your curated photos and drag them into placeholders. Replace default images one by one.
- Adjust spacing and borders. Set consistent margins (e.g., 10–20 px) between images. Add thin white or colored borders for definition.
- Enhance with text or shapes. Overlay a title (“Paris 2024”) in a clean font. Use semi-transparent rectangles behind text for readability.
- Apply global effects. Add a light vignette, subtle shadow under each photo, or a monochrome filter for unity.
- Zoom out and review. View the collage at 50% zoom to assess overall balance. Adjust sizes or swap images if needed.
- Export in the correct format: Save as PNG for transparency and quality, JPG for smaller file size. For print, use PDF with CMYK color profile if available.
Real Example: Creating a Graduation Memory Board
Sophie wanted to surprise her sister with a digital collage of her college journey. She started by selecting six photos: freshman year dorm move-in, a study group session, spring concert, graduation ceremony, cap toss, and a hug with parents. Using Canva on her laptop, she chose a diagonal split layout with the cap-toss photo enlarged in the center. She applied a warm filter to unify lighting differences and added the text “Proud of You, Maya!” in modern serif font at the bottom. After downloading the PNG, she printed it on matte photo paper and framed it. The result felt personal, balanced, and emotionally resonant—far beyond what a phone app could produce quickly.
Common Mistakes and How to Avoid Them
Even experienced creators fall into traps that diminish visual impact. Recognize these pitfalls early.
- Mismatched resolutions: Mixing low-res phone snaps with high-quality DSLR shots creates uneven sharpness. Resize all to match.
- Over-decoration: Too many stickers, frames, or fonts distract from the photos. Limit decorative elements to one per collage.
- Ignoring aspect ratios: Stretching a square photo into a rectangular frame distorts faces. Maintain proportions or use background fills.
- Skipping proofing: Never finalize a collage without viewing it on the intended device (phone screen, print, etc.). Colors shift across displays.
Frequently Asked Questions
Can I make a collage for free on my computer?
Yes. Tools like Canva, Pixlr, and GIMP offer robust collage features at no cost. While premium versions unlock more templates and assets, the free tiers are sufficient for most personal projects.
How do I print a photo collage without losing quality?
Ensure your canvas size matches the print dimensions (e.g., 8x10 inches at 300 DPI). Export as PNG or high-quality JPG. Use professional labs like Shutterfly or local photo services that accept digital files directly.
What’s the best way to arrange photos chronologically?
Use a zig-zag or timeline grid layout. Place images left-to-right or top-to-bottom in sequence. Add small date labels beneath each photo in a muted font to reinforce the timeline without overwhelming the visuals.
Final Checklist Before Exporting
- ✅ All photos are high-resolution and properly cropped
- No blurry or stretched images.
- ✅ Consistent color tone or filter applied
- Photos feel like they belong together.
- ✅ Text is legible and minimal
- Font contrasts with background; message is clear.
- ✅ Spacing is uniform
- Gutters between images are equal.
- ✅ File saved in correct format and size
- Digital: JPG/PNG; Print: PDF or PNG at 300 DPI.
Start Creating With Confidence
Creating a stunning photo collage on your computer doesn’t require artistic training—just intention, organization, and the right tools. By curating thoughtfully, applying simple design rules, and following a structured workflow, you can turn everyday snapshots into meaningful keepsakes. Whether shared online or printed on your wall, a well-made collage preserves more than images; it captures context, connection, and time. Open your preferred editor today, gather your favorite photos, and begin building something worth remembering.


 浙公网安备
33010002000092号
浙公网安备
33010002000092号 浙B2-20120091-4
Comments
No comments yet. Why don't you start the discussion?