
Creating elegant, eye-catching nail art doesn’t require a professional salon visit. With the growing popularity of nail decals—especially delicate bow designs—you can achieve intricate, polished looks from your own bathroom or kitchen table. Bow decals offer versatility, charm, and a touch of femininity that complements both minimalist and bold styles. Whether you're preparing for a special occasion or simply treating yourself to a creative self-care session, mastering the use of bow decals opens up endless design possibilities.
Why Bow Decals Are a Game-Changer in Nail Art
Bow decals have surged in popularity due to their ability to instantly elevate a simple manicure. Unlike hand-painted bows, which demand steady hands and time, decals deliver precision and consistency with minimal effort. They come in various sizes, colors, and finishes—matte, glossy, metallic, holographic—making them ideal for seasonal themes, holidays, or everyday wear.
These adhesive designs are typically made from thin vinyl or water-slide paper, allowing them to conform smoothly to the natural curve of your nails. When applied correctly, they appear seamless and durable, lasting as long as your base polish.
Essential Tools and Materials You’ll Need
Before diving into application, gather everything you need to ensure a smooth, mess-free process. Having all tools within reach prevents interruptions and smudging once you begin.
- Base coat (preferably ridge-filling)
- Nail polish (your chosen color(s))
- Top coat (quick-dry, non-sticky formula recommended)
- Bow nail decals (single sheet or mixed pack)
- Nail file and buffer
- Cuticle pusher and nipper
- Orange stick or tweezers
- Isopropyl alcohol (70%) or nail prep solution
- Cotton pads or swabs
- Lint-free wipe or microfiber cloth
“Decals are one of the fastest ways to achieve salon-quality detail without advanced painting skills.” — Lila Nguyen, Nail Artist & Educator
Step-by-Step Guide to Applying Bow Decals
Follow this detailed timeline to apply bow decals like a pro. Each stage builds on the last to ensure durability, alignment, and a clean finish.
- Prep Your Nails: Remove old polish, shape nails with a file, and gently push back cuticles. Buff the surface lightly to remove ridges and create a smooth canvas. Wipe each nail with isopropyl alcohol to eliminate oils and residue.
- Apply Base Coat: Apply a thin, even layer of base coat. This protects your nails and ensures better polish adhesion. Let it dry completely—about 2–3 minutes.
- Paint Your Base Color: Apply 1–2 coats of your chosen polish. Allow each layer to dry fully before adding the next. For best results, cap the free edge of the nail to prevent chipping.
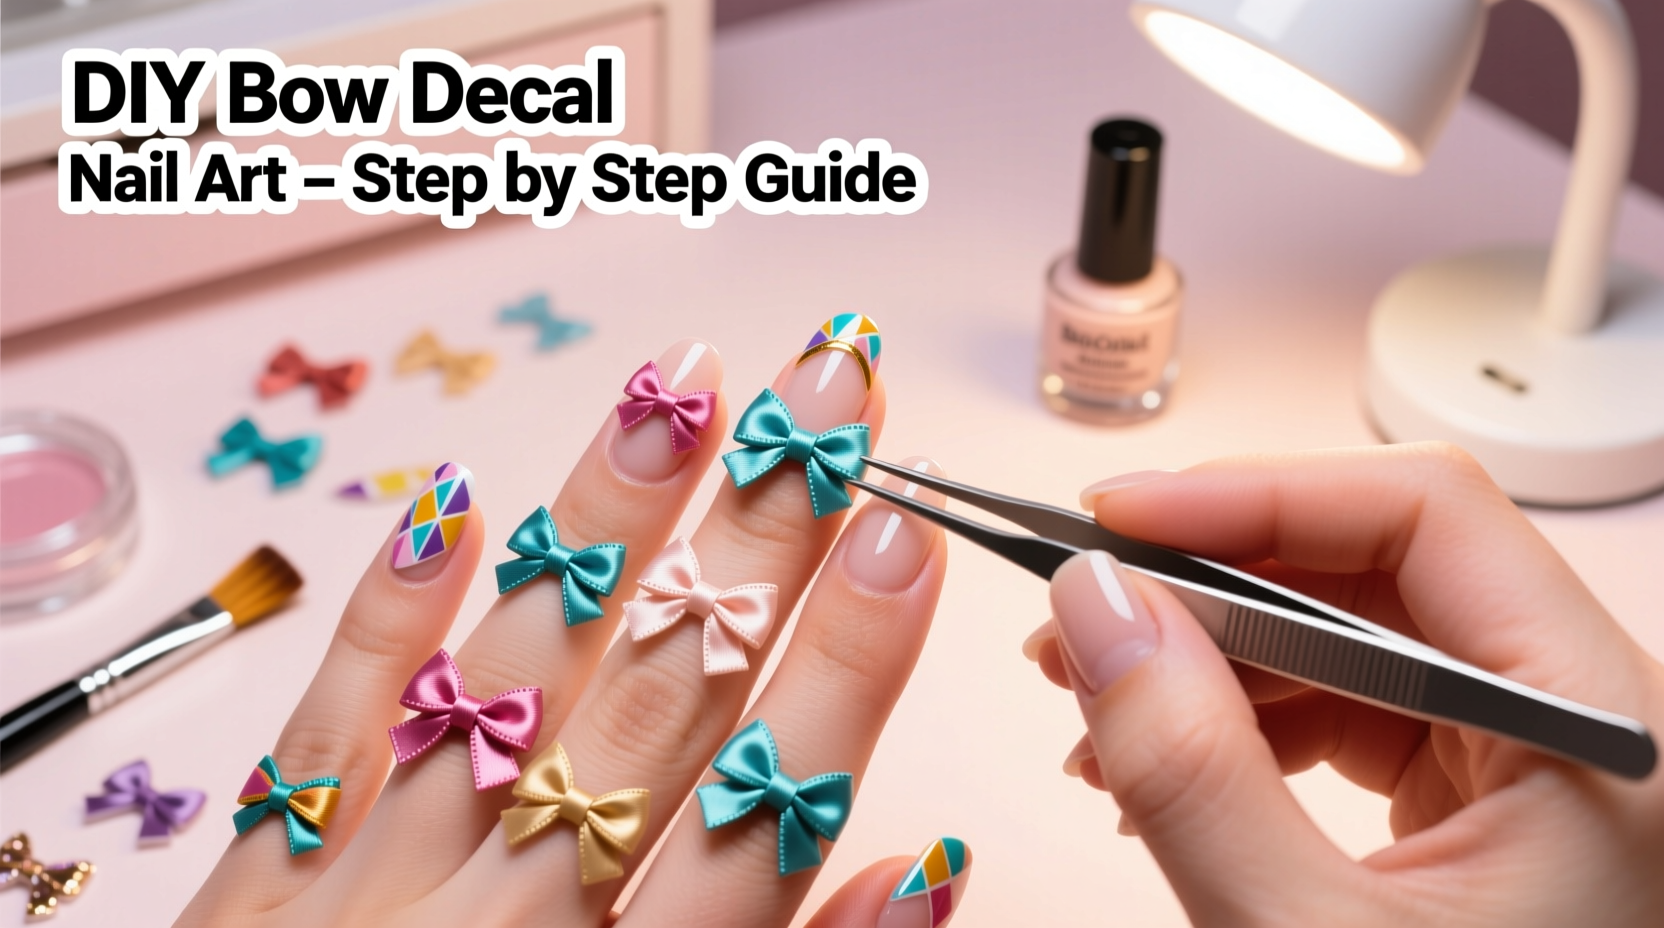
- Select and Cut Your Decals: Examine the decal sheet. Use tweezers or an orange stick to lift the desired bow. If the decal is part of a cluster, carefully cut around it with small scissors, leaving minimal excess film.
- Position the Decal: Place the bow on your nail while it’s still slightly tacky. Start near the cuticle or side edge, depending on your design. Gently press down with the tool, smoothing outward to avoid air bubbles.
- Seal with Top Coat: Wait 5–10 minutes after placing the decal to let it settle. Then, apply a thin layer of top coat over the entire nail, fully covering the decal. Avoid flooding the edges. A second top coat after 5 minutes enhances shine and longevity.
Design Ideas and Creative Variations
Bow decals aren’t limited to matching sets across all nails. Experiment with placement, combinations, and complementary elements to craft a look that reflects your personality.
| Design Style | How to Achieve It | Best For |
|---|---|---|
| Accent Nail Glamour | Apply a large bow to ring fingers; keep others simple with solid color or glitter. | Dates, parties, subtle elegance |
| Mini Bow Trail | Line tiny bows along the side of each nail, pointing toward the tip. | Festive seasons, playful looks |
| Dual-Tone Bows | Use contrasting bow colors on alternating nails (e.g., pink and white). | Spring, bridal showers |
| Layered Texture | Pair matte polish with glossy bows or add rhinestones beside each bow. | New Year’s, galas, photo shoots |
A Real Example: Sarah’s Bridal Manicure at Home
Sarah wanted a soft, romantic look for her wedding but didn’t want to risk a last-minute salon appointment. She chose ivory sheer polish as her base and used rose-gold foil bow decals for subtle shimmer. She applied one bow centered at the base of each nail on her accent fingers. After sealing with a high-gloss top coat, she added a single micro-rhinestone where the bow loops met. The result lasted through the ceremony, photos, and reception with only minor tip wear—proving that DIY can rival professional work with the right approach.
Common Mistakes and How to Avoid Them
Even experienced nail enthusiasts can make errors when working with decals. Knowing what to watch for helps you refine your technique.
- Applying decals on wet polish: This causes sliding and misalignment. Always wait until your color is fully dry to the touch.
- Using thick top coats too soon: Heavy formulas can lift delicate decals. Opt for quick-dry, brushable top coats and apply in thin layers.
- Ignoring nail oil buildup: Natural oils compromise adhesion. Clean nails thoroughly before starting.
- Skipping the sealant: Unsealed decals peel quickly. Never skip the final top coat.
“Most decal failures happen not because of the product, but because of improper prep or sealing.” — Marcus Reed, Nail Product Developer
Frequently Asked Questions
Can I mix bow decals with other nail art techniques?
Absolutely. Bow decals pair beautifully with stamping, hand-painted dots, or chrome powders. Just ensure each layer is dry before moving to the next. For example, stamp a floral pattern first, then place a small bow over the center bloom.
How long do bow decals last on nails?
With proper application and sealing, bow decals typically last 7–10 days, matching the lifespan of a regular manicure. Avoid prolonged exposure to water, acetone, or harsh cleaning agents to extend wear.
Are bow decals safe for weak or brittle nails?
Yes. Since they don’t require filing or drilling, decals are gentler than acrylics or gels. Just use a nourishing base coat and moisturize your cuticles daily to support nail health.
Final Tips for Long-Lasting, Stunning Results
To get the most out of your bow decal experience, keep these final insights in mind:
- Store decals in a cool, dark place to prevent adhesive degradation.
- Practice placement on a flat surface before committing to your nail.
- Keep a small stash of neutral-colored decals for emergency touch-ups.
- Experiment on one nail first before committing to a full set.


 浙公网安备
33010002000092号
浙公网安备
33010002000092号 浙B2-20120091-4
Comments
No comments yet. Why don't you start the discussion?