
When summer heat hits, a malfunctioning car air conditioner can turn your daily commute into an uncomfortable ordeal. Instead of rushing to the mechanic at the first sign of trouble, you can often diagnose the issue yourself—saving time, money, and unnecessary service charges. With basic tools and a methodical approach, even drivers without mechanical experience can pinpoint common AC problems and determine whether a DIY fix or professional help is needed.
Understanding How Your Car’s AC System Works
The automotive air conditioning system operates on a closed-loop refrigeration cycle. It uses a refrigerant (commonly R-134a or newer R-1234yf) that changes from gas to liquid and back again to absorb and release heat. The main components include:
- Compressor – Pressurizes the refrigerant and circulates it through the system.
- Condenser – Located in front of the radiator, it releases heat from the refrigerant.
- Evaporator – Inside the cabin, it absorbs heat from the air blown over it.
- Expansion valve or orifice tube – Regulates refrigerant flow into the evaporator.
- Receiver/drier or accumulator – Removes moisture and debris from the refrigerant.
A failure in any one component can disrupt the entire cooling process. Knowing how these parts interact helps you isolate where things might be going wrong.
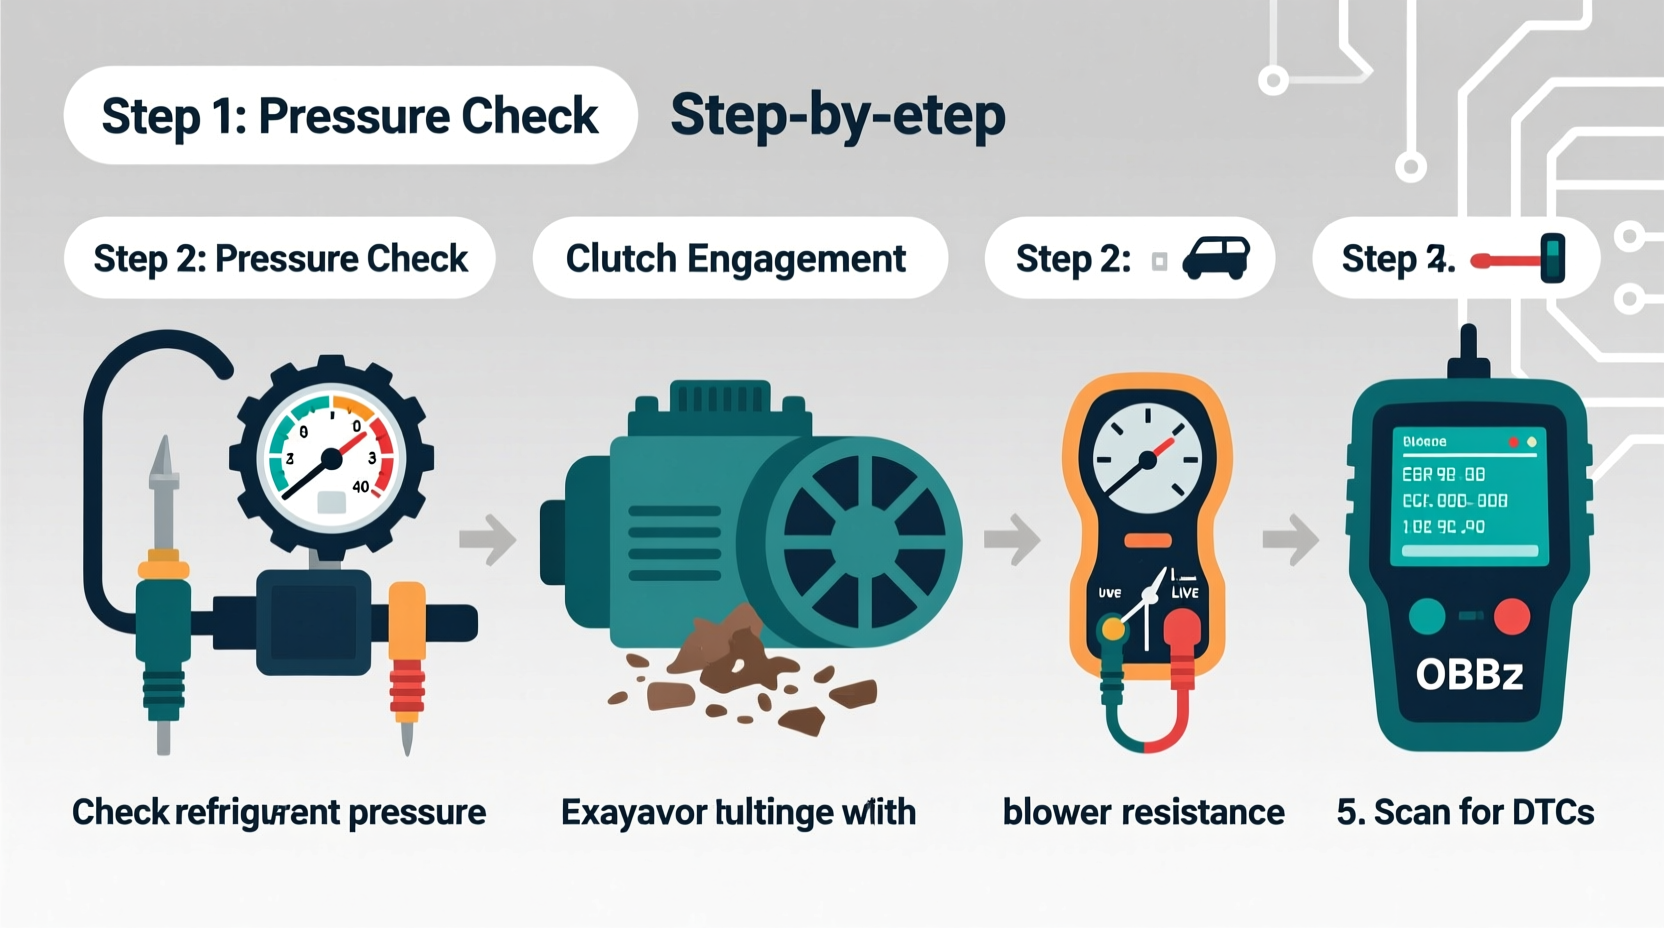
Step-by-Step Diagnostic Process
Follow this logical sequence to systematically identify the root cause of your AC issue. Skipping steps may lead to misdiagnosis and wasted effort.
- Check for airflow – Turn on the fan. If no air comes out, the problem may not be with the AC but with the blower motor, fuse, or HVAC controls.
- Assess temperature output – Use a thermometer to measure vent temperature. Below 45°F (7°C) indicates proper cooling; above 60°F (15°C) suggests a problem.
- Inspect the compressor clutch – Open the hood and observe the center pulley of the compressor when AC is turned on. It should engage and spin. If it doesn’t, the compressor isn’t activating.
- Listen for unusual noises – A grinding or squealing sound could indicate a failing compressor or worn belt.
- Look for visible leaks – Check hoses, connections, and components for oily residue, which signals refrigerant leakage.
- Test pressure levels – Using a manifold gauge set, connect to the low and high-side ports. Low pressure on both sides points to undercharge; high pressure on both may mean poor airflow or condenser blockage.
“Most AC failures I see stem from simple refrigerant loss due to small leaks. Catching them early prevents compressor damage.” — Carlos Mendez, ASE-Certified Technician with 18 years of experience
Common Symptoms and What They Mean
Different symptoms point to specific underlying issues. Recognizing patterns helps narrow down the diagnosis.
| Symptom | Possible Cause | Action Required |
|---|---|---|
| AC blows warm air | Low refrigerant, compressor failure, electrical fault | Check pressure, inspect compressor engagement, test fuses |
| Intermittent cooling | Cycling due to low refrigerant, faulty pressure switch | Monitor pressure stability, check for moisture in system |
| Foggy windows with AC on | Clogged drain tube or mold in evaporator case | Clean or flush drain line, sanitize interior vents |
| Musty odor | Mold growth on damp evaporator core | Use UV-safe disinfectant or replace cabin air filter |
| Hissing noise under hood | Refrigerant leak or loose hose connection | Inspect fittings, apply soapy water to find bubbles |
Tips to Avoid Costly Repairs
Many AC repairs become expensive because small issues are ignored until major components fail. Preventative habits go a long way.
- Replace the cabin air filter every 12,000–15,000 miles to maintain airflow and reduce strain on the system.
- Use the “Max AC” setting sparingly; it recirculates air but can promote mold if used constantly in humid conditions.
- Never add refrigerant without checking for leaks first. Overcharging damages the compressor.
- Keep the condenser clean—road grime and insect buildup reduce heat dissipation efficiency.
Real-World Example: Diagnosing a 2015 Honda Civic
A driver noticed weak cooling despite recent refills. The technician followed the diagnostic steps:
- The compressor engaged normally.
- No unusual noises were present.
- Pressure readings showed low on both high and low sides.
- A bubble test revealed oil residue near the condenser inlet hose.
Instead of replacing the entire condenser ($400+), the mechanic repaired the leaking hose clamp for $45 in labor and parts. The system was evacuated, recharged, and restored full cooling. This saved the owner over $300 and avoided unnecessary disassembly.
DIY Checklist: Can You Fix It Yourself?
Use this checklist to assess whether a repair is within your skill level before proceeding.
- ✅ Do you have a basic toolkit and safety glasses?
- ✅ Is the issue limited to accessible components (e.g., fuse, cabin filter)?
- ✅ Have you confirmed there's no major refrigerant leak?
- ✅ Are you comfortable using a vacuum pump and gauges?
- ⚠️ If refrigerant handling is required, do you comply with EPA Section 609 regulations?
Note: Releasing refrigerant into the atmosphere is illegal and environmentally harmful. Certified recovery equipment is required for safe servicing.
Frequently Asked Questions
Can I recharge my car’s AC without a kit?
Technically possible but not recommended. Without gauges, you risk undercharging or overcharging, both of which harm performance and longevity. A proper recharge kit with pressure monitoring ensures accuracy and safety.
Why does my AC work only sometimes?
Intermittent operation often points to a failing pressure switch, electrical relay, or low refrigerant level triggering automatic shutdown. Electrical connections should be inspected for corrosion or looseness.
How much does a professional AC repair usually cost?
Costs vary widely: a simple recharge runs $100–$200; compressor replacement ranges from $800–$1,500 depending on vehicle make and labor rates. Identifying leaks and repairing them early keeps costs down.
Final Thoughts: Take Control of Your AC Health
Diagnosing car AC problems doesn’t require a mechanic’s degree—just patience, attention to detail, and a willingness to learn. By understanding the system, recognizing warning signs, and following a structured diagnostic path, you gain the power to make informed decisions. Whether you choose to fix minor issues yourself or bring verified findings to a shop, you’ll avoid guesswork and inflated bills.


 浙公网安备
33010002000092号
浙公网安备
33010002000092号 浙B2-20120091-4
Comments
No comments yet. Why don't you start the discussion?