
Drawing a ladybird—also known as a ladybug—is an ideal starting point for anyone exploring the world of observational sketching and nature-inspired art. With its simple shape, bold colors, and symmetrical design, it offers both accessibility for beginners and opportunities for artistic refinement. Whether you're picking up a pencil for the first time or looking to sharpen your technical skills, this guide walks you through each stage of creating a lifelike and expressive ladybird illustration.
Understanding the Ladybird: Anatomy and Inspiration
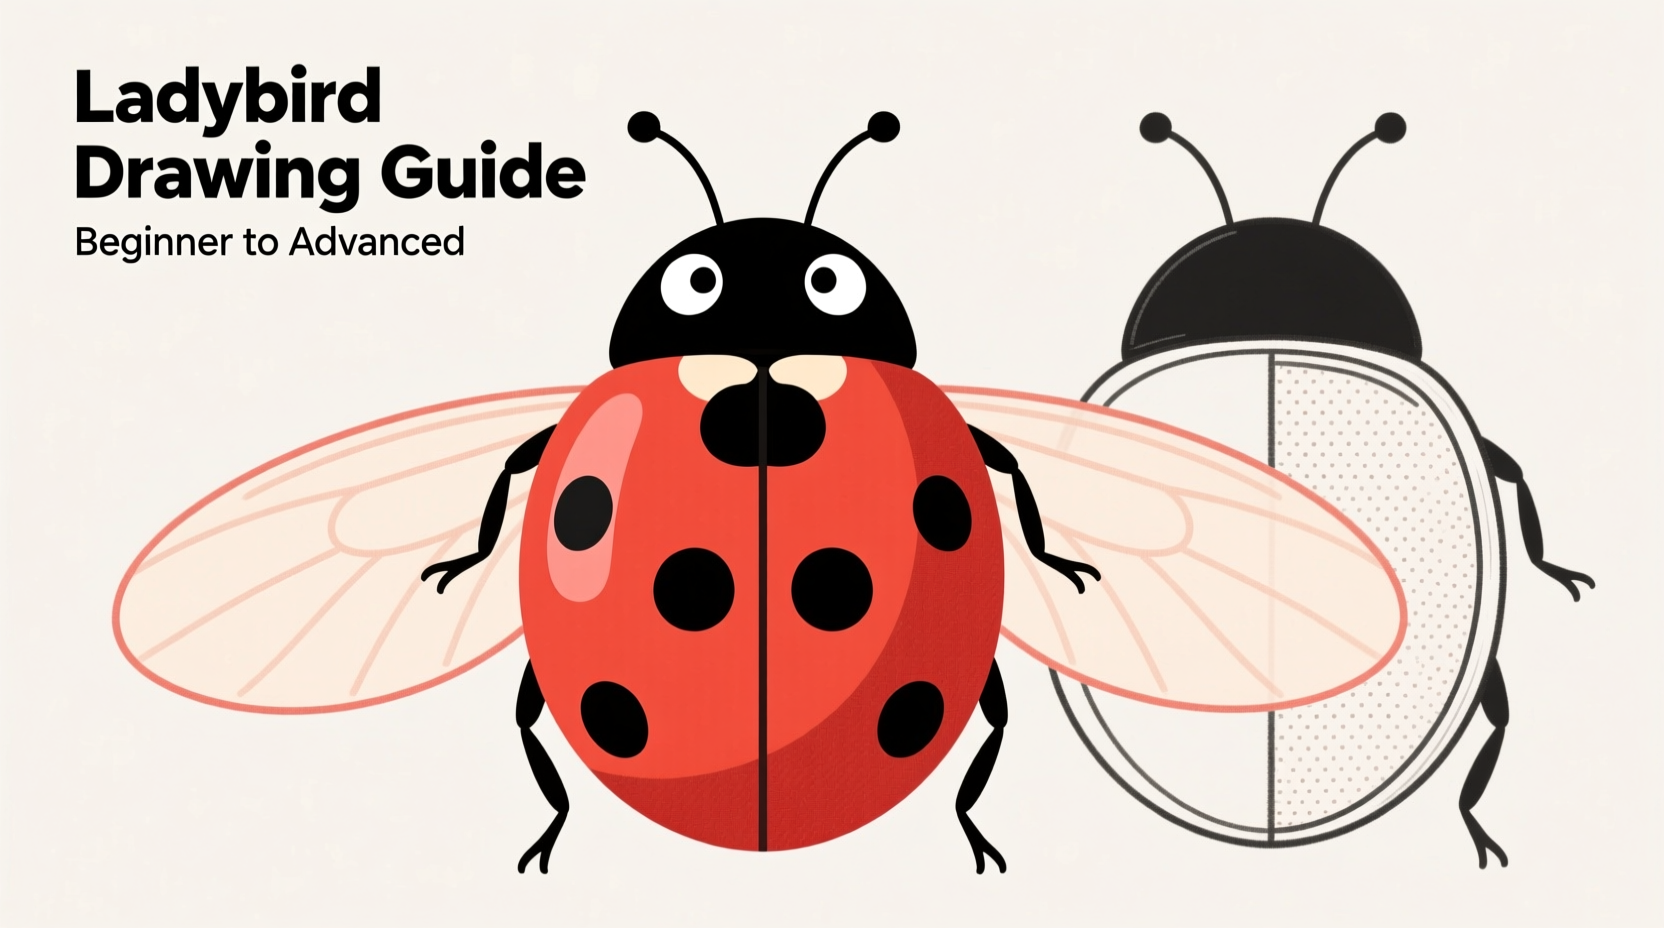
Before putting pencil to paper, take a moment to observe the real creature. Ladybirds are small beetles, typically between 4–10 mm in length, with a dome-shaped body, short legs, and distinctive spotted wing cases (elytra). Their bright red or orange shells serve as a warning to predators, while their black spots vary in number depending on the species. This natural contrast makes them visually striking subjects for drawing.
Familiarity with basic insect anatomy improves accuracy. A ladybird’s body is divided into three main parts:
- Head: Small, often partially hidden beneath the thorax, with short antennae.
- Thorax: The middle section, connecting head to abdomen, usually black with a pale border.
- Abdomen/Elytra: The hard, rounded shell covering the wings—this is the most recognizable feature.
Step-by-Step Guide to Drawing a Ladybird
Follow these seven steps to create a clean, proportionate ladybird sketch. Work lightly with a pencil so corrections remain easy.
- Sketch the base oval. Begin with a smooth, horizontal oval to form the outline of the elytra. Keep it slightly wider at the rear and gently tapered toward the front.
- Add the thorax. Draw a smaller, curved rectangle just above the front third of the oval. This sits like a collar between the head and wings.
- Outline the head. Below the thorax, add a tiny circle or teardrop shape. Position it so only the lower half shows—the upper part is tucked behind the thorax.
- Draw the antennae. From the head, extend two thin, curved lines upward. Add small knobs at the ends to complete them.
- Define the wing split. Down the center of the oval, draw a straight line from top to bottom. This marks where the two elytra meet.
- Add the spots. Place 3–7 symmetrical dots on each side of the split. Vary sizes slightly for realism. Avoid perfect circles; real spots have soft, irregular edges.
- Include legs and final details. Draw six short, segmented legs—three on each side. Add subtle texture lines on the thorax and gentle curves under the body to suggest volume.
Once the sketch is complete, go over key outlines with a finer pen or darker pencil. Erase unnecessary guidelines and refine any uneven shapes.
Tips for Beginners and Advanced Artists
Whether you're new to drawing or refining your technique, these insights help elevate your work.
For Beginners
- Use grid paper to maintain symmetry.
- Trace over printed reference images to build muscle memory.
- Focus on proportions before adding detail.
- Stick to pencils (HB and 2B) until confident with ink.
For Intermediate to Advanced Artists
- Incorporate directional shading to simulate the curved, reflective surface of the elytra.
- Experiment with cross-hatching under the body to show depth.
- Try colored pencils or watercolor to render the red-black contrast realistically.
- Add environmental context—a leaf, dewdrops, or blurred background—for storytelling impact.
“Simple subjects like the ladybird teach foundational principles: symmetry, light behavior, and minimalism. Master these, and complex forms become approachable.” — Dr. Lena Torres, Art Educator and Natural Science Illustrator
Common Mistakes and How to Avoid Them
Even experienced artists make errors when rushing or neglecting observation. The table below outlines frequent pitfalls and solutions.
| Mistake | Why It Happens | Solution |
|---|---|---|
| Flat, lifeless shell | Lack of shading or gradient | Add a soft highlight near the top curve and deepen tone toward the edges |
| Asymmetrical spots | Drawing freehand without planning | Lightly sketch a centerline and mirror one side to the other |
| Overly large head | Misjudging scale | Compare head size to the thorax—should be significantly smaller |
| Stiff, unnatural legs | Rigid lines instead of slight bends | Draw legs with gentle curves and joint indications |
Creative Variations and Real-World Application
Once the basics are mastered, challenge yourself with imaginative interpretations. One artist, Maya Chen, began her journey by sketching ladybirds in her garden journal. Initially frustrated by inconsistent proportions, she committed to daily 10-minute practice sessions. Within three weeks, her drawings showed marked improvement in symmetry and texture. By week six, she was illustrating a series of insects for a local ecology newsletter.
Her breakthrough came not from talent, but from consistent attention to detail and using layered feedback—from peers, online forums, and self-review. Today, her work blends scientific accuracy with whimsical color palettes, proving that structured practice leads to growth.
Consider these creative directions:
- Stylized versions: Turn the ladybird into a cartoon character with exaggerated eyes or a smile.
- Seasonal themes: Draw a snowy ladybird with frost-dusted spots or a spring version on a blooming stem.
- Monochrome studies: Use only grayscale to explore contrast and texture without color distraction.
Essential Tools and Materials Checklist
You don’t need expensive supplies to start. Here’s what works best for consistent results:
- HB and 2B pencils (for light sketching and darkening lines)
- Eraser (preferably kneaded for precision)
- Sharpener or sandpaper block (to maintain fine points)
- Plain or grid paper (A4 or sketchbook size)
- Ruler (optional, for alignment checks)
- Fineliner pen (0.3–0.5 mm, for inking finished sketches)
- Colored pencils or watercolors (once ready to add color)
FAQ
How many spots should a ladybird have?
There’s no fixed number. Common species have anywhere from 2 to 13 spots per elytron. For artistic purposes, 3–7 per side creates a balanced look. Accuracy isn’t mandatory unless illustrating a specific species.
Can I draw a ladybird from memory?
Yes, but only after practicing from references. Memory drawing relies on stored visual knowledge. Start by sketching from photos, then close them and redraw from recall. Compare and adjust—this builds strong observational memory.
What if my drawing looks too flat?
Add dimension with shading. Imagine a light source from the upper left. Darken areas under the thorax, along the wing split, and at the lower curve of the elytra. A soft blend (using tissue or a blending stump) enhances the glossy effect.
Final Thoughts and Next Steps
Drawing a ladybird is more than a simple exercise—it’s a gateway to understanding form, symmetry, and the beauty of small-scale natural design. Every stroke builds your ability to observe, interpret, and express. Whether you’re sketching for relaxation, education, or artistic development, the skills gained here transfer to countless other subjects.
The most important habit is consistency. Set aside ten minutes a day. Revisit your first attempts in a month and notice the progress. Challenge yourself with variations, textures, and settings. Let curiosity guide you beyond the page.


 浙公网安备
33010002000092号
浙公网安备
33010002000092号 浙B2-20120091-4
Comments
No comments yet. Why don't you start the discussion?