
Drawing a puffer fish offers a unique opportunity to blend scientific observation with creative expression. Known for their round, spiky appearance and expressive eyes, puffer fish are both fascinating and fun to illustrate. Whether you're a beginner with a pencil or an experienced artist refining your technique, this guide walks you through creating a balanced illustration that captures both realism and charm. By combining anatomical accuracy with stylized cuteness, you’ll develop skills in proportion, texture, and character design.
Understanding the Puffer Fish: Anatomy Meets Appeal
The puffer fish, or Tetraodontidae, has a distinctive body structure that makes it instantly recognizable. When threatened, it inflates into a near-perfect sphere, bristling with tiny spines. Even when relaxed, its body is compact, with small fins and large, forward-facing eyes. These features provide excellent foundations for both realistic and stylized drawings.
To draw effectively, observe reference photos from multiple angles. Note how the mouth protrudes slightly, the eyes sit high on the head, and the dorsal fin is often small and set toward the back. The skin texture varies by species—some have smooth patches, others a pebbled surface, and many display subtle patterns of spots or lines.
Materials You’ll Need
You don’t need a professional art studio to create a compelling drawing. Start simple and expand as you gain confidence:
- Pencil (HB for sketching, 2B–4B for shading)
- Eraser (kneaded eraser for precision, regular for corrections)
- Sharpener or blade for fine points
- Sketch paper (printer paper works for practice; consider heavier paper for finished pieces)
- Optional: colored pencils, markers, or watercolor for final touches
Keep your tools organized. A sharp pencil ensures clean lines, while a kneaded eraser helps lift graphite without damaging paper—especially useful when refining facial details.
Step-by-Step Drawing Process
Follow this structured timeline to build your puffer fish from basic shapes to a polished illustration. Each stage builds upon the last, minimizing errors and supporting gradual improvement.
- Sketch the base circle: Lightly draw a medium-sized circle. This forms the inflated body. Use gentle pressure—you’ll erase guidelines later.
- Add facial guidelines: Draw a vertical line down the center and a horizontal curve across the upper third. These help place the eyes and mouth symmetrically.
- Position the eyes: Place two ovals along the horizontal line, just inside the circle’s edge. Leave space between them for a cute, wide-eyed look.
- Draw the mouth: Below the center line, sketch a small downward curve for a resting expression. For a friendlier look, add a slight upward tilt at the ends.
- Outline the fins: Add a small triangle for the dorsal fin near the top-back. Sketch two soft teardrop shapes on the sides for pectoral fins.
- Define the spines: Around the outer edge, draw short outward lines. Vary their length and spacing for naturalism. Avoid perfect symmetry—real spines aren’t uniform.
- Refine the shape: Go over your initial circle, adjusting it slightly to accommodate fins and give the body dimension. Slight flattening at the bottom can suggest weight.
- Add texture: Use tiny dots or short strokes to suggest bumpy skin. Focus on areas around the eyes and mid-body. Leave highlights unshaded for a glossy effect.
- Shade for volume: Apply soft shading beneath the body, under fins, and along one side to create depth. Use a blending stump or tissue for smooth gradients.
- Finalize and clean up: Darken key outlines, enhance eye shine, and erase stray lines. Consider adding a faint shadow beneath the fish to ground it.
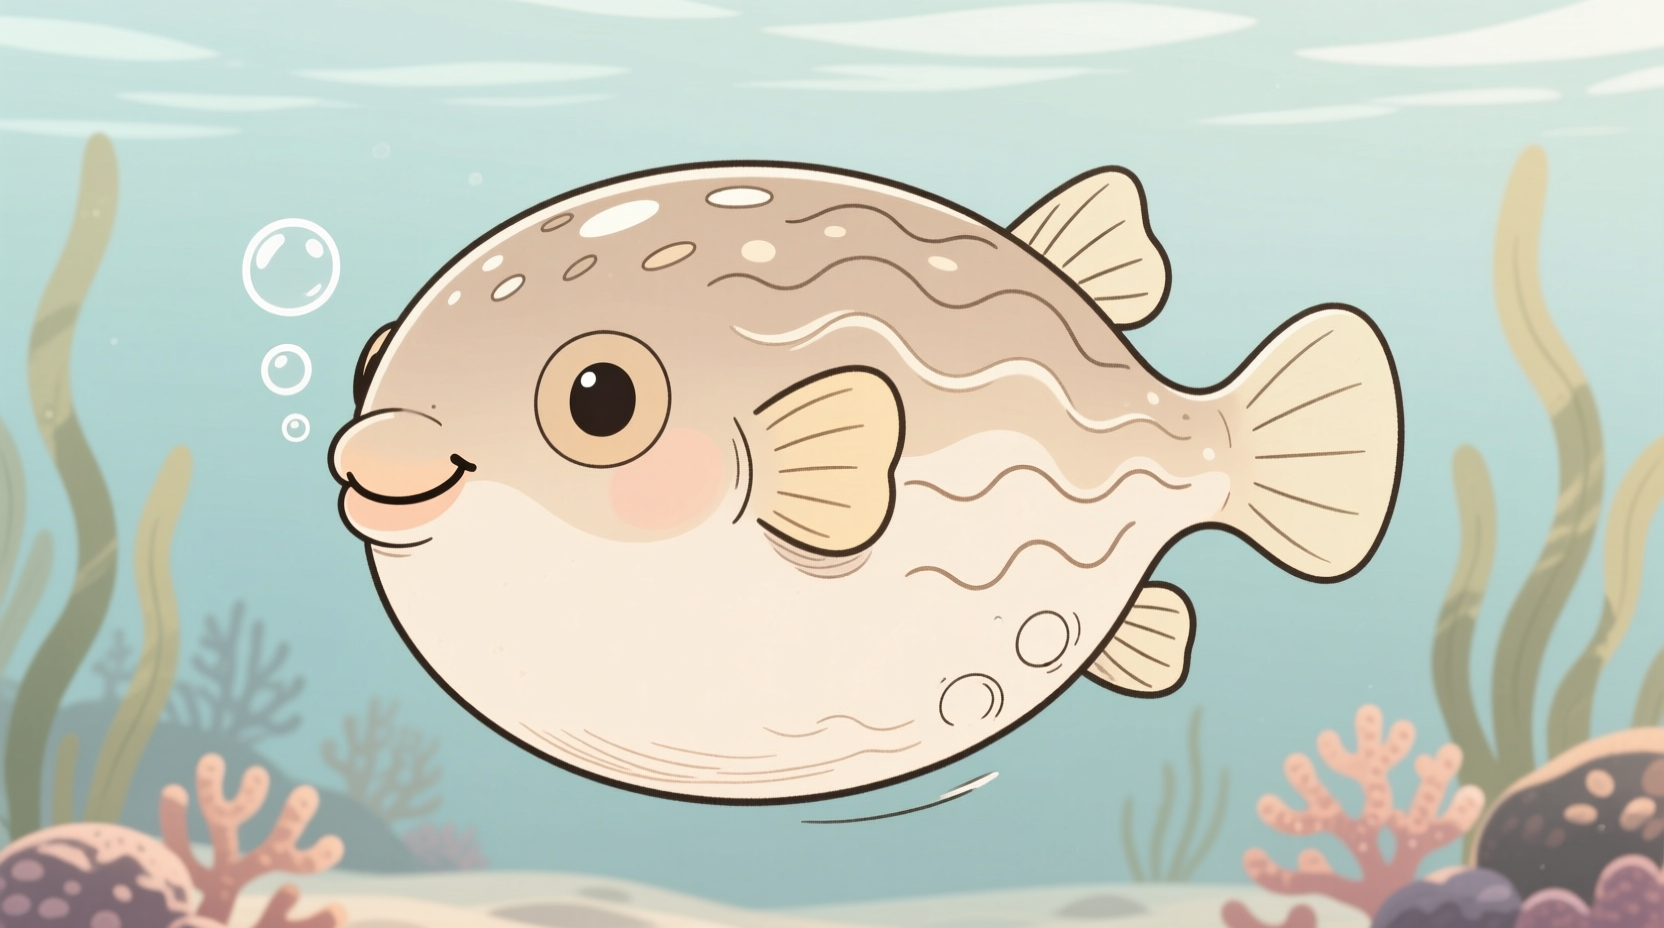
Adding Cuteness: Stylistic Tweaks
To make your puffer fish appear more adorable without sacrificing believability:
- Enlarge the eyes slightly—up to 20% bigger than anatomically accurate.
- Round the pupils and add a white highlight dot for a lively sparkle.
- Shorten the snout and soften jawlines.
- Use curved spines instead of straight ones—they feel less threatening.
- Add blush marks: two soft pink or orange circles below the eyes.
“Balancing realism with stylization teaches artists how to communicate emotion through form. A puffer fish isn’t just a subject—it’s a character.” — Lena Torres, Illustration Instructor at Pacific Art Academy
Common Mistakes and How to Avoid Them
Even experienced artists fall into traps when illustrating animals. Here’s a comparison of frequent errors and better alternatives:
| Mistake | Why It’s a Problem | Better Approach |
|---|---|---|
| Perfectly symmetrical spines | Looks artificial and stiff | Vary spine length and angle slightly for organic texture |
| Flat, even shading | Lacks dimension and realism | Use gradient shading with a light source from one direction |
| Too many details too soon | Hard to correct foundational errors | Build from rough shapes to fine details gradually |
| Overcrowding the face | Distracts from the focal point | Keep eyes and mouth clean; limit cheek patterns |
| Ignores negative space | Composition feels cramped | Leave breathing room around the fish for balance |
Mini Case Study: From Sketch to Showcase
Jamie, a self-taught artist from Portland, struggled with animal anatomy. After attempting a cartoon puffer fish, they realized it looked more like a spiky balloon than a living creature. Using this guide, Jamie began with reference images from marine biology sites, focusing on eye placement and spine clusters. They practiced five quick gesture sketches before committing to a final piece. By layering light shading and using a kneaded eraser to lift highlights from the eyes and snout, the final drawing gained depth. Jamie added soft blue water ripples in the background with a blue pencil, enhancing the underwater context. The illustration was later featured in a local art café’s “Ocean Life” exhibit.
Essential Checklist for Your Drawing Session
Before you begin, ensure you’re prepared with this actionable checklist:
- ✅ Gather pencils, erasers, and paper
- ✅ Find 2–3 high-quality reference images
- ✅ Choose your style: realistic, semi-realistic, or cute-stylized
- ✅ Set up good lighting (natural or warm-white lamp)
- ✅ Sketch lightly in the first phase—no dark lines yet
- ✅ Review proportions before adding details
- ✅ Step back every 10 minutes to assess overall balance
- ✅ Sign and date your finished piece for portfolio tracking
Frequently Asked Questions
How do I make my puffer fish look three-dimensional?
Use directional shading based on a consistent light source—typically top-left or top-right. Darken the opposite side and underbody. Add a cast shadow beneath the fish. Blending with a stump or finger creates smoother gradients, enhancing roundness.
Can I draw a puffer fish without it being inflated?
Absolutely. Non-inflated puffer fish have elongated bodies and visible tails. While less iconic, they offer opportunities to explore natural movement and habitat context. Just adjust the base shape from a circle to an oval and position fins accordingly.
What if my drawing looks too flat or cartoonish?
This often happens when contrast is low. Increase the difference between your darkest and lightest values. Deepen shadows under the fins and along one side. Also, refine edges—soften some areas with blending, sharpen others (like spines) for focus.
Keep Practicing, Keep Creating
Drawing a puffer fish is more than just replicating a shape—it’s about observing nature, understanding form, and expressing personality through line and tone. Every stroke improves your hand-eye coordination and artistic judgment. Whether your goal is to create whimsical characters or precise wildlife illustrations, this exercise strengthens core skills applicable to any subject.


 浙公网安备
33010002000092号
浙公网安备
33010002000092号 浙B2-20120091-4
Comments
No comments yet. Why don't you start the discussion?