
Whether you're joining a video call, attending an online class, or recording content, a working laptop camera is essential. Yet many users face frustrating issues—no image, black screen, or outright refusal to turn on. The good news? Most camera problems can be resolved quickly with the right approach. This comprehensive guide walks through activation steps, common fixes, and preventive tips to keep your camera ready when you need it.
Understanding Your Laptop Camera Setup
Laptop cameras are built-in peripherals managed by your operating system and hardware drivers. They require proper permissions, functioning software, and physical readiness (e.g., no lens cover). Modern systems like Windows 10/11, macOS, and Chrome OS handle camera access differently, but all follow similar principles: detect hardware, grant app permissions, and initialize via compatible software.
Before troubleshooting, confirm your laptop even has a camera. Most models manufactured after 2010 include one, typically located above the screen. If unsure, check your device specifications online using the model number found on the bottom of the laptop.
Step-by-Step Activation Guide
Follow this sequence to ensure your camera is properly activated across platforms.
- Check Physical Switches or Covers: Some laptops have a physical shutter or switch to disable the camera for privacy. Slide it open or toggle it to “on.”
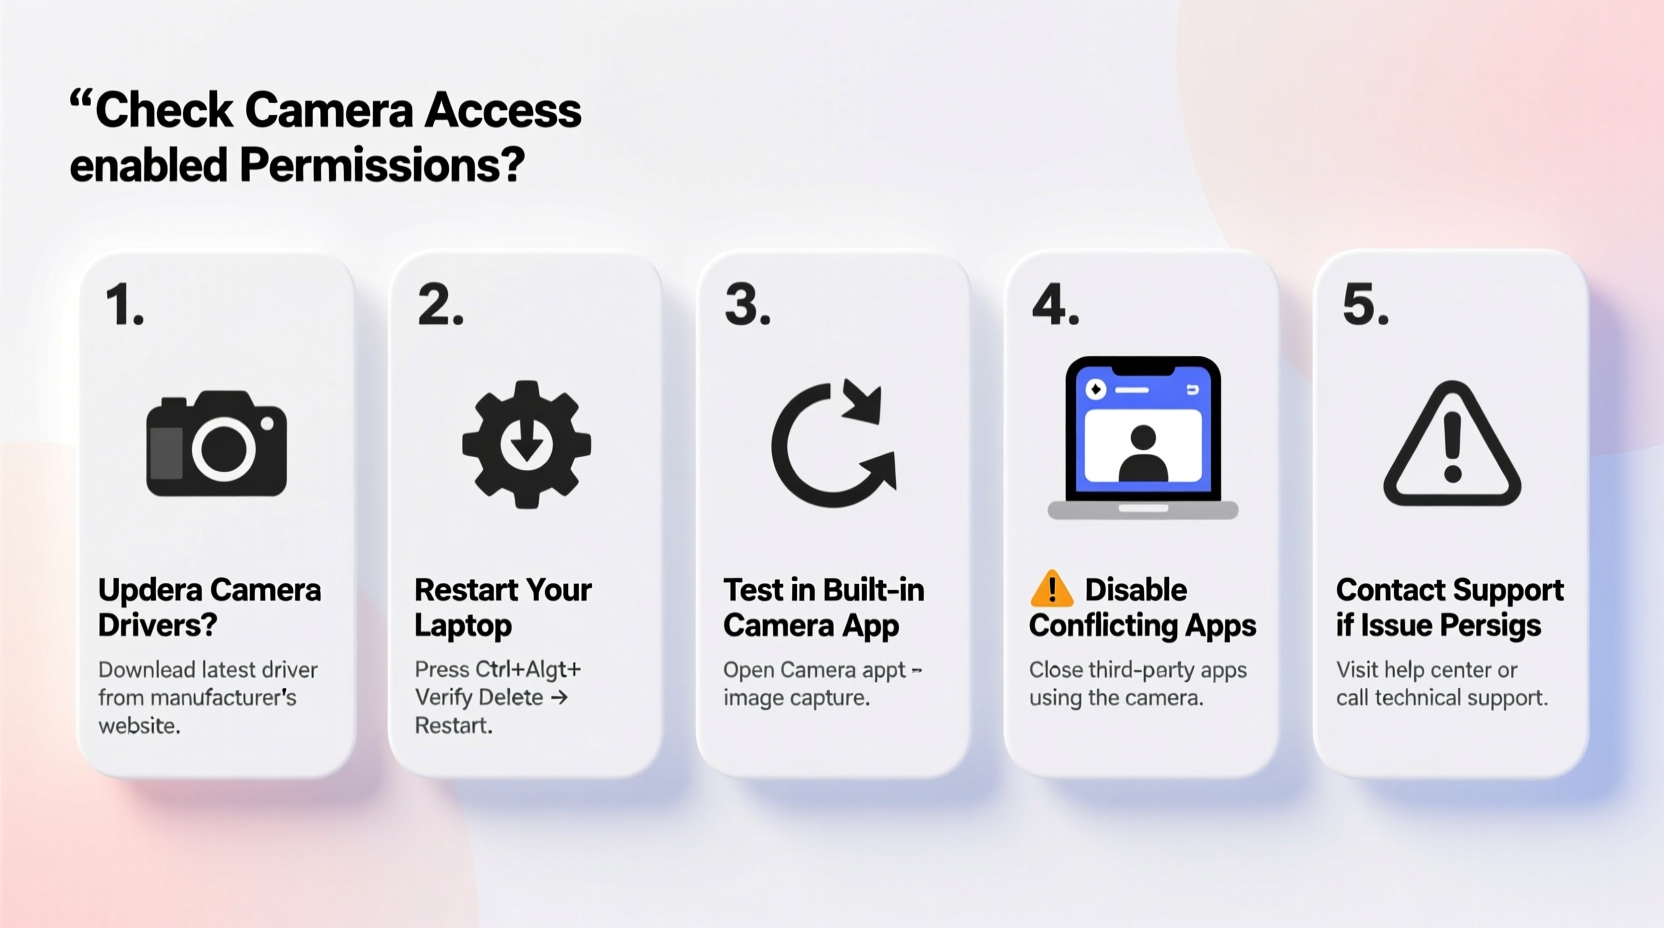
- Restart Your Laptop: A simple reboot resolves temporary glitches blocking camera access.
- Open Camera App:
- Windows: Press Win, type \"Camera,\" and open the app.
- macOS: Open Photo Booth or FaceTime from Applications.
- Chromebook: Launch the Camera app from the launcher.
- Grant Permissions: When prompted, allow the app to access the camera. Denial here blocks functionality.
- Test in Another App: Try Zoom, Google Meet, or Microsoft Teams to verify cross-app compatibility.
If the camera still doesn’t work, proceed to targeted troubleshooting based on your OS.
Troubleshooting by Operating System
For Windows Users
Windows manages cameras through Device Manager and Privacy Settings. Misconfigurations here are common culprits.
- Navigate to Settings > Privacy & Security > Camera.
- Ensure “Camera access” is turned on.
- Under “Let apps access your camera,” enable access for the specific app you’re using.
- Open Device Manager (press Win + X and select it).
- Expand “Cameras” or “Imaging devices.”
- Right-click your camera (e.g., “Integrated Camera”) and choose “Update driver” or “Uninstall device,” then restart to reinstall.
For macOS Users
Apple tightly controls camera access for security, so permission errors are frequent.
- Open System Settings > Privacy & Security > Camera.
- Ensure the checkbox next to the app (e.g., Zoom, Safari) is selected.
- If the camera fails in all apps, restart in Safe Mode (hold Shift during boot), then restart normally—this clears temporary system conflicts.
- Reset SMC (System Management Controller) if hardware isn’t detected: Shut down, press Shift+Control+Option+Power for 10 seconds, then release.
“Over 70% of Mac camera issues stem from permission settings, not hardware failure.” — Jordan Lee, Apple-Certified Support Technician
For Chromebook Users
Chrome OS integrates camera functions simply, but updates or profile corruption can interfere.
- Open the Camera app from the launcher.
- If denied access, go to Settings > Site Settings > Camera and ensure access is allowed.
- Clear browsing data and cached images if using web-based tools like Meet.
- Check for OS updates under Settings > About Chrome OS.
- As a last resort, perform a powerwash (factory reset)—back up data first.
Common Issues and Quick Fixes
Certain problems appear repeatedly across devices. Address them systematically.
| Issue | Possible Cause | Solution |
|---|---|---|
| Black screen or no signal | Driver conflict or app permission | Update driver; check privacy settings |
| \"Camera in use\" error | Another app is accessing the camera | Close background apps like Skype or browser tabs using camera |
| Fuzzy or distorted image | Damaged lens or outdated firmware | Clean lens gently; check manufacturer’s website for updates |
| Camera not listed in Device Manager | Hardware disabled or failed | Enable in BIOS/UEFI or contact support |
Mini Case Study: Remote Worker Resolves Camera Failure
Sarah, a project manager in Denver, couldn’t join her morning team calls because her Windows 11 laptop showed a black screen in Teams. She confirmed the camera worked in the native Camera app but failed elsewhere. After checking permissions, she discovered that Teams had been denied camera access during a recent update. By re-enabling access in Settings > Privacy > Camera and restarting Teams, her camera resumed normal function within two minutes. The issue wasn’t hardware or software corruption—just a silent permission reset.
Preventive Maintenance Checklist
Keep your camera reliable with these routine actions:
- ✅ Regularly update your operating system and drivers.
- ✅ Clean the camera lens gently with a microfiber cloth monthly.
- ✅ Review app permissions quarterly, especially after updates.
- ✅ Avoid closing the laptop lid with objects on the keyboard that could damage internal components.
- ✅ Use antivirus scans to prevent malware from hijacking your camera.
Frequently Asked Questions
Why does my camera work in one app but not another?
This usually indicates a permission issue. Each app must be individually granted access to the camera in your system settings. Even if one app works, others may be blocked.
Can malware disable my laptop camera?
Yes. While rare, malicious software can interfere with hardware drivers or block access. Run a full system scan using trusted antivirus software to rule this out. Also, watch for unexpected LED indicators—some malware activates the camera silently.
Is it safe to leave camera permissions enabled?
Only grant access to apps you trust. Reputable software like Zoom, Slack, or Chrome won’t misuse access, but unknown programs might. Disable permissions for unused apps to reduce risk.
Conclusion: Stay Connected with Confidence
A functional laptop camera is no longer optional—it’s central to modern communication. By understanding how to activate and maintain it, you eliminate avoidable disruptions. From checking physical switches to managing digital permissions, each step plays a role in seamless performance. Don’t wait until your next critical meeting to discover a problem. Test your camera weekly, apply updates promptly, and keep this guide handy for quick reference.


 浙公网安备
33010002000092号
浙公网安备
33010002000092号 浙B2-20120091-4
Comments
No comments yet. Why don't you start the discussion?