
Creating a compelling video doesn’t end when you press stop on the camera. The real magic often happens in the editing phase. For beginners, video editing can seem overwhelming—filled with timelines, layers, and confusing terminology. But it doesn’t have to be. With the right approach and tools, anyone can learn to edit a video that looks professional, tells a story, and engages viewers. This guide breaks down the entire process into manageable steps, using accessible software and practical advice.
1. Choose the Right Editing Software
The first decision you’ll make is which video editor to use. Beginners should prioritize simplicity, affordability, and compatibility with their device. While professional editors like Adobe Premiere Pro or Final Cut Pro offer advanced features, they come with steep learning curves and high costs. Instead, consider beginner-friendly options that still deliver strong results.
| Software | Best For | Platform | Price |
|---|---|---|---|
| iMovie | Mac and iOS users starting out | macOS, iOS | Free |
| DaVinci Resolve | Beginners wanting pro-level color grading | Windows, macOS, Linux | Free (Studio version paid) |
| Clipchamp | Online editing with templates | Web-based (Windows integrated) | Free + subscription |
| Canva Video Editor | Simple social media clips | Web, mobile | Free + premium |
2. Organize Your Files Before You Begin
Before opening your editing software, take time to organize your assets. A clean workflow prevents frustration later. Create a dedicated folder for your project and include subfolders for raw footage, music, voiceovers, graphics, and exports. Name your files clearly—instead of “IMG_1234,” use “intro_scene_talking_head.”
This may seem minor, but disorganized files lead to wasted time searching for clips or accidentally using outdated versions. If you're recording on multiple devices, transfer all footage to one drive. Back up your files to cloud storage or an external hard drive to avoid data loss.
“Good editing starts long before you open the timeline. Organization is half the battle.” — Sarah Lin, Digital Content Creator
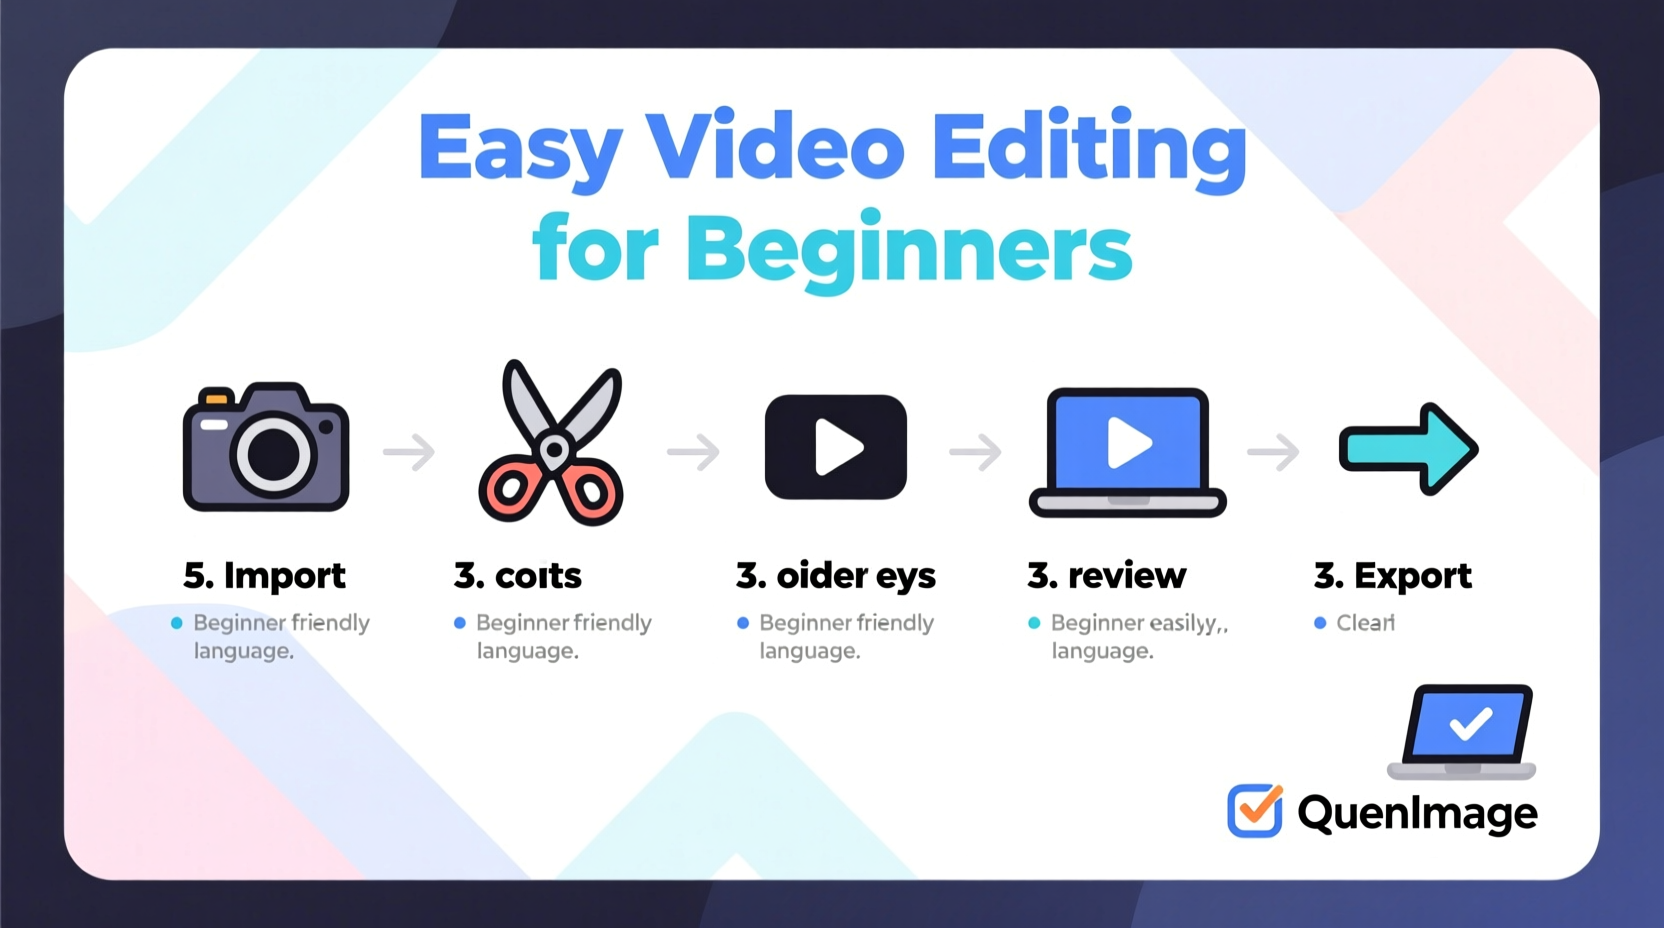
3. Follow a Step-by-Step Editing Workflow
Editing doesn’t have to be chaotic. Use this proven sequence to move from raw footage to a finished video efficiently.
- Import and Review Footage: Load all clips into your software. Watch each one and mark the best takes using tags or markers.
- Create a Rough Cut: Drag selected clips onto the timeline in order. Don’t worry about perfection—focus on structure.
- Cut Out Mistakes: Remove pauses, mistakes, or unnecessary segments. Trim the beginning and end of clips to tighten pacing.
- Add Transitions: Use simple cuts or subtle transitions (like fade or dip to black) between scenes. Avoid overusing flashy effects.
- Incorporate Audio: Add background music at a low volume so it doesn’t overpower speech. Include sound effects if needed.
- Insert Text and Graphics: Titles, lower thirds, or captions help clarify content. Keep fonts readable and styles consistent.
- Color Correct: Adjust brightness, contrast, and white balance so all clips look cohesive. Most software has auto-color tools. <8> Export the Final Video: Choose the right format and resolution based on where you’ll publish it (e.g., YouTube, Instagram, email).
4. Real Example: Editing a Travel Vlog
Let’s say Maya records a weekend trip to the mountains. She shoots 30 minutes of footage across three days: hiking trails, campfire chats, and scenic views. Her goal is to create a 3-minute vlog for Instagram and YouTube.
She imports everything into DaVinci Resolve and organizes clips by day and location. After reviewing, she selects 10 key clips totaling about 8 minutes. On the timeline, she arranges them chronologically, cutting out shaky shots and long silences.
She adds a soft acoustic track from the free library, lowering the volume during dialogue. She inserts text overlays like “Day 1: Arrival” and “Sunset at Lakeview Trail.” Finally, she applies a warm filter to enhance golden-hour footage and exports in 1080p.
The result? A clean, engaging video that tells a clear story—without requiring advanced skills.
5. Essential Checklist for First-Time Editors
Use this checklist every time you edit to ensure nothing gets missed:
- ✅ All footage and audio files are backed up
- ✅ Project folder is organized with labeled subfolders
- ✅ Best takes are marked or rated
- ✅ Timeline flows logically from start to finish
- ✅ Audio levels are balanced (voice clear, music not too loud)
- ✅ Text is legible and appears long enough to read
- ✅ Video is exported in the correct format and resolution
- ✅ Final export is reviewed on multiple devices
Common Pitfalls to Avoid
Even simple edits can go wrong if basic principles are ignored. Here are frequent mistakes beginners make—and how to fix them.
- Overloading with effects: Too many transitions, animations, or filters distract from the message. Stick to one consistent style.
- Neglecting audio quality: Poor sound ruins even the best visuals. Use external mics when possible and reduce background noise in post.
- Ignoring aspect ratios: Posting a vertical TikTok video on YouTube without adjusting can leave awkward black bars. Match your export settings to the platform.
- Skipping the preview: Always watch your full video before sharing. You might catch a typo, jump cut, or audio glitch.
Frequently Asked Questions
How long should my first video edit take?
Expect 2–4 hours for a 3–5 minute video, especially if you’re learning. As you gain experience, editing time will decrease significantly.
Can I edit videos on my phone?
Yes. Apps like CapCut, InShot, and iMovie for iOS allow full editing on smartphones. They’re ideal for quick social media content, though desktop software offers more control.
What’s the best format to export my video?
For most online platforms, MP4 with H.264 encoding works best. Use 1080p resolution unless you shot in 4K and need higher quality. Frame rate should match your original footage (usually 30fps).
Final Thoughts: Start Simple, Improve Over Time
Video editing is a skill built through practice, not perfection. Your first video doesn’t need Hollywood polish—it just needs to communicate clearly and authentically. By following a structured workflow, using intuitive tools, and avoiding common errors, you’ll produce increasingly better content with every project.
Don’t wait until you feel “ready.” Open a free editor today, import a short clip, and try trimming it. That small action is the beginning of a valuable creative journey.


 浙公网安备
33010002000092号
浙公网安备
33010002000092号 浙B2-20120091-4
Comments
No comments yet. Why don't you start the discussion?