
Personalization is no longer just a luxury—it’s a statement. In a world where off-the-rack clothing dominates, custom embroidery on men’s pants offers a bold way to express individuality. Whether it’s subtle monogramming on the back pocket of jeans or an intricate floral vine creeping up the leg of chinos, embroidered details transform ordinary garments into wearable art. Done right, this craft blends durability with creativity, allowing men to carry their identity in every stitch.
This guide walks through the entire process—from selecting the right fabric and thread to executing clean, long-lasting embroidery. No prior experience is required, but attention to detail and patience are essential. With the right tools and technique, even beginners can produce professional-quality results.
Selecting the Right Pants and Fabric Considerations
Not all trousers respond equally well to embroidery. The success of your design depends heavily on the garment’s material, weave, and structure. Denim, twill, and canvas are ideal due to their tight weaves and durability. Lightweight fabrics like linen or thin cotton may pucker or tear under needle pressure unless properly stabilized.
Consider the placement of your embroidery. Common areas include:
- Back pockets (especially on jeans)
- Side seams or lower cuffs
- Hip or thigh panels
- Waistband exteriors
Avoid areas with heavy stress or frequent bending—such as crotch seams or knee regions—where stitches may fray quickly.
Essential Tools and Materials
Embroidering on pants requires more than just a needle and thread. To achieve precision and prevent damage, gather these supplies:
| Tool/Material | Purpose | Recommended Type |
|---|---|---|
| Embroidery Hoop | Holds fabric taut during stitching | Adjustable wooden or plastic, 5–8 inch diameter |
| Needles | Penetrate fabric without snagging | Embroidery (crewel) needles, size 3–9 |
| Thread | Creates visible design | 6-strand cotton floss (e.g., DMC) or polyester embroidery thread |
| Fabric Stabilizer | Prevents puckering on stretchy or thin materials | Iron-on tear-away or cut-away backing |
| Transfer Tools | Transfers design onto fabric | Water-soluble pen, tracing paper, or iron-on transfer pencils |
| Scissors | Cutting thread cleanly | Small, sharp embroidery scissors |
For machine embroidery, ensure your sewing machine supports embroidery functions or use a dedicated embroidery unit. Always use a jeans or embroidery needle when working with thicker fabrics.
Design Planning and Transfer Process
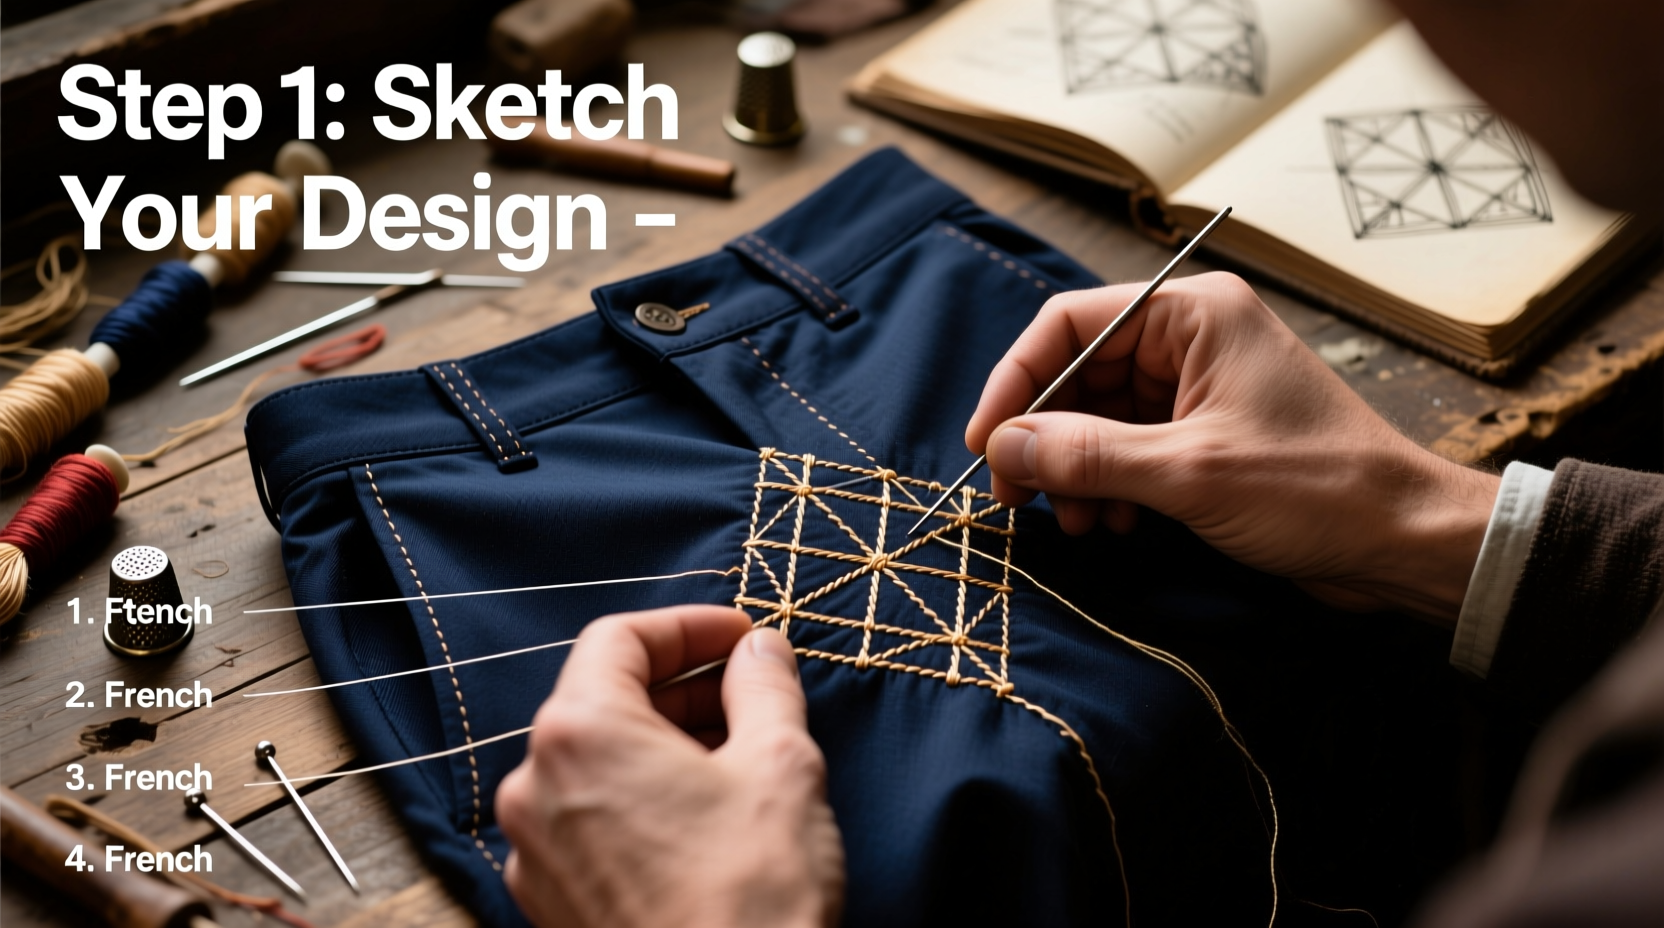
Start with a concept. Inspiration can come from nature, typography, cultural motifs, or personal symbols. Sketch your idea on paper first, keeping in mind the scale and flow of the garment. Simpler outlines work better for beginners; intricate shading or realism requires advanced skills.
To transfer the design:
- Finalize your sketch and scale it to fit the intended area.
- Use tracing paper to copy the outline.
- Place the traced side against the pants and trace over the lines with a stylus or pencil to imprint the design.
- Alternatively, print the design on water-soluble transfer paper and iron it onto the fabric.
- Double-check symmetry and alignment before proceeding.
Keep lines light and removable. A water-soluble pen allows corrections without residue.
“Custom embroidery turns functional clothing into storytelling canvases. Every stitch carries intention.” — Marcus Reed, Textile Artist & Menswear Designer
Step-by-Step Embroidery Execution
Follow this sequence to ensure clean, durable results:
- Prepare the Garment: Turn the pants inside out and press the embroidery area with an iron to remove wrinkles. Attach stabilizer to the inner side using heat (for iron-on types) or temporary adhesive.
- Secure in Hoop: Place the fabric section over the inner hoop ring, then press the outer ring down to tighten. Ensure the design area is flat and taut, not stretched.
- Thread the Needle: Use 2–3 strands of floss for finer detail, or all 6 for bold lines. Knot the end securely.
- Begin Stitching: Start with basic stitches:
- Backstitch – Ideal for outlines and text.
- Satin stitch – Fills shapes with smooth color.
- French knots – Adds texture or dot details.
- Work Section by Section: Complete one element at a time. Avoid pulling thread too tightly to prevent fabric distortion.
- Secure Ends: After finishing a thread length, run the needle under existing stitches on the reverse side to lock it. Do not knot excessively on the back.
- Remove Stabilizer: Once complete, carefully tear away or dissolve the backing as per product instructions.
- Final Press: Iron the area gently from the inside using a pressing cloth to smooth any puckering.
Real-World Example: Customizing Denim for a Signature Look
James, a graphic designer in Portland, wanted to distinguish his everyday workwear. He chose a pair of dark indigo selvedge jeans and decided to embroider a minimalist mountain range along the left back pocket. Using a printed template, he transferred the silhouette with a water-soluble pen. He stitched the outline with black embroidery floss using a backstitch, completing the project over three evenings.
The result was subtle yet unmistakably personal. Colleagues noticed the detail, and within weeks, two friends asked him to replicate the design on their own jeans. James later started a small side business offering custom embroidery services, proving that thoughtful customization can resonate beyond aesthetics.
Common Mistakes and How to Avoid Them
Even experienced crafters make errors. These pitfalls are especially common when working on structured garments like pants:
- Overcrowding the design: Too many elements can overwhelm the garment. Stick to one focal point per pant leg.
- Using non-colorfast thread: Embroidery exposed to washing must resist fading. Opt for UV-resistant or mercerized cotton.
- Neglecting wash care: Hand-wash embroidered pants or use a gentle cycle with cold water. Turn inside out and air dry to preserve stitches.
- Skipping stabilizer: Without support, stitches sink into the fabric or cause rippling.
FAQ
Can I embroider on already-worn pants?
Yes, as long as the fabric isn’t overly worn or frayed. Pre-washing the pants ensures no further shrinkage occurs post-embroidery.
How do I care for embroidered pants?
Wash sparingly and always inside out. Use mild detergent and avoid bleach or fabric softeners. Air drying prevents stress on threads.
Is machine embroidery better than hand embroidery for pants?
Machine embroidery is faster and more uniform, ideal for complex designs. Hand embroidery offers greater artistic control and portability. Choose based on your skill level and desired aesthetic.
Checklist: Ready to Start Your Project?
Before you begin, confirm you have the following:
- ✔ A pair of suitable pants (denim, twill, or sturdy cotton)
- ✔ Embroidery hoop and stabilizer
- ✔ Transfer tool and design sketch
- ✔ Embroidery floss and appropriate needles
- ✔ Sharp scissors and a thimble (optional but helpful)
- ✔ Patience and a clear workspace
Conclusion
Embroidering unique patterns on men’s pants is more than a DIY trend—it’s a revival of craftsmanship in personal fashion. Each stitch reflects thought, effort, and identity. Whether you’re adding a small initial or crafting an elaborate scene, the process invites mindfulness and creativity into daily life.


 浙公网安备
33010002000092号
浙公网安备
33010002000092号 浙B2-20120091-4
Comments
No comments yet. Why don't you start the discussion?