
Grooming your dog at home doesn’t have to be intimidating. With the right tools, technique, and mindset, you can maintain your pet’s coat between professional visits or even handle full grooming sessions yourself. Electric clippers are among the most effective tools for keeping your dog’s fur neat, especially for breeds with thick or fast-growing coats. Done correctly, clipping reduces shedding, prevents matting, and supports skin health. But without proper guidance, it can lead to nicks, stress, or an uneven cut. This guide walks you through every phase of using clippers on your dog safely and effectively—so you achieve results that look as good as a salon job.
Understanding Your Dog’s Coat Type
Before touching a clipper, recognize that not all dogs groom the same way. The approach varies significantly based on coat type:
- Double-coated breeds (e.g., Huskies, Golden Retrievers) have a dense undercoat and longer topcoat. These should never be shaved down completely, as it disrupts natural insulation and sun protection.
- Single-coated breeds (e.g., Poodles, Shih Tzus) grow hair continuously and benefit from regular trims every 4–6 weeks.
- Curly or wiry coats require special blade attachments and careful handling to avoid pulling.
Clipping double-coated dogs too short can lead to “coat funk” — a condition where the undercoat grows back abnormally, causing tangles and poor texture. Always research your breed’s specific needs before beginning.
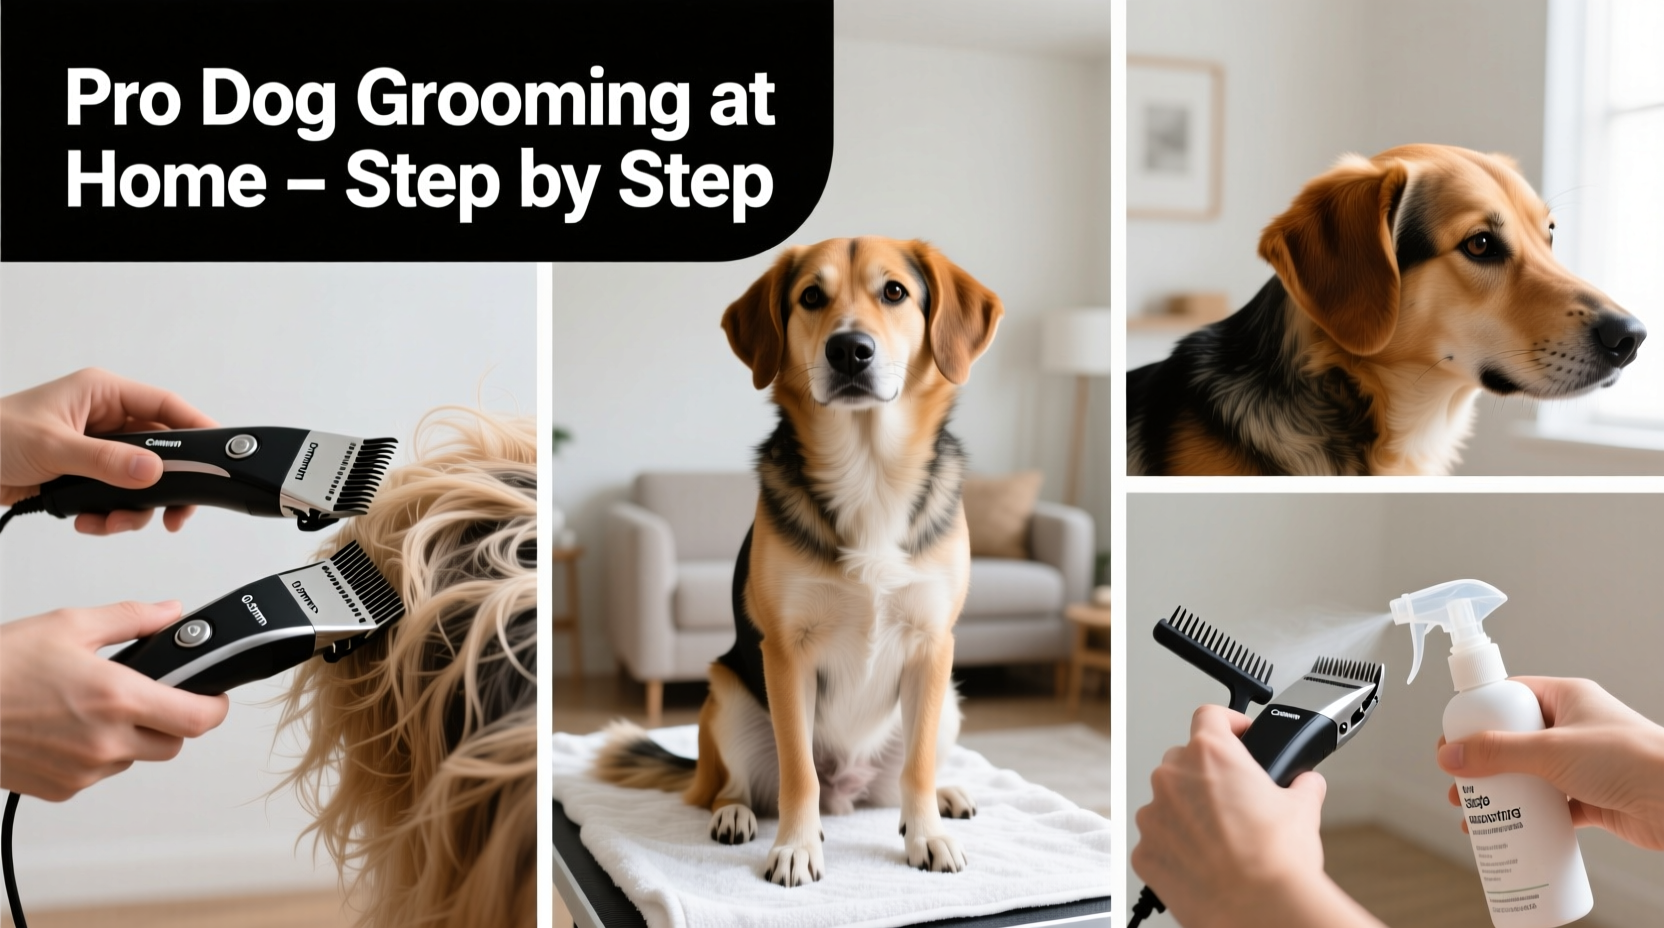
Essential Tools and Preparation
Success starts before the first buzz. Gather these items:
- High-quality pet-grade clippers (not human trimmers)
- Interchangeable blades (typically #10, #7, #4 for body work)
- Clipper oil for lubrication
- Rubber-tipped scissors for face and feet
- A slicker brush and comb
- Non-slip mat for the grooming surface
- Treats for positive reinforcement
- A quiet, well-lit space free from distractions
Choose corded clippers if possible—they offer consistent power. Cordless models are convenient but may lose strength mid-session. Never use dull or overheating blades; they tug painfully at fur. Warm up the clippers briefly before starting to minimize vibration shock.
“Many grooming injuries stem from rushed prep. Take time to desensitize your dog to the sound and feel of clippers—even days in advance.” — Dr. Lena Torres, Veterinary Dermatology Specialist
Step-by-Step Guide to Clipping Your Dog Safely
Follow this timeline for a smooth, professional-style grooming session:
- Brush thoroughly: Remove tangles and loose hair. Skipping this leads to clogged blades and uneven cuts.
- Trim sensitive areas manually: Use blunt-tip scissors around ears, paws, genitals, and under the tail.
- Start with low-noise zones: Begin clipping along the shoulders or back, avoiding the head and legs initially.
- Move with the grain of the coat: Hold the skin taut with one hand while gliding the clipper slowly in overlapping strokes.
- Change blades as needed: Use finer blades (#10) for face and feet, wider ones (#4) for the body.
- Check for hot spots: Pause frequently to feel the blade temperature. Cool it with water or oil if warm.
- Finish with a once-over: Look for missed patches or uneven lines, adjusting gently without overcutting.
- Clean and reward: Wipe down the coat with a damp cloth, then give treats and praise.
Work in 15–20 minute intervals if your dog shows signs of restlessness. Never force stillness—breaks build trust and reduce anxiety.
Do’s and Don’ts When Using Dog Clippers
| Do’s | Don’ts |
|---|---|
| Use pet-specific clippers with adjustable speeds | Never use human hair clippers—they overheat and pull fur |
| Lubricate blades before and after each use | Don’t run dry blades—they wear out quickly and cause friction burns |
| Hold the skin taut when clipping thin areas (belly, legs) | Don’t stretch or pinch the skin during cutting |
| Introduce clippers gradually with sound-only practice runs | Don’t start on the face or paws first—they’re high-sensitivity zones |
| Cool blades with compressed air or a damp cloth | Don’t submerge electric clippers in water |
Real Example: Grooming a Nervous Rescue Terrier
Max, a 3-year-old Jack Russell Terrier adopted from a shelter, flinched at loud noises and resisted handling. His owner, Sarah, wanted to trim his matted legs but feared traumatizing him further. Instead of attempting a full clip, she spent three days acclimating Max: placing the turned-off clippers nearby during meals, then turning them on beside him while offering treats. On day four, she held the vibrating unit near his back without touching him. By day six, she completed a light trim on one shoulder—only five minutes long. Over two weeks, she built up to a full-body session. Today, Max waits patiently by the grooming mat when he hears the treat jar shake. Patience and incremental exposure transformed a potential struggle into a cooperative routine.
Post-Grooming Care and Maintenance
After clipping, inspect your dog’s skin for redness, small cuts, or irritation. Apply a pet-safe antiseptic to minor nicks. Moisturize dry skin with a hypoallergenic balm if needed. Clean the clippers immediately: remove hair buildup with a small brush, wipe blades with a dry cloth, then apply 2–3 drops of clipper oil. Store the unit in a dry drawer with spare blades organized by size.
Monitor your dog over the next 24 hours. Some may scratch more due to newly exposed skin adjusting to air and movement. Avoid bathing within 48 hours of clipping unless medically necessary—wet skin is more prone to chills and infection.
Frequently Asked Questions
Can I shave my double-coated dog in summer?
No. Shaving a double-coated breed removes vital insulation and increases risk of sunburn and heatstroke. Instead, de-shed aggressively with an undercoat rake and keep your dog cool indoors.
Why does my clipper leave streaks or skip patches?
This usually means the blade is dull, clogged with hair, or pressed too hard into the coat. Clean the blade, re-oil it, and let the tool glide—don’t force it. Use sharp, breed-appropriate attachments.
How often should I clip my dog?
Most clipped breeds need grooming every 4–8 weeks, depending on growth rate and lifestyle. Dogs that swim frequently or live in muddy environments may need touch-ups every 3 weeks.
Final Tips for Pro-Level Results
Consistency beats perfection. Even experienced groomers make small mistakes. What matters is building a calm, repeatable process your dog learns to accept—or even enjoy. Keep your movements slow and predictable. Watch your dog’s body language: pinned ears, yawning, or lip licking signal stress. Stop and reset if needed.
Invest in quality tools once rather than replacing cheap clippers repeatedly. A reliable set lasts years with care. And remember: grooming isn’t just about appearance. It strengthens your bond, reveals early health issues (like lumps or parasites), and keeps your dog comfortable year-round.


 浙公网安备
33010002000092号
浙公网安备
33010002000092号 浙B2-20120091-4
Comments
No comments yet. Why don't you start the discussion?