
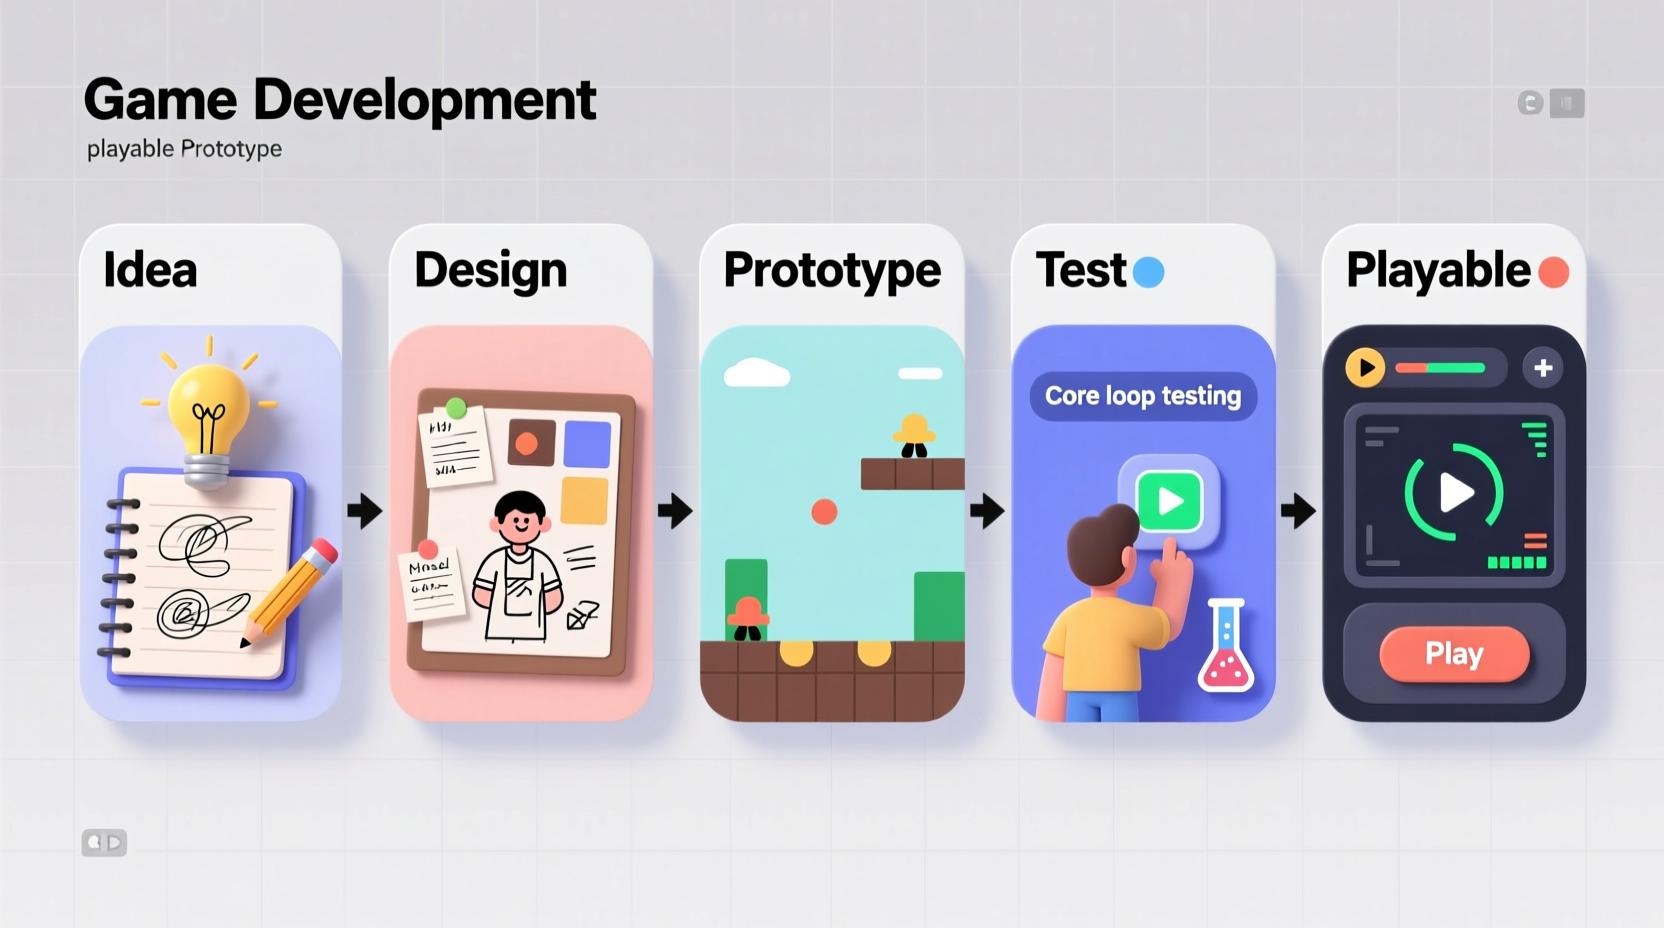
Turning a game idea into a playable experience is one of the most rewarding creative journeys a developer or designer can take. Yet many promising concepts never make it past the sketch phase due to unclear planning, technical overwhelm, or lack of structure. The path from abstract idea to working prototype doesn’t require a team of experts or years of development. With the right approach, even solo creators can build functional, engaging prototypes in weeks—not months.
This guide walks through each essential phase: refining your concept, choosing tools, designing mechanics, building iteratively, and testing early. Whether you’re aiming for a mobile puzzle game, a retro-style platformer, or an experimental narrative experience, this process scales to fit your vision and skill level.
1. Clarify Your Core Game Idea
The strongest game prototypes start with a clear, focused concept. Avoid vague ideas like “an epic RPG with dragons and magic.” Instead, define what makes your game unique in one sentence. This is often called a “elevator pitch” or core design statement.
Ask yourself:
- What is the player’s main goal?
- What action will they repeat most often?
- What emotion should the game evoke—excitement, curiosity, tension?
- What makes this different from existing games?
A well-defined example: “A minimalist puzzle game where players rotate gravity to navigate floating cubes through shifting mazes.” This specifies genre, mechanic, aesthetic, and novelty.
Use the MDA Framework to Structure Design
The MDA (Mechanics, Dynamics, Aesthetics) framework, developed by game researchers Hunicke, LeBlanc, and Zubek, helps break down your idea into actionable components:
| Component | Description | Example |
|---|---|---|
| Mechanics | Rules and systems (jumping, collecting, timing) | Player holds button to charge a jump; release to launch. |
| Dynamics | How mechanics interact during play | Charging too long causes overheating, forcing risk-reward decisions. |
| Aesthetics | Emotional responses evoked | Tension, satisfaction, surprise. |
Start by defining 2–3 core mechanics. Everything else—art, story, levels—should support these.
2. Choose the Right Tools and Engine
Selecting a development environment is critical. The wrong tool can slow progress or limit creativity. For prototyping, prioritize speed, simplicity, and built-in features over raw power.
Popular options include:
- Unity: Flexible, widely supported, great for 2D/3D. Steeper learning curve but excellent documentation.
- Godot: Open-source, lightweight, intuitive node system. Ideal for 2D games and beginners.
- Construct: No-code engine focused on 2D logic. Perfect for designers without programming experience.
- GameMaker Studio: Balance of drag-and-drop and scripting. Used in hits like Hollow Knight and Undertale.
“Prototyping isn’t about making a perfect game—it’s about proving whether the core loop is fun. Use the fastest tool that lets you test that.” — Anna Anthropy, Indie Developer and Author of Rise of the Videogame Zinesters
Set Up Your Development Environment
Before writing code:
- Download and install your chosen engine.
- Create a new project with version control (use Git or integrated backup).
- Organize folders:
/Scenes,/Scripts,/Art,/Audio. - Import placeholder assets (simple shapes, free sounds) to avoid art delays.
3. Build the Minimum Viable Prototype
A playable prototype doesn’t need levels, menus, or music. It needs one thing: a functional core loop. This is the primary cycle of action and feedback the player experiences repeatedly.
For a platformer: jump → land → move → jump again.
For a match-3 game: swap tiles → check matches → clear and refill.
For a simulation: place object → observe behavior → adjust strategy.
Step-by-Step Prototype Timeline (1–2 Weeks)
| Day | Action |
|---|---|
| 1 | Define core mechanic and player input (keyboard/touch). |
| 2–3 | Implement basic movement and interaction (no art, just boxes). |
| 4–5 | Add feedback: sound, particle effects, score changes. |
| 6–7 | Create one self-contained challenge (e.g., single puzzle or enemy encounter). |
| 8–10 | Test, fix bugs, simplify controls. |
| 11–14 | Share with 2–3 testers for first impressions. |
The goal isn’t completeness—it’s validation. Can someone pick it up and understand what to do within 30 seconds? Is there a sense of progression or engagement after one minute?
4. Test Early, Iterate Often
Many developers wait until a game “feels ready” before showing it to others. This is a mistake. Feedback is most valuable when the design is still flexible.
Conduct informal playtests with people unfamiliar with your vision. Watch silently as they play. Note where they hesitate, fail, or disengage. Ask two questions afterward:
- “What did you think the goal was?”
- “What part felt most satisfying—or frustrating?”
Common findings at this stage:
- Controls are unresponsive or unclear.
- The objective isn’t communicated.
- The core mechanic feels repetitive after 60 seconds.
Adjust based on patterns, not isolated comments. One person hating the color blue isn’t a crisis. Three people missing the same tutorial cue is a design flaw.
Mini Case Study: From Confusion to Clarity
Jamie, a first-time developer, created a prototype where players collected glowing orbs while avoiding shadows. Initial testers kept walking into hazards. Reviewing footage, Jamie noticed players didn’t realize shadows were dangerous. The fix? Add a subtle pulsing animation and a low warning tone when near danger. After the change, avoidance success increased from 30% to 85% in playtests. The mechanic hadn’t changed—only the feedback.
5. Essential Pre-Launch Checklist
Before expanding your prototype into a full game, verify these fundamentals work:
- ✅ Core mechanic works without crashes
- ✅ Player understands the goal within 15 seconds
- ✅ Basic controls are responsive and consistent
- ✅ Feedback (sound, visuals) confirms actions
- ✅ Can be played start-to-finish in under 2 minutes
- ✅ Tested by at least 3 external players
- ✅ Source code is backed up and organized
If any item fails, refine before adding new features. Feature creep kills more prototypes than bad code.
Frequently Asked Questions
Do I need to know how to code to make a game prototype?
No. Tools like Construct, GDevelop, and Bitsy allow you to build functional prototypes using visual logic systems. However, learning basic scripting (like C# in Unity or GDScript in Godot) dramatically increases flexibility and problem-solving speed.
How long should a prototype take?
A focused prototype should take 1–3 weeks. If it’s taking longer, you’re likely adding unnecessary complexity. Remember: you’re testing fun, not building a shipping product.
What if my prototype isn’t fun?
That’s normal—and valuable. Most prototypes reveal that the initial idea needs adjustment. Try modifying one variable: speed up movement, increase reward frequency, or simplify choices. Sometimes a small tweak transforms a dull mechanic into something addictive.
Conclusion: Start Small, Think Big
Every major game began as a crude, barely functional test. The difference between an idea and a real game is action. You don’t need permission, funding, or perfection—just a clear concept, the right tools, and the willingness to build, test, and adapt.
Your first prototype won’t be revolutionary. It might be messy, broken, or boring. But it will teach you more than any tutorial. By following this structured approach, you turn abstract inspiration into tangible experience—the foundation of every great game.


 浙公网安备
33010002000092号
浙公网安备
33010002000092号 浙B2-20120091-4
Comments
No comments yet. Why don't you start the discussion?