
A well-ventilated bathroom is essential for maintaining indoor air quality, preventing mold growth, and protecting the integrity of your home’s structure. Without proper ventilation, excess moisture from showers and baths accumulates on walls, ceilings, and fixtures, leading to peeling paint, warped wood, and even health risks from airborne mold spores. Installing a bathroom ventilation fan is one of the most effective ways to manage humidity and ensure long-term durability of your space. This guide walks through every phase of selecting, positioning, wiring, and testing a ventilation fan to deliver consistent, quiet performance tailored to your bathroom’s size and layout.
Selecting the Right Ventilation Fan
The first step in successful installation is choosing a fan that matches your bathroom’s needs. The key metric is CFM (cubic feet per minute), which measures airflow capacity. As a general rule, fans should provide at least 1 CFM per square foot of bathroom area. For example, a 70-square-foot bathroom requires a fan rated at 70 CFM or higher.
Consider additional features such as built-in humidistats, timers, or LED lighting. Humidistat-controlled models automatically turn on when moisture levels rise, eliminating reliance on manual operation. Ductless units recirculate air through filters but are less effective than ducted systems that expel moist air outdoors.
CFM Requirements by Bathroom Size
| Bathroom Size (sq ft) | Minimum Required CFM |
|---|---|
| Up to 50 | 50 |
| 50–100 | 80 |
| 100–150 | 110 |
| Over 150 | 150+ |
Determining Optimal Placement
Fan placement significantly impacts efficiency. Mount the unit as close as possible to the primary moisture source—typically the shower or tub—but not directly above them unless the model is rated for wet locations. Avoid installing over electrical fixtures or recessed lighting to prevent condensation-related hazards.
The ideal location is centered in the ceiling or high on an exterior wall if using a wall-mounted model. Ensure there's direct access to attic space or an exterior wall for duct routing. Never vent into attics, crawl spaces, or soffits; doing so traps moisture and encourages rot and insulation degradation.
“Improperly vented bathroom fans contribute to nearly 30% of residential mold cases in humid climates.” — Dr. Alan Reeves, Indoor Air Quality Specialist
Step-by-Step Installation Process
Proper installation ensures safety, compliance with building codes, and long-term functionality. Follow these steps carefully, especially when working with electrical wiring and structural components.
- Turn Off Power: Switch off the circuit breaker controlling the bathroom. Confirm power is off using a non-contact voltage tester.
- Cut the Ceiling Opening: Use the fan’s template or housing to trace the cutout on the ceiling. Cut precisely with a drywall saw, avoiding joists unless you plan to notch or relocate.
- Run Electrical Cable: Feed 14/2 NM cable from the nearest power source to the fan location. Install a switch box near the door if not already present.
- Install the Housing: Lift the fan housing into the opening and secure it to ceiling joists using provided brackets. Some models include adjustable supports for irregular spacing.
- Connect Wiring: Match black to black (hot), white to white (neutral), and ground to ground. Use wire nuts and secure connections inside the junction box. If the fan includes a light or heater, follow manufacturer-specific wiring diagrams.
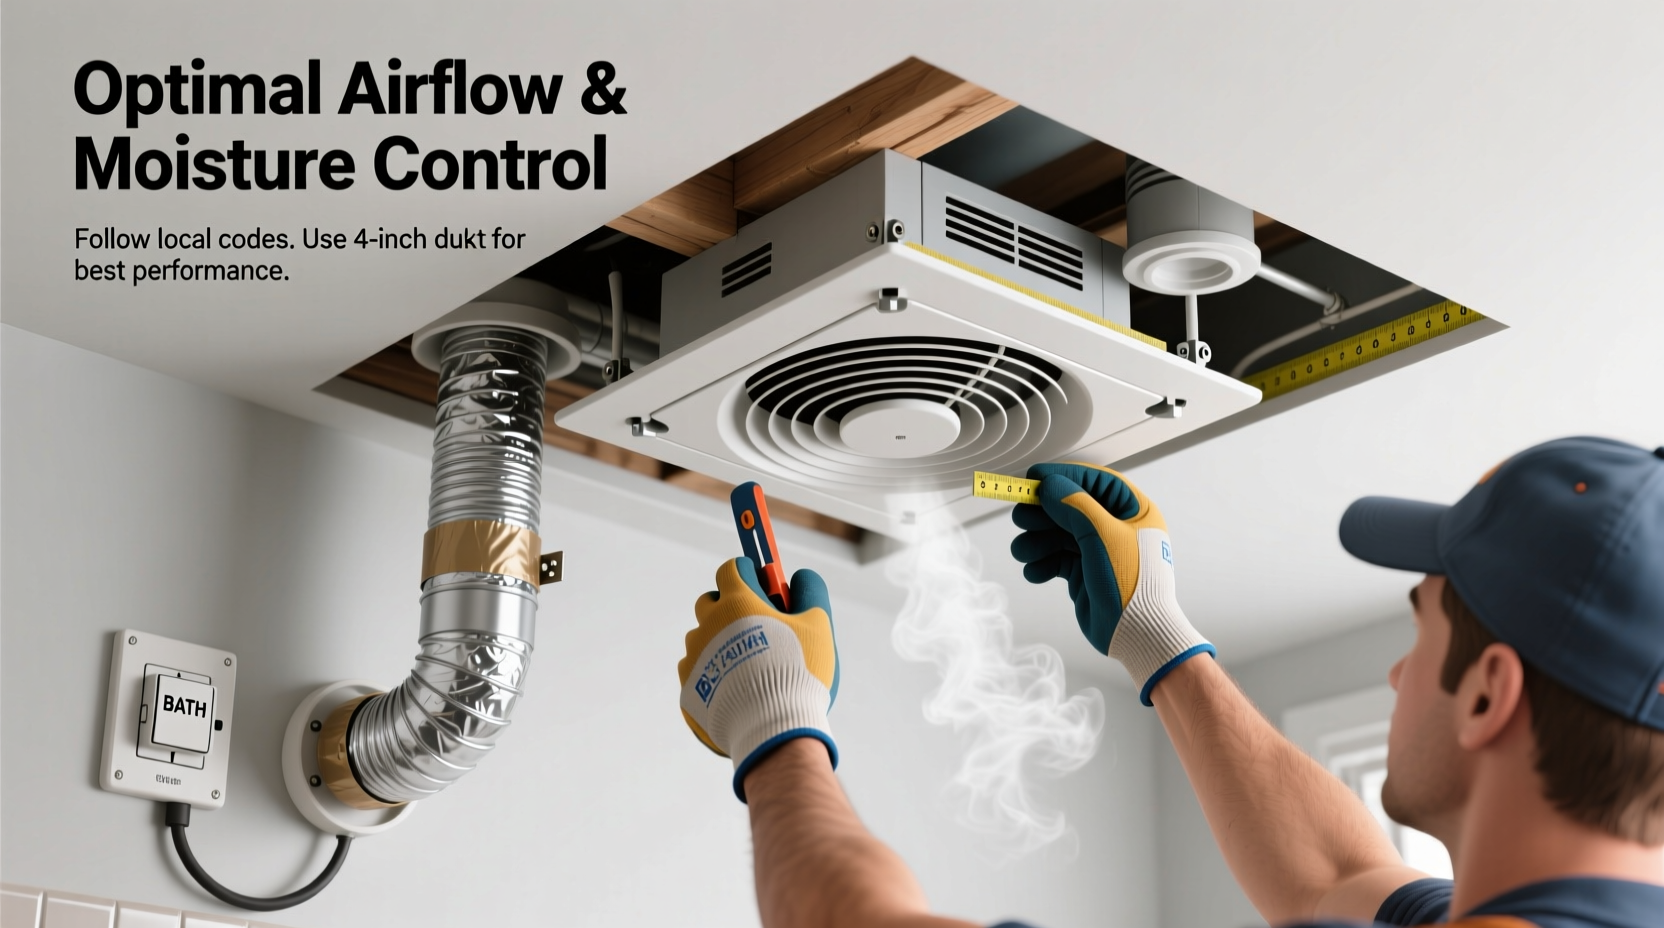
- Attach the Ductwork: Connect rigid metal ducting (preferred) or flexible aluminum duct to the fan outlet. Route it straight to the exterior termination cap. Minimize bends and keep runs under 25 feet for best airflow.
- Seal and Insulate: Seal all joints with foil tape (not duct tape) and insulate ducts in unconditioned spaces to prevent condensation.
- Mount the Grill: Snap or screw the cover grille into place after confirming all components are secure.
Testing and Maintenance Protocol
After installation, test the fan before sealing any gaps. Restore power and operate the unit for at least five minutes. Check for:
- Consistent airflow at the grille
- No unusual vibrations or rattling
- Proper activation of lights or heaters (if equipped)
- Effective outdoor exhaust—hold tissue paper near the exterior vent to confirm suction
Schedule maintenance twice a year. Remove the grille and clean dust buildup with a vacuum and damp cloth. Wipe blades gently to maintain balance and efficiency. Replace filters in models designed with washable or replaceable media.
Maintenance Checklist
- ✅ Clean grille and fan blades every 6 months
- ✅ Inspect duct for kinks or blockages annually
- ✅ Verify exterior vent flap opens freely
- ✅ Test switch and wiring connections for wear
- ✅ Replace aging units showing reduced airflow
Real-World Example: Fixing Chronic Moisture in a Master Bath
In a suburban home in Portland, Oregon, homeowners reported persistent fogging mirrors, peeling caulk, and visible mold along the ceiling edges of their master bathroom. The existing fan was undersized (40 CFM in a 90 sq ft space) and vented into the attic, creating a hidden moisture reservoir.
A licensed contractor replaced it with an 80 CFM insulated inline fan mounted in the attic, connected via rigid duct to a roof-cap termination. The new system included a humidity-sensing switch that activated automatically after showers. Within three weeks, surface condensation disappeared, and relative humidity dropped from 85% to 52% during peak use. After six months, no new mold appeared, and energy costs remained stable due to the fan’s efficient motor.
Frequently Asked Questions
Can I install a bathroom fan without accessing the attic?
Yes. Wall-mounted units can be installed through an exterior wall, allowing horizontal duct runs to terminate outside. This method avoids attic access but requires careful weatherproofing at the exit point.
How do I know if my current fan is working properly?
Hold a single-ply tissue against the grille while the fan is running. If it sticks firmly, airflow is adequate. Also, check that moisture clears within 10–15 minutes after a hot shower. Persistent fog indicates poor performance.
Is it safe to wire the fan to the light switch?
Yes, and it’s often recommended. Connecting both fan and light to the same switch ensures the fan runs whenever the light is on, promoting consistent moisture removal without relying on user habits.
Final Considerations and Long-Term Benefits
A correctly installed bathroom ventilation fan pays dividends in comfort, health, and property value. Beyond preventing mold, proper ventilation reduces odors, protects finishes, and contributes to whole-house air quality. Units with smart controls adapt to usage patterns, enhancing efficiency without sacrificing convenience.
Building codes increasingly require mechanical ventilation in new construction, reflecting its importance in modern homes. Whether upgrading an older model or installing one for the first time, attention to sizing, placement, and duct integrity makes all the difference.


 浙公网安备
33010002000092号
浙公网安备
33010002000092号 浙B2-20120091-4
Comments
No comments yet. Why don't you start the discussion?