
The four leaf clover Apple Watch band has become a favorite among users who value both style and comfort. Known for its soft silicone texture, vibrant green hue, and symbolic charm, this band blends fashion with function. But even the most attractive accessory is only as good as its fit. Installing it correctly ensures comfort, security, and longevity. Whether you're upgrading from your current band or replacing a worn one, this guide walks you through every detail of attaching your four leaf clover band—safely, smoothly, and without damaging your device.
Why the Four Leaf Clover Band Stands Out
Unlike standard sport bands, the four leaf clover variant often features a slightly textured surface for improved grip and breathability. It’s designed to resist sweat and daily wear while maintaining a lightweight feel on the wrist. The unique color and design make it ideal for casual wear, workouts, or even light outdoor activities. However, its flexibility can sometimes make installation tricky if you don’t know the right technique.
Apple’s proprietary quick-release mechanism makes changing bands simple—but only when used correctly. Applying too much force or misaligning the connectors can lead to scratches on the watch body or premature wear on the band pins.
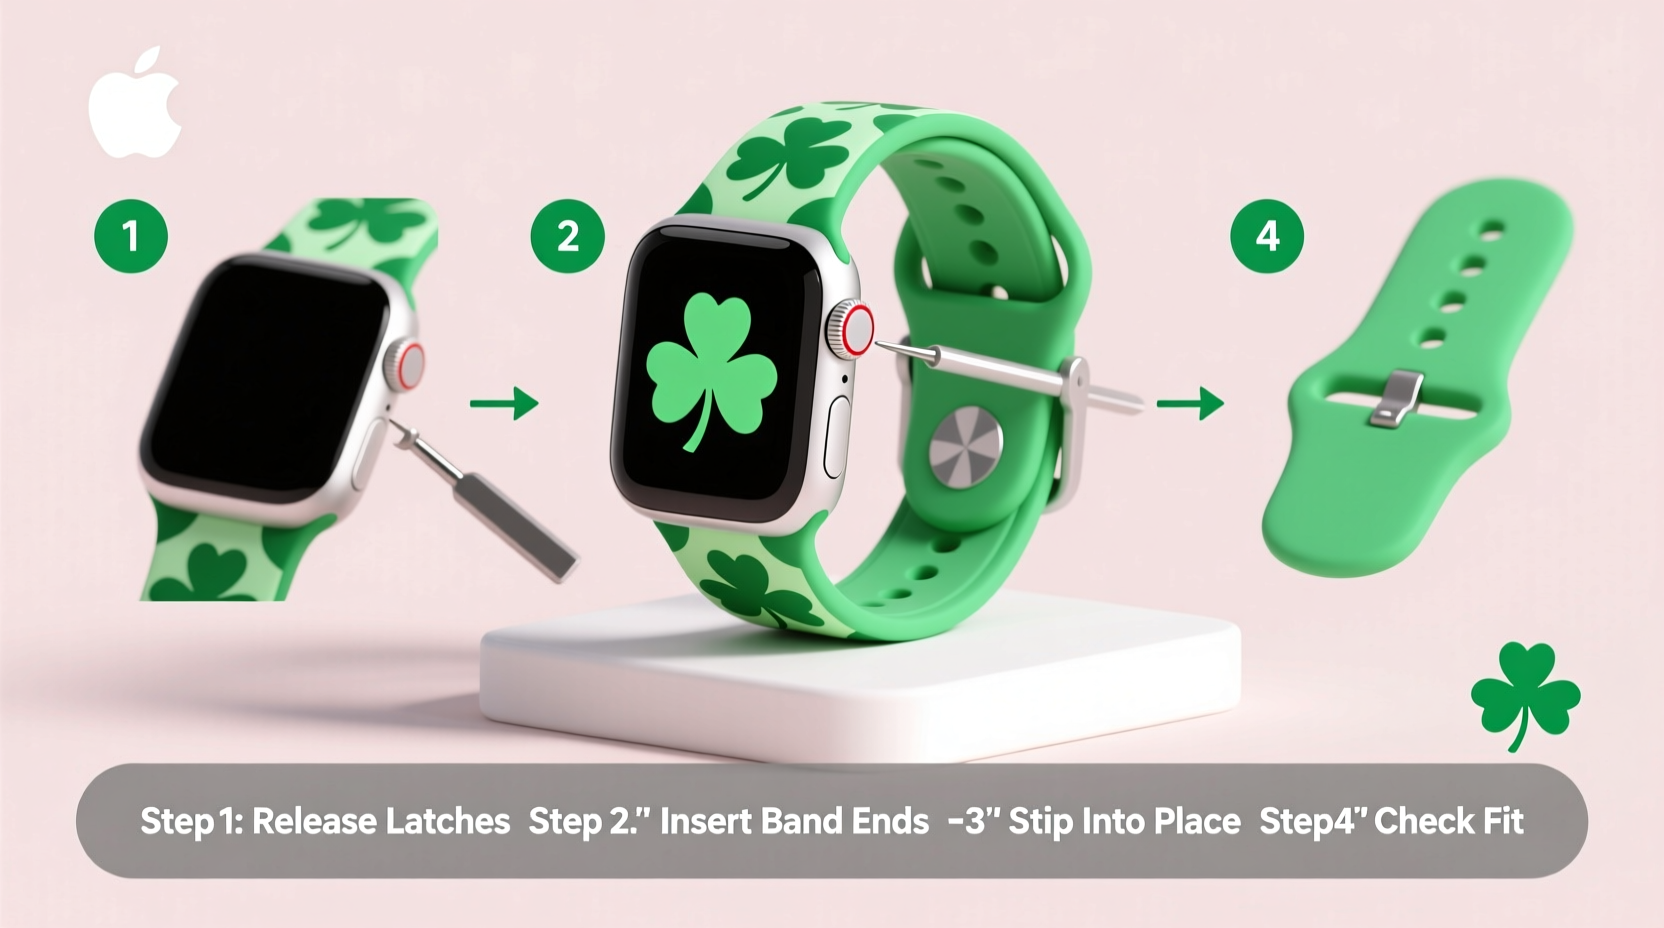
Step-by-Step Installation Process
Follow these steps carefully to install your four leaf clover Apple Watch band with confidence and precision.
- Prepare Your Workspace: Choose a clean, flat surface with ample lighting. Avoid carpets or cluttered areas where small parts could be lost.
- Remove the Old Band (if applicable): Press the release button located on the back edge of the current band near the watch case. Slide the band straight out. Repeat on the other side.
- Inspect the New Band: Check that both connectors are intact and free of debris. The raised dot on each connector should align with the indentation on the watch case.
- Align the First Side: Take the new band and insert one end into the slot on the watch case. Ensure the smooth side of the band faces outward and the text (if any) reads correctly when viewed on your wrist.
- Engage the Connector: Gently push until you hear a soft click. Do not force it; resistance means misalignment.
- Attach the Second Side: Hold the watch securely and angle the second connector into the opposite slot. Again, align the dot with the notch and press gently until it clicks.
- Test the Connection: Lightly tug on both ends to confirm the band is firmly attached. There should be no wobbling or lateral movement.
“Proper alignment is more important than pressure. A well-fitted band should slide in smoothly and lock with minimal effort.” — Jordan Lee, Wearable Device Technician
Common Mistakes to Avoid
Even experienced users occasionally make errors when switching bands. These pitfalls can compromise both safety and durability.
- Using excessive force: Forcing the pin can damage the internal spring mechanism.
- Ignoring orientation: Installing the band upside down affects comfort and aesthetics.
- Skipping inspection: Dust or lint in the connector slots can prevent proper seating.
- Installing one-sided first: Trying to connect one side and then bending the band to reach the other stresses the material unnecessarily.
Do’s and Don’ts Table
| Do’s | Don’ts |
|---|---|
| Align the dot on the band with the notch on the case | Insert the band at an angle or sideways |
| Use gentle, steady pressure when connecting | Force the band if it doesn’t click easily |
| Check both sides are securely locked after installation | Wear the watch immediately without testing stability |
| Clean connectors regularly to maintain performance | Use liquids or cleaners directly on the watch case |
| Store spare bands in a protective pouch | Leave bands exposed to direct sunlight or heat sources |
Real-Life Example: Sarah’s Smooth Transition
Sarah, a fitness instructor from Portland, recently switched to the four leaf clover band after her previous black sport band began cracking from frequent gym use. She initially struggled to attach it, fearing she might break her watch. After watching a tutorial and reading about proper alignment, she followed the step-by-step method outlined here. By ensuring the dot faced upward and using even pressure, she successfully installed the band in under two minutes. Now, she wears it daily during classes and appreciates how the textured surface prevents slippage during high-intensity routines.
“I was nervous at first,” she said, “but once I got the hang of the alignment, it became second nature. Plus, the green color brightens up my whole look.”
Frequently Asked Questions
Can I use non-Apple bands with the same installation method?
Yes, most third-party bands designed for Apple Watch use the same quick-release system. Just ensure they’re certified for your model (Series 1–10, Ultra, etc.) and verify compatibility before purchase.
How tight should the band feel once installed?
The band itself shouldn’t feel tight—that depends on how you adjust the strap. Once connected, it should sit flush against the watch case with no gaps or wiggling. Adjust the loop size on your wrist for comfort.
Is there a risk of scratching the watch during installation?
Potential scratches come from dirt particles or metal tools, not the band itself. Always keep the connection area clean and avoid using sharp objects to assist installation.
Maintaining Your Band After Installation
After successful installation, care plays a major role in extending the life of your four leaf clover band. Rinse it with fresh water after swimming or intense sweating. Dry it completely before reattaching if removed. Avoid leaving it in hot cars or near radiators, as prolonged heat exposure can warp the silicone.
For deep cleaning, use mild soap and a soft cloth. Never submerge your Apple Watch unless it’s rated for water exposure, and always disconnect the band before soaking it separately.
Final Thoughts and Call to Action
Switching to a four leaf clover Apple Watch band doesn’t have to be stressful. With the right approach, it takes less than three minutes and enhances both the look and feel of your wearable. The key lies in patience, proper alignment, and regular maintenance. Once mastered, changing bands becomes a seamless part of personalizing your tech to match your lifestyle.


 浙公网安备
33010002000092号
浙公网安备
33010002000092号 浙B2-20120091-4
Comments
No comments yet. Why don't you start the discussion?