
Protecting your car’s trunk isn’t just about keeping it clean—it’s about preserving the integrity of your vehicle’s interior, maintaining resale value, and ensuring long-term functionality. Universal car trunk mats offer an affordable, adaptable solution for shielding cargo areas from spills, dirt, heavy items, and moisture. Unlike custom-fit mats, universal versions can be trimmed to fit a wide range of vehicles, making them a practical choice for many drivers. However, proper installation is key to maximizing their protective benefits. This guide walks you through every phase—from selection to final placement—with actionable advice to ensure a secure, effective fit.
Selecting the Right Universal Trunk Mat
Before installation begins, choosing the correct mat is essential. Universal mats are typically made from rubber, thermoplastic elastomer (TPE), or heavy-duty carpeting. Rubber and TPE are preferred for all-weather protection due to their resistance to water, oil, and extreme temperatures. Carpeted mats are less durable but may suit seasonal use or aesthetic preferences.
When selecting a universal trunk mat, consider:
- Material durability: Opt for non-slip, odorless, and UV-resistant materials.
- Size: Measure your trunk floor dimensions before purchase. Most universal mats come in large formats (e.g., 36” x 48”) to allow trimming.
- Thickness: A thickness between 3mm and 5mm offers sufficient cushioning without interfering with spare tire access or cargo space.
- Edge retention: Look for mats with raised edges or channels to contain liquids.
Preparation: Tools and Workspace Setup
Installing a universal trunk mat requires minimal tools but precision matters. Gather the following before starting:
- Ruler or measuring tape
- Utility knife or sharp scissors
- Marker or chalk (non-permanent)
- Cutting surface (cardboard or scrap wood)
- Lint-free cloth
- Isopropyl alcohol (for cleaning)
Clear the trunk completely. Remove spare tires, jack kits, cargo organizers, and any loose items. Wipe down the trunk floor with a damp cloth followed by isopropyl alcohol to eliminate dust, grease, or old adhesive residue. A clean surface ensures the mat lies flat and reduces slippage.
Step-by-Step Installation Process
Follow this sequence for optimal results when fitting and trimming a universal trunk mat:
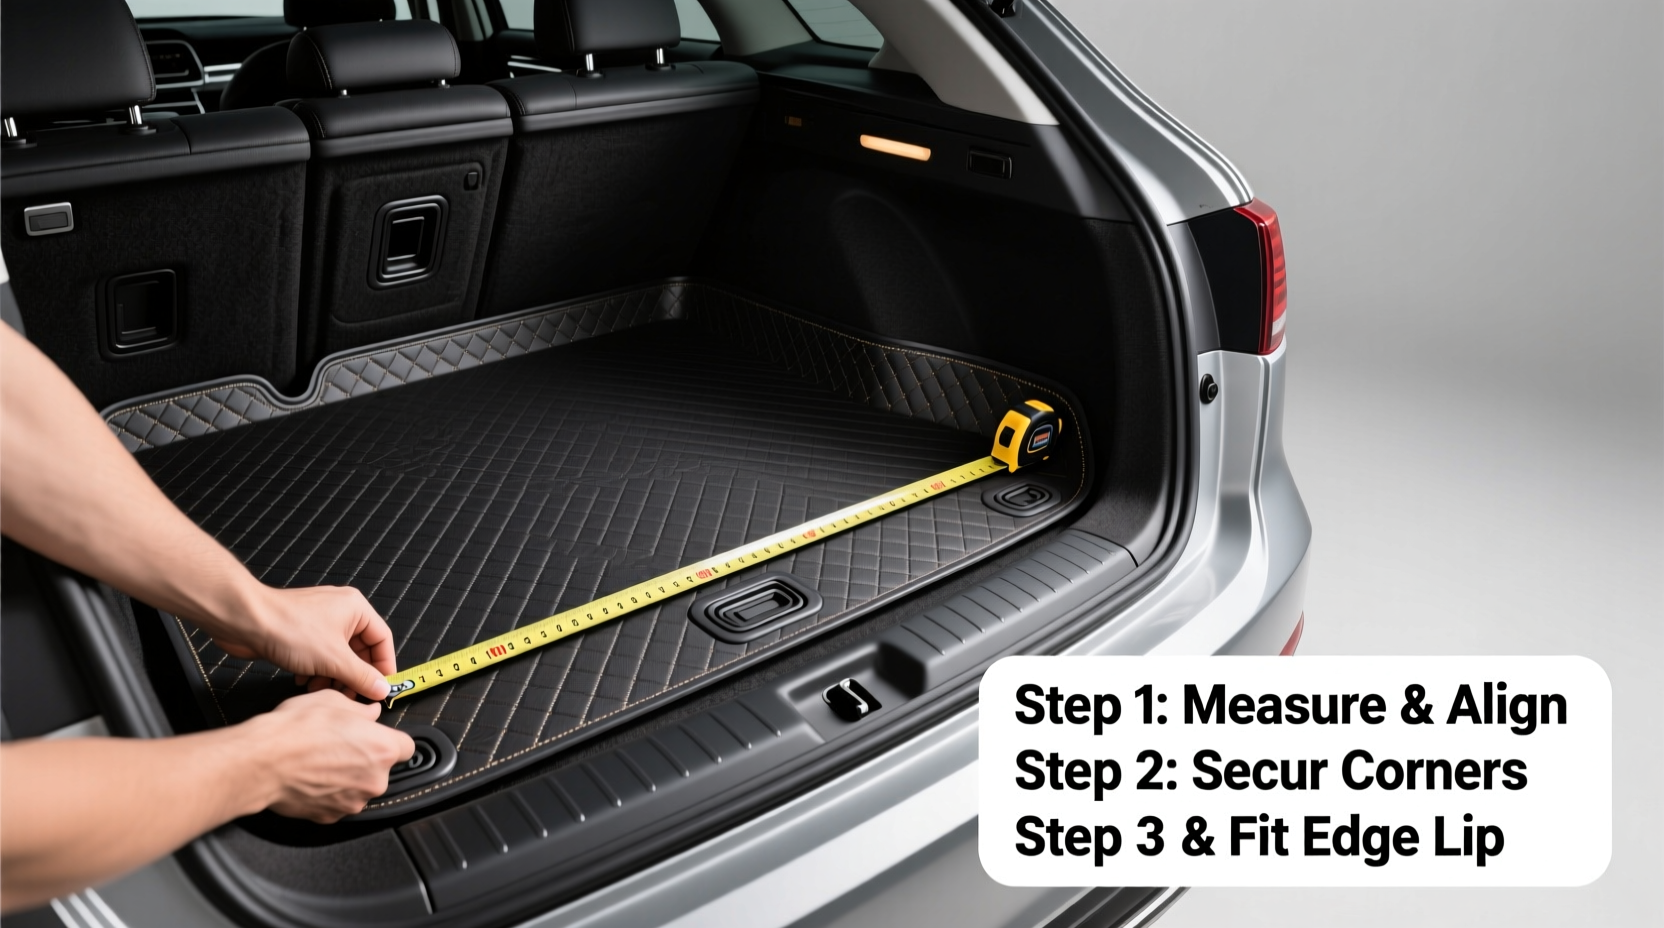
- Position the mat: Lay the mat inside the trunk, aligning one edge flush with the rear seatback or tailgate. Allow overhang on sides and front if necessary.
- Check coverage: Ensure the mat reaches critical zones—especially under the trunk lid latch and near wheel wells. Adjust orientation if needed.
- Trace contours: Use a marker to outline obstructions such as seat release levers, tie-down hooks, or recessed panels. Mark fold lines where the mat should bend at corners.
- Remove and place on cutting surface: Transfer the mat to a protected workspace. Place on top of cardboard or wood to avoid damaging floors.
- Cut openings: Carefully cut out marked areas using short, controlled strokes. For tight curves, start with a small hole and expand gradually.
- Trim perimeter: Trace the outer edge of the trunk floor onto the mat, then cut along the line. Maintain a 1/8-inch margin—you can always trim more, but you can't add material back.
- Dry-fit: Return the mat to the trunk. Check alignment, edge coverage, and clearance around moving parts. Make minor adjustments as needed.
- Final placement: Once satisfied, press the mat firmly into place. Smooth out air pockets by hand, starting from the center outward.
“Precision trimming is what separates a professional-looking install from one that shifts and bunches. Take your time—measure twice, cut once.” — Daniel Reyes, Automotive Interior Specialist
Do’s and Don’ts During Installation
| Do’s | Don’ts |
|---|---|
| Use a sharp blade for clean cuts | Use dull scissors that tear the material |
| Clean the trunk floor before placing the mat | Install over dirt or debris |
| Test fit before finalizing cuts | Trim everything in one go without checking fit |
| Leave slight overhang at corners for full coverage | Cut too close to structural edges |
| Secure with non-residue double-sided tape if needed | Use strong adhesives that damage factory coatings |
Maintaining Your Trunk Mat Post-Installation
Even the best-installed mat requires upkeep. Clean it monthly using mild soap and water. For rubber or TPE mats, rinse thoroughly and dry upright to prevent mold. Avoid high-pressure hoses that can force water under the mat and into sensitive areas like taillight housings or subwoofer enclosures.
If your vehicle has fold-down seats, periodically check that the mat doesn’t interfere with seat latches or folding mechanisms. Realign or re-trim if creasing causes misalignment. Rotate the mat every few months if uneven wear appears—this extends lifespan and maintains consistent protection.
Real-World Example: Fitting a Mat in a Compact SUV
Sarah, a delivery driver in Seattle, frequently transports wet packages and bulky equipment in her 2018 Honda HR-V. After noticing stains and scuff marks on her trunk liner, she purchased a universal TPE trunk mat. She measured her cargo floor (approximately 35” x 38”), selected a 36” x 48” mat, and laid it in place. Noticing interference with the rear seat release lever on the left side, she marked the obstruction, removed the mat, and cut a 2” x 3” notch. She also trimmed the front edge to accommodate the spare tire well. After a second test fit, she pressed the mat down firmly and secured the front corners with automotive-grade double-sided tape. The result? A snug, functional fit that survived daily use, rain, and muddy boots—all without shifting or curling.
Frequently Asked Questions
Can I install a universal trunk mat without cutting it?
Yes, if your trunk is smaller than the mat and the excess material doesn’t obstruct closing the tailgate or folding seats. However, untrimmed edges may curl or catch on items, reducing effectiveness. Trimming ensures a tailored fit and better performance.
Will a universal mat damage my car’s paint or trim?
High-quality mats made from non-toxic, non-abrasive materials will not harm factory finishes. Avoid mats with rough backings or chemical odors, which may indicate low-grade compounds. Always clean the trunk floor before installation to prevent trapped grit from scratching surfaces.
How often should I replace a universal trunk mat?
With proper care, a rubber or TPE mat lasts 3–5 years. Signs it’s time to replace include cracking, persistent odor, loss of shape, or failure to lie flat. Inspect annually for wear, especially in high-movement zones.
Final Checklist Before Driving Off
- ✅ Mat lies completely flat with no lifting edges
- ✅ All obstructions (levers, bolts, wells) are properly cut out
- ✅ No interference with seat folding or tailgate closure
- ✅ Surface is clean and free of wrinkles or bubbles
- ✅ Spare tire access remains unobstructed (if applicable)
Conclusion
A well-installed universal trunk mat does more than keep your cargo area tidy—it acts as a first line of defense against wear, corrosion, and costly interior repairs. With careful measurement, precise trimming, and routine maintenance, you can achieve a near-custom fit that protects your investment mile after mile. Whether you're hauling groceries, sports gear, or work equipment, taking the time to install your trunk mat correctly pays off in cleanliness, convenience, and long-term vehicle care.


 浙公网安备
33010002000092号
浙公网安备
33010002000092号 浙B2-20120091-4
Comments
No comments yet. Why don't you start the discussion?