
Protecting your iPhone starts the moment you take it out of the box. An all-inclusive case—designed to cover every edge, button, and port—is one of the most effective ways to guard against drops, scratches, and everyday wear. But even the best case won’t perform well if it’s not installed correctly. A misaligned fit can compromise access to controls, interfere with charging, or leave vulnerable gaps. This guide walks through each stage of installation with precision, ensuring your iPhone receives full coverage without sacrificing functionality.
Selecting the Right All-Inclusive Case
Before installation begins, choosing the correct case is essential. “All-inclusive” typically means the case offers 360-degree protection, including raised bezels around the screen and camera, reinforced corners, and precise cutouts for speakers, microphones, and ports. Not all cases labeled as such deliver equal quality.
Look for models specifically designed for your iPhone model. Cases made for iPhone 14 will not fit an iPhone 15, even if they appear similar. Check product specifications for materials—polycarbonate shells with TPU (thermoplastic polyurethane) interiors offer shock absorption while maintaining rigidity. Some premium options include drop-tested ratings (e.g., MIL-STD-810G), which verify performance under impact.
Preparation: Cleaning and Inspection
A clean surface ensures a seamless fit. Dust or debris trapped between the phone and case can cause pressure points, lead to cracking, or prevent full closure. Begin by powering off your iPhone to eliminate static interference during installation.
- Wipe the entire surface of the iPhone with a microfiber cloth slightly dampened with water or a 70% isopropyl alcohol solution. Avoid spraying liquid directly onto the device.
- Clean the inside of the case using a cotton swab or soft brush to remove any manufacturing residue.
- Inspect both the phone and case for defects—warped edges, uneven thickness, or misaligned ports indicate poor quality.
Allow all surfaces to dry completely before proceeding. Even minimal moisture can reduce grip and create slippage during installation.
Step-by-Step Installation Process
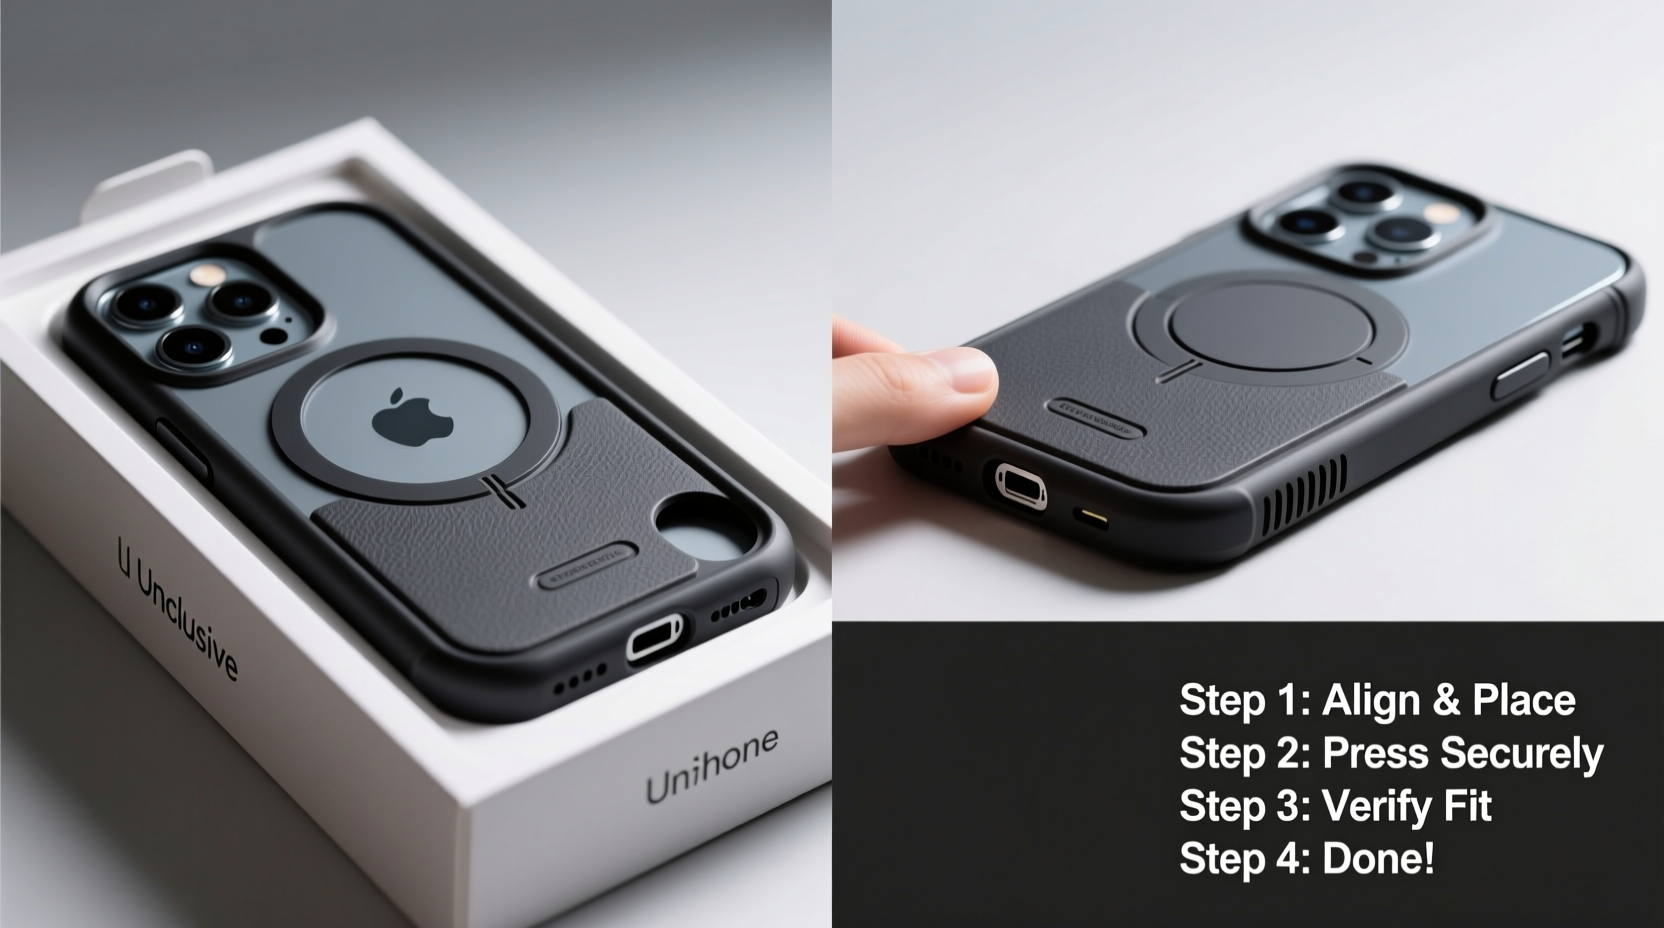
Installing an all-inclusive case requires patience and attention to detail. Rushing increases the risk of damaging either the phone or the case. Follow this sequence carefully:
- Align the bottom first: Hold the case so the Lightning port opening matches the iPhone’s port. Gently insert the bottom edge into the case, ensuring the speaker and microphone cutouts line up precisely.
- Secure the top edge: Once the bottom is seated, press down on the top of the phone where the front-facing camera and sensor array are located. Make sure the cutout for the TrueDepth camera system is perfectly centered. <3> Engage the sides gradually: Starting from the volume buttons side, apply gentle, even pressure along the edge. Move in small sections rather than trying to snap the entire side at once. Repeat on the opposite side.
- Check button functionality: Test the power button and volume rockers. They should click smoothly without feeling loose or overly stiff. If resistance occurs, reposition the case slightly and re-press the area.
- Verify port and speaker access: Plug in your charging cable and confirm it fits without obstruction. Listen to audio playback to ensure speaker clarity isn’t muffled.
If the case resists snapping into place, do not force it. Remove it and double-check alignment. Forcing can crack the plastic or damage internal components.
| Stage | Action | Common Mistake |
|---|---|---|
| Alignment | Match ports and camera cutouts | Starting from the top instead of the bottom |
| Press-Fit | Apply even pressure along edges | Using excessive force on corners |
| Testing | Check buttons, charging, sound | Skipping functional tests after installation |
Expert Insight: Why Fit Matters Beyond Protection
Proper installation affects more than just durability—it influences usability and thermal management. A poorly fitted case can block ventilation paths near the processor, leading to overheating during intensive tasks like gaming or video recording.
“Even a millimeter of misalignment can degrade user experience. A case should enhance protection without becoming a barrier to interaction.” — Dr. Lena Torres, Mobile Device Ergonomics Researcher, Institute for Consumer Technology
In lab testing, phones with ill-fitting cases showed up to 18% higher surface temperatures during sustained use. Additionally, misaligned screen bezels were more likely to allow dust ingress, which over time interferes with touch sensitivity.
Tips for Long-Term Fit Maintenance
Once installed, the work doesn’t end. Over time, cases can loosen due to material fatigue, especially in extreme temperatures. Regular maintenance preserves both fit and function.
- Remove the case monthly to clean both surfaces and inspect for wear.
- Replace the case if you notice cracking, warping, or persistent gaps along the edges.
- Avoid leaving the phone in hot environments (e.g., dashboards) for extended periods, as heat deforms TPU materials.
- Use a screen protector in conjunction with a raised-bezel case to prevent direct contact when face-down.
Mini Case Study: Recovering from a Failed Installation
Jamal, a freelance photographer, purchased a high-end all-inclusive case for his iPhone 15 Pro Max. Excited to protect his primary work device, he attempted installation immediately after unboxing. He started by pressing the top edge first, forcing the bottom corners last. The case appeared to fit, but the volume buttons felt sluggish.
After two days, he noticed a faint buzzing during calls—his microphone was partially blocked. Upon removal, he found compressed fibers from the cleaning cloth had been trapped beneath the case, distorting the fit. Following the proper bottom-first method and cleaning thoroughly, he successfully reinstalled the case. Button response improved, and audio clarity returned.
This example underscores the importance of methodical installation—even experienced users benefit from revisiting fundamentals.
FAQ
Can I install an all-inclusive case with a screen protector already on?
Yes, most modern cases are designed to accommodate thin tempered glass or film screen protectors. However, ultra-thick protectors may interfere with the screen bezel clearance, causing pressure marks. Stick to protectors under 0.3mm in thickness for optimal compatibility.
What should I do if the case won’t snap into place?
Do not use tools or excessive force. First, verify you have the correct model. Then, check for debris or misalignment. Try warming the case slightly with warm (not hot) water for 30 seconds—this makes TPU more pliable. Dry thoroughly before retrying.
How often should I replace my iPhone case?
Every 12–18 months under normal use. Signs it’s time to replace include yellowing (especially in clear cases), reduced button responsiveness, or visible cracks. In harsh environments (construction sites, outdoor work), consider replacing every 6–9 months.
Final Checklist Before Use
Before declaring the installation complete, run through this final verification:
- ✅ All ports (Lightning, speaker, mic) are fully accessible
- ✅ Buttons depress smoothly and return promptly
- ✅ Camera lens is unobstructed and centered
- ✅ Screen does not touch the case when pressed
- ✅ No visible gaps along seams or corners
- ✅ Wireless charging works without removing the case
Conclusion
An all-inclusive iPhone case is only as effective as its installation. Precision, cleanliness, and patience determine whether your device remains protected and fully functional. By following this guide, you ensure that every feature operates as intended while maximizing defense against daily hazards. Your iPhone is a significant investment—treat its protection with the same care you give to its use.


 浙公网安备
33010002000092号
浙公网安备
33010002000092号 浙B2-20120091-4
Comments
No comments yet. Why don't you start the discussion?