
Setting up a reliable development environment is the foundation of productive coding. Visual Studio Code (VS Code) has emerged as one of the most popular editors among Python developers due to its lightweight design, powerful extensions, and deep integration capabilities. However, getting Python fully operational in VS Code requires more than just installing an extension. It involves proper installation, interpreter selection, environment configuration, and tooling setup. This guide walks through each phase with precision, ensuring you build a robust, error-free workspace from day one.
1. Install Python on Your System
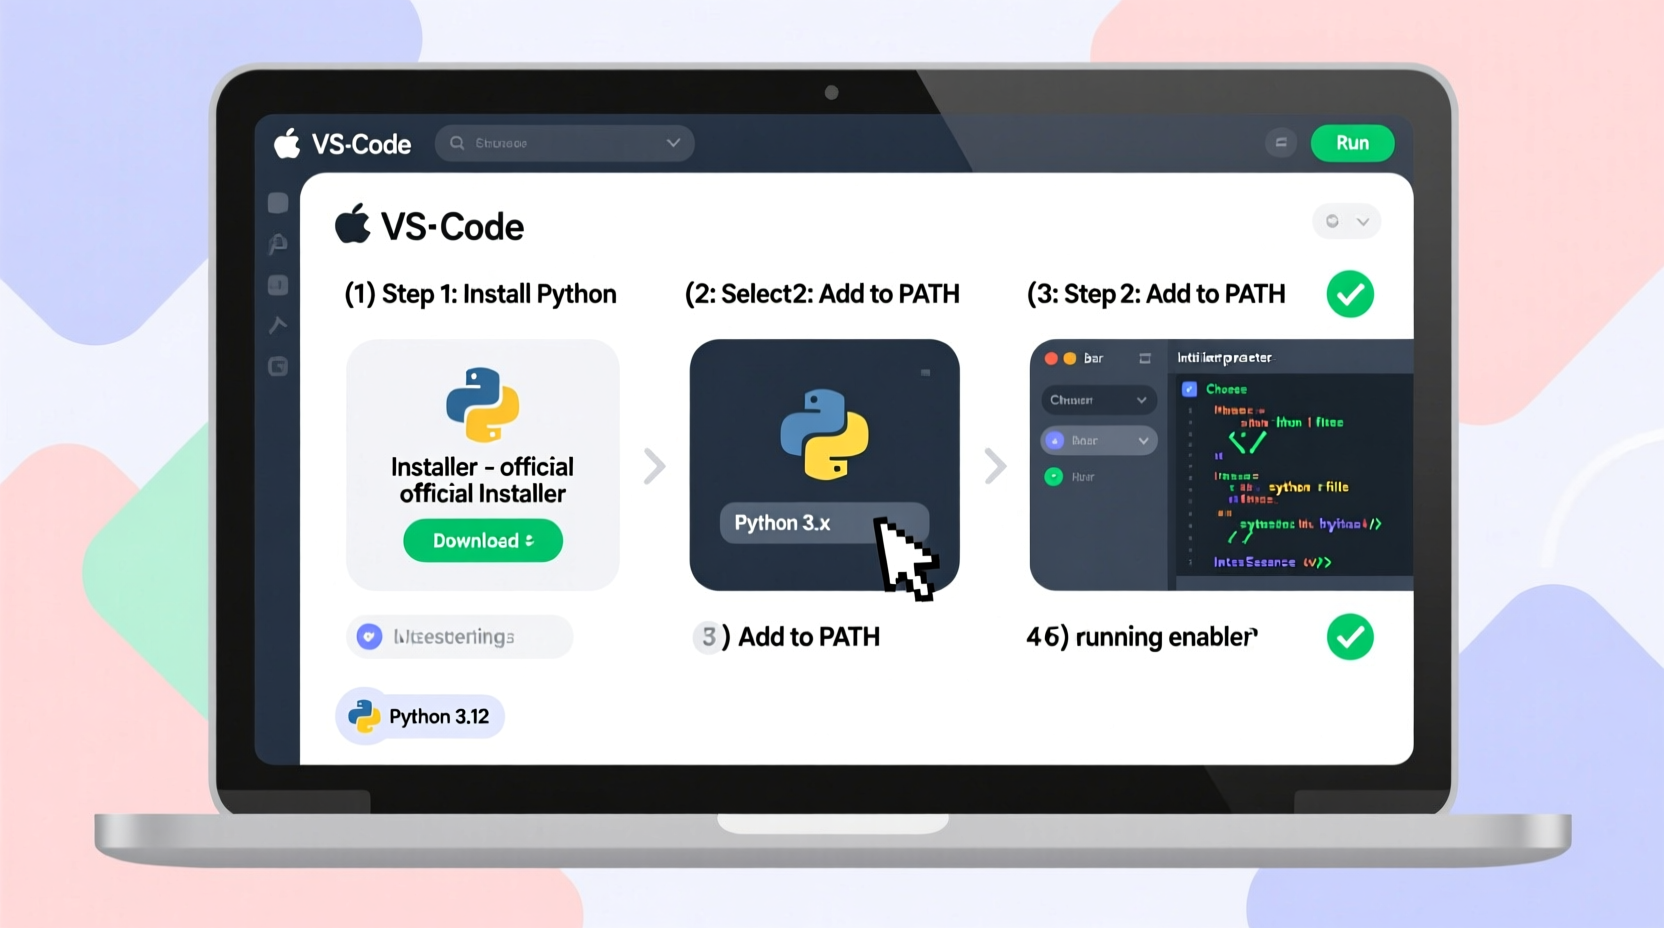
Before integrating Python with VS Code, ensure Python is correctly installed on your machine. While many systems come with Python pre-installed, relying on system defaults can lead to version conflicts or missing development tools.
- Visit the official Python website at
python.org. - Navigate to the Downloads section and select the latest stable version compatible with your operating system (Windows, macOS, or Linux).
- Run the installer. On Windows, make sure to check “Add Python to PATH” during installation — this avoids command-line issues later.
- Verify the installation by opening a terminal and typing:
python --versionIf the command returns a version number (e.g., Python 3.12.0), the installation was successful. If not, revisit the PATH configuration or reinstall with correct settings.
python -m pip --version to confirm that pip, the package manager, is also installed.
2. Install and Configure Visual Studio Code
Download VS Code from code.visualstudio.com. The editor is free, open-source, and available across platforms. After installation, launch the application and perform initial setup:
- Open the Extensions view by clicking the square icon on the left sidebar or pressing Ctrl+Shift+X (or Cmd+Shift+X on macOS).
- Search for “Python” and install the official extension developed by Microsoft. This adds syntax highlighting, linting, debugging, IntelliSense, and Jupyter notebook support.
- Optionally, install the “Pylance” extension for enhanced language support, including type checking and faster autocomplete.
Once installed, restart VS Code to activate the features. The Python extension automatically detects existing Python interpreters but may require manual selection if multiple versions are present.
3. Select the Correct Python Interpreter
VS Code supports multiple Python environments (system-wide, virtual, conda, etc.). Choosing the right interpreter ensures your code runs in the intended context.
- Open a Python file (.py) or create a new one.
- Press Ctrl+Shift+P to open the Command Palette.
- Type “Python: Select Interpreter” and select it.
- A list of detected Python installations appears. Choose the one matching your desired version (e.g., Python 3.12). If using a virtual environment, navigate to its
bin/python(Linux/macOS) orScripts\\python.exe(Windows) directory.
The selected interpreter appears in the bottom-left corner of the status bar. This visual cue helps prevent accidental execution in the wrong environment.
| Environment Type | Use Case | Interpreter Path Example |
|---|---|---|
| Global Python | System-wide scripts, learning | /usr/bin/python3 (Linux) |
| Virtual Environment | Project isolation, dependency control | ./venv/bin/python |
| Conda Environment | Data science, scientific computing | ~/anaconda3/envs/myenv/bin/python |
python -m venv myenv to generate one.
4. Configure Development Tools and Linting
A well-configured editor catches errors early and enforces clean code practices. VS Code supports several linters and formatters out of the box.
To enable linting:
- Ensure
pipis updated:python -m pip install --upgrade pip. - Install a linter such as
flake8orpylint:
pip install flake8- In VS Code, go to Settings (Ctrl+,) and search for “Python: Linting”.
- Enable linting and select your preferred tool under “Python › Linting: Enabled Linters”.
- Save a Python file to trigger real-time feedback in the Problems panel.
For code formatting, integrate black or autopep8:
pip install blackThen set “Editor: Default Formatter” to ms-python.black-formatter in settings. Now, pressing Shift+Alt+F auto-formats your code according to PEP 8 standards.
“Consistent formatting and static analysis reduce bugs by up to 30% in early development.” — Dr. Lena Torres, Software Engineering Researcher at MIT
5. Debugging and Running Python Scripts
One of VS Code’s strongest features is its integrated debugger. To run and debug a script:
- Create a
.vscodefolder in your project root. - Inside it, create a file named
launch.json. - Add the following configuration:
{
    \"version\": \"0.2.0\",
    \"configurations\": [
        {
            \"name\": \"Python: Current File\",
            \"type\": \"python\",
            \"request\": \"launch\",
            \"program\": \"${file}\",
            \"console\": \"integratedTerminal\"
        }
    ]
}- Set breakpoints by clicking to the left of line numbers in your code.
- Press F5 to start debugging. Execution halts at breakpoints, allowing inspection of variables and call stacks.
You can also run scripts directly via the terminal within VS Code. Open the integrated terminal (Ctrl+`) and execute:
python script.pyThis method is ideal for quick tests and interactive sessions.
Checklist: Ready-to-Go Python Setup in VS Code
Follow this checklist to verify your environment is fully configured:
- ✅ Python installed and accessible via terminal
- ✅ VS Code installed with Python and Pylance extensions
- ✅ Correct interpreter selected for the project
- ✅ Virtual environment created (recommended)
- ✅ Linter (e.g., flake8) installed and enabled
- ✅ Formatter (e.g., black) configured
- ✅ Debug configuration (
launch.json) set up - ✅ First script successfully executed
Real-World Example: Setting Up a Flask Project
Consider a developer starting a Flask web application. They begin by creating a project folder and initializing a virtual environment:
mkdir flask-app
cd flask-app
python -m venv venv
They activate the environment and install Flask:
source venv/bin/activate  # Linux/macOS
venv\\Scripts\\activate     # Windows
pip install flask
In VS Code, they open the folder, select the interpreter inside venv/bin/python, and create app.py with a basic route. With linting enabled, they immediately catch an undefined variable. After fixing it, they press F5 — the Flask server starts, and the app loads in the browser. This seamless flow demonstrates the power of a properly configured setup.
FAQ
Why doesn’t VS Code detect my Python interpreter?
This usually occurs when Python isn’t added to the system PATH or the Python extension isn’t activated. Reinstall Python with “Add to PATH” enabled, then reload VS Code. You can manually add the interpreter path via the Command Palette.
Can I use Anaconda with VS Code?
Yes. After installing Anaconda, open an environment via the terminal and launch VS Code from there using code .. The editor will automatically recognize the conda interpreter. Alternatively, manually select the Python executable from the conda environment path.
How do I switch between Python versions in different projects?
Each project should have its own workspace settings. Open the project folder, select the appropriate interpreter using “Python: Select Interpreter,” and VS Code remembers it for future sessions in that folder.
Conclusion
A seamless Python development experience in VS Code is achievable with deliberate setup and attention to detail. From interpreter selection to linting and debugging, each component plays a role in building a responsive, intelligent coding environment. By following these steps, you eliminate common pitfalls and lay the groundwork for efficient, scalable development. Whether you're writing simple scripts or complex applications, a well-tuned editor amplifies your productivity and reduces frustration.


 浙公网安备
33010002000092号
浙公网安备
33010002000092号 浙B2-20120091-4
Comments
No comments yet. Why don't you start the discussion?