
Replacing or adjusting a metal bracelet on your watch may seem like a minor task, but when done incorrectly, it can lead to discomfort, misalignment, or even the loss of your timepiece. Whether you're upgrading from a leather strap or fine-tuning fit after resizing, proper installation ensures both comfort and security. This comprehensive guide walks you through each stage—from selecting the right tools to final tension checks—with precision techniques used by professional watchmakers.
Essential Tools and Materials
Before beginning, gather the necessary tools. Using the correct equipment prevents damage to your watch case, bracelet links, or pins. Most metal bracelets use either spring bars or solid pins secured with screws or friction. Identifying your bracelet type is the first critical step.
- Spring bar tool – For bracelets with quick-release spring bars.
- Pin removal tool (or push pin tool) – Needed for solid-link bracelets with removable pins.
- Micro screwdriver set – Required if your bracelet uses screws instead of friction pins.
- Soft cloth or watch holder – To protect the watch face and case during work.
- Magnifying glass or loupe – Helps identify small markings and alignment indicators.
- Ruler or sizing gauge – For measuring wrist size and link removal accuracy.
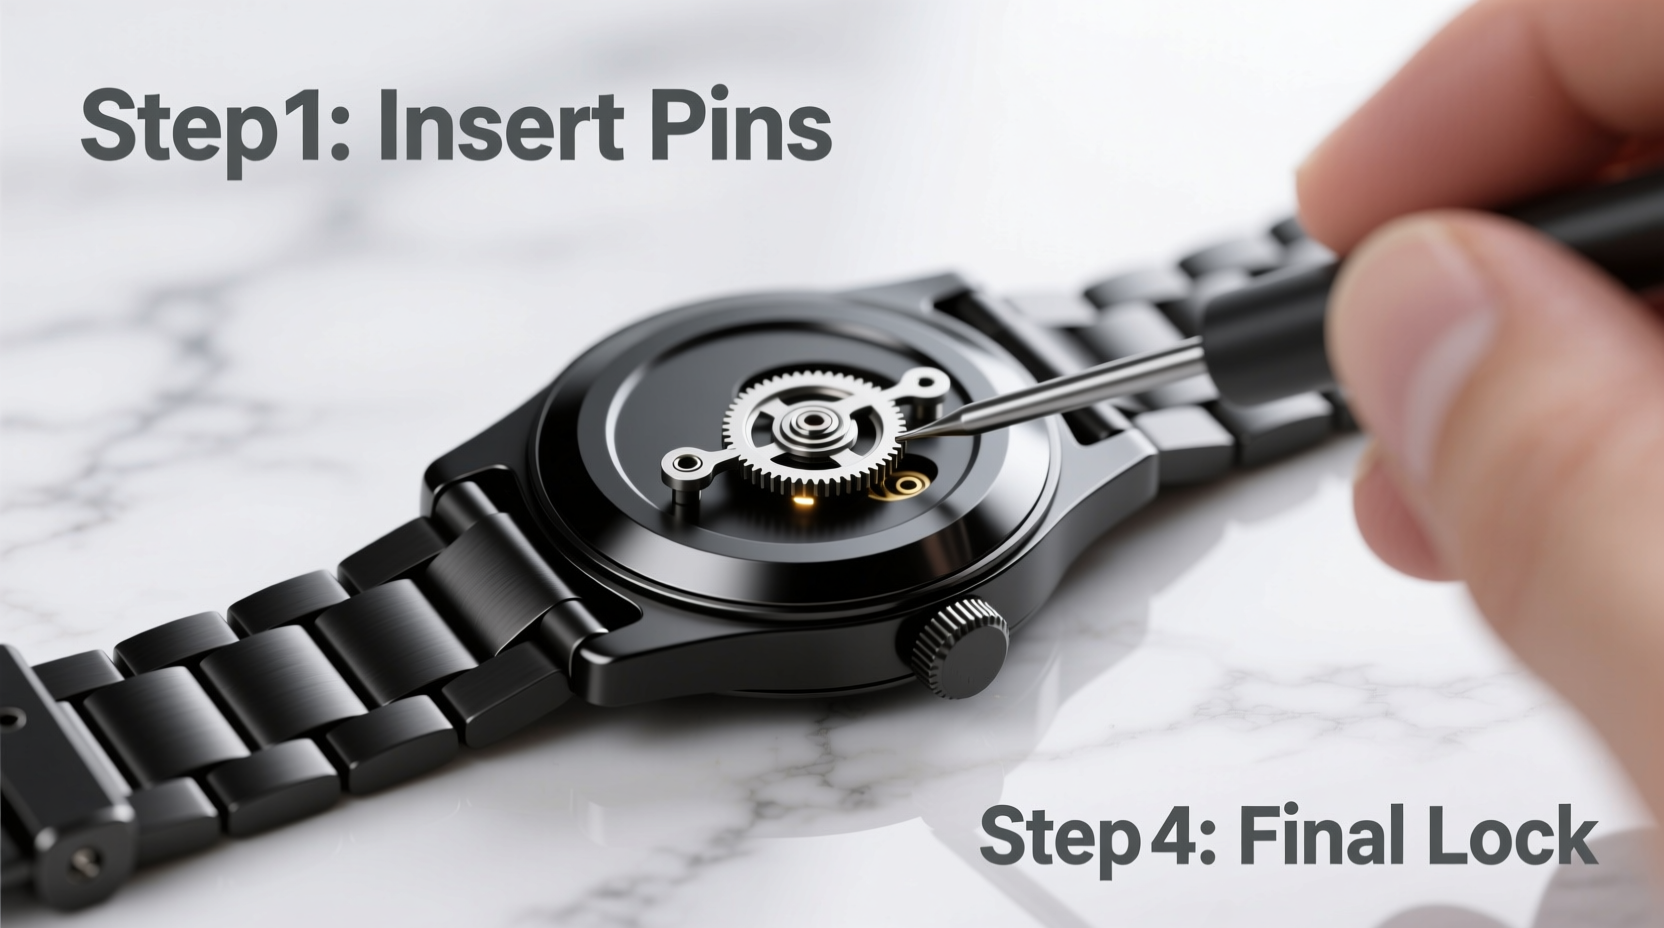
Step-by-Step Installation Process
Follow this sequence carefully to install and secure your metal bracelet safely. These steps apply to most mid-to-high-end watches with standard deployment or fold-over clasps.
- Measure your wrist: Use a flexible tape measure around the fullest part of your wrist. Note where the end of the clasp should sit—ideally, one middle hole for future adjustments.
- Determine how many links to remove: Place the bracelet around your wrist without closing. Count excess links beyond the ideal fit. Most manufacturers mark removable links with arrows on the inside.
- Lay the watch securely on a soft cloth, crown facing up, to avoid scratching the crystal.
- Locate the pins or screws on the outer links. If arrows are present, they indicate the direction to push pins out.
- Use the pin removal tool to gently push the pin outward in the direction of the arrow. Apply steady pressure—do not force it.
- Remove the required number of links, keeping them in a labeled container for potential reassembly.
- Realign the remaining links and insert the pin back through the holes. Ensure smooth movement and no lateral play.
- Attach the bracelet to the watch lugs. Align the spring bar or pin with the lug holes and press firmly until seated.
- Test clasp operation: Open and close the clasp several times to confirm smooth engagement.
- Perform a tug test: Gently pull on the bracelet near the lugs to verify secure attachment.
| Stage | Action | Common Mistake |
|---|---|---|
| Link Removal | Push pin in direction of arrow | Forcing pin opposite arrow causes binding |
| Reassembly | Ensure pin seats flush with link edge | Protruding pins can scratch skin or snag fabric |
| Attachment | Verify spring bar clicks into both lugs | Partial seating leads to detachment risk |
Securing the Bracelet for Long-Term Safety
Installation isn’t complete until the bracelet passes real-world stress tests. Even high-quality bracelets can loosen over time due to daily movement and temperature-induced metal expansion.
After initial wear (about 30 minutes), recheck all pins and connections. Some manufacturers recommend revisiting pin tightness after 24 hours of normal use. For screw-type systems, use a precision screwdriver to tighten—never over-torque, as microscopic threads can strip easily.
“Over 70% of accidental watch losses stem from improperly secured bracelets. A two-minute post-installation check can prevent years of regret.” — Daniel Reyes, Master Watchmaker at ChronoSecure Labs
Real-World Example: The Overseas Business Trip Incident
James, a financial consultant, replaced his rubber strap with a stainless steel bracelet before an international flight. Excited by the upgrade, he skipped the final tug test. Midway through security screening, the spring bar slipped partially out of one lug. Fortunately, he noticed the wobble before the watch detached entirely.
Upon inspection, he realized the spring bar hadn’t fully engaged with the second lug. After correcting the alignment using a bench block and proper tool, he performed three separate stress tests: twisting, pulling, and simulated arm motion. Since then, he follows a strict checklist every time he changes straps.
This scenario underscores that even experienced users benefit from disciplined procedure—not assumptions.
Checklist: Final Verification Before Wearing
- ✅ All pins fully inserted and flush with link edges
- ✅ Clasp locks securely in multiple positions
- ✅ No side-to-side wobble at lug connections
- ✅ Smooth articulation across all joints
- ✅ Correct length with 1–2 adjustment holes available
- ✅ Tug test passed on both sides of the bracelet
- ✅ No sharp edges or protrusions
Frequently Asked Questions
Can I resize my metal bracelet at home without damaging it?
Yes, provided you use the correct tools and follow manufacturer instructions. Most modern bracelets are designed for user servicing. However, delicate or integrated designs (like certain Rolex Oyster or Omega bracelets) may require specialized jigs best handled by professionals.
Why does my bracelet feel loose after a few days?
Metal expands and contracts with temperature, and new pins may settle slightly under motion. Recheck pin tightness after 48 hours of wear. If persistent looseness occurs, consider replacing worn pins or consulting a service center.
Is it safe to mix links from different batches?
Generally not recommended. Finish variations—even within the same model—can be noticeable under direct light. Additionally, tolerances may differ slightly, affecting flexibility and comfort. Always retain removed links for reassembly.
Conclusion: Confidence Through Precision
A properly installed and secured metal bracelet enhances both the function and aesthetics of your watch. It should feel like an extension of your wrist—solid, balanced, and worry-free. By following these detailed steps, using the right tools, and conducting thorough post-installation checks, you ensure lasting reliability and peace of mind.


 浙公网安备
33010002000092号
浙公网安备
33010002000092号 浙B2-20120091-4
Comments
No comments yet. Why don't you start the discussion?