
Switching your Apple Watch band isn’t just about style—it’s a chance to enhance comfort, improve fit, and protect your device. Whether you’re upgrading to a sportier model, switching to a leather finish for formal occasions, or replacing a worn-out band, the process should be simple, secure, and damage-free. Done incorrectly, however, it can lead to scratches, accidental drops, or an insecure fit that risks losing your watch. This comprehensive guide walks you through every phase of installing and securing a replacement band with precision and confidence.
Selecting the Right Replacement Band
Before installation, ensure compatibility. Apple Watch bands are not universally interchangeable across all models and sizes. Bands are designed to match specific case sizes: 38/40/41mm and 42/44/45/49mm. Additionally, band types—such as Solo Loop, Braided Solo Loop, Sport Loop, Milanese Loop, and Leather Link—have different attachment mechanisms and sizing requirements.
Purchase bands directly from Apple or certified third-party manufacturers to guarantee quality and proper latch alignment. Counterfeit or poorly made bands may appear compatible but often fail to lock securely, increasing the risk of detachment during use.
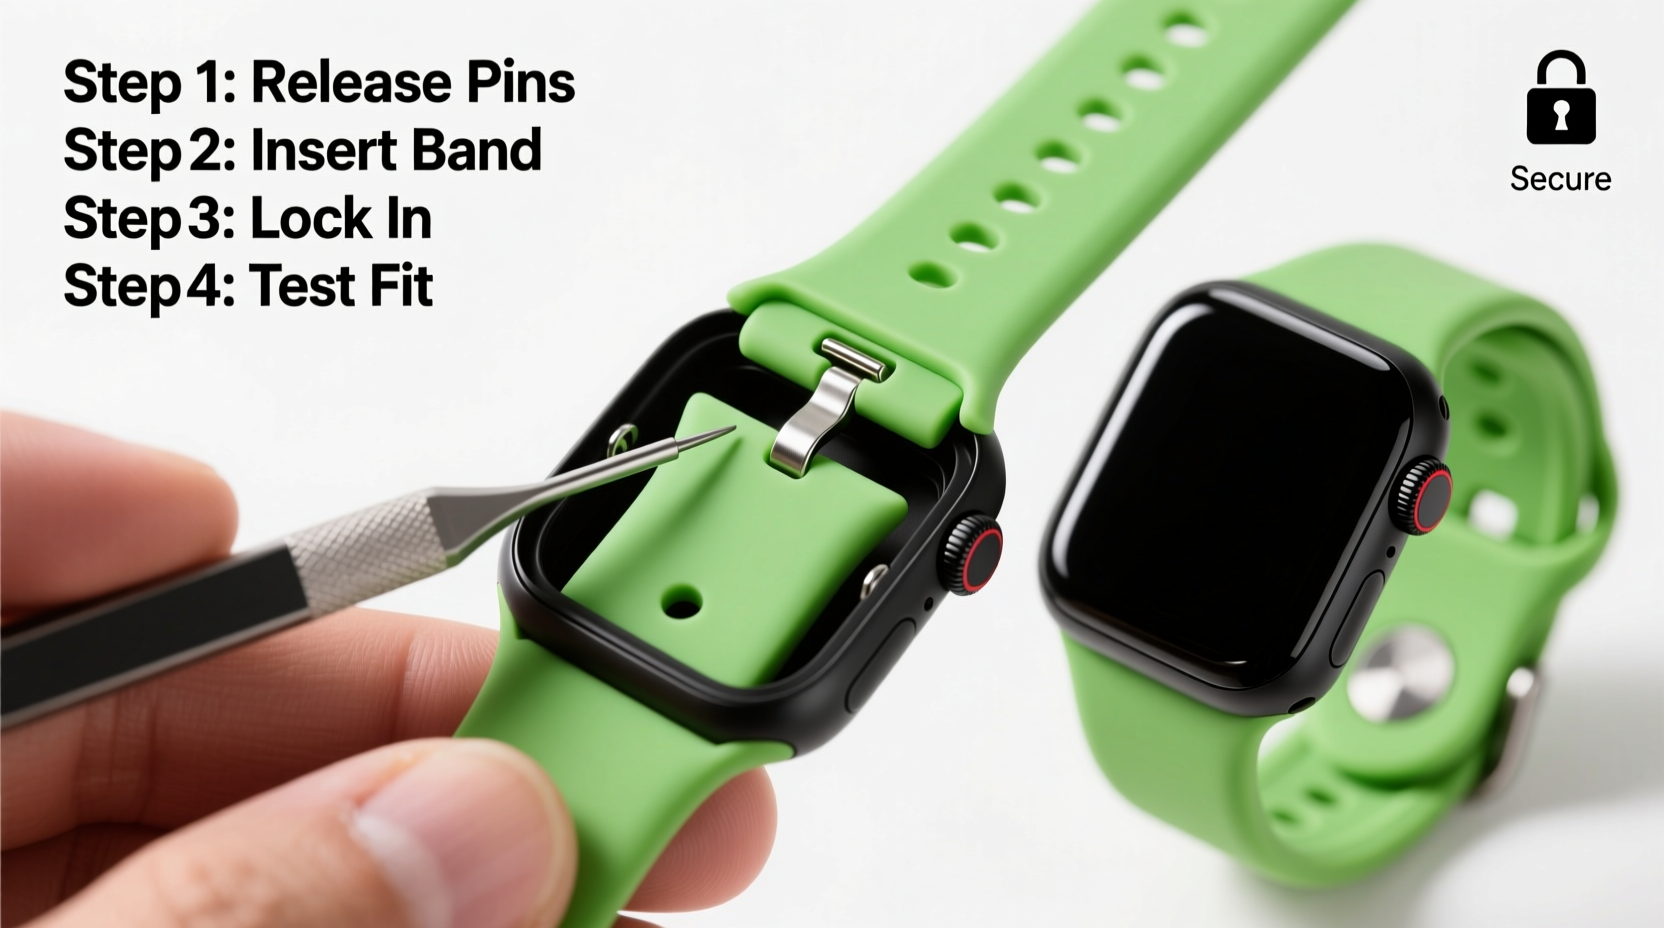
Step-by-Step Installation Process
Follow this precise sequence to safely remove your current band and install the new one without damaging your Apple Watch.
- Power down (optional): While not required, turning off your Apple Watch minimizes screen activation during handling, reducing smudges and accidental inputs.
- Position the watch face-down: Place it on a soft, lint-free surface like a microfiber cloth to prevent scratches.
- Locate the release button: On the side where the band connects, you’ll see a small pinhole or button near the inner edge of the housing.
- Press and hold the release: Use a fingertip or plastic tool (not metal) to depress the release mechanism. The band will slide outward automatically.
- Slide the old band out: Gently pull it straight away from the housing until fully detached. Repeat on the opposite side if removing both bands.
- Align the new band: Match the connectors on the new band with the slots on the watch housing. Ensure the release button is accessible and properly aligned.
- Insert and click into place: Slide the band in smoothly until you hear a distinct click. The release button should remain flush and functional.
- Repeat on the other side: Attach the second end using the same method.
After both sides are secured, gently tug on the band to test stability. There should be no lateral movement or wobble.
Securing the Band for Daily Wear
Installation is only half the battle. A properly fastened band ensures your Apple Watch stays safe during activity. Different band styles require unique securing techniques.
- Sport Bands: These use a pin-and-hole system. Insert the pin firmly into the hole that provides a snug fit around your wrist. Avoid over-tightening, which can stress the silicone.
- Leather & Milanese Loops: These feature magnetic closures or adjustable clasps. For Milanese, slide the magnetic clasp into the mesh until secure. Leather bands typically use a traditional buckle—ensure it’s latched tightly but comfortably.
- Solo Loop: Slip it over your hand. It should stretch slightly but return to shape without sagging. If it feels loose or causes discomfort, consider resizing.
“Improperly secured bands account for nearly 30% of accidental Apple Watch losses reported annually.” — Dr. Lena Torres, Wearable Device Safety Analyst
Common Mistakes and How to Avoid Them
Even experienced users make errors when changing bands. Here’s a breakdown of frequent pitfalls and how to sidestep them.
| Mistake | Why It’s Risky | How to Prevent |
|---|---|---|
| Using metal tools to release bands | Scratches housing or damages release mechanism | Use plastic tweezers or fingernails only |
| Forcing misaligned bands | Wears down internal connectors | Double-check alignment before insertion |
| Not testing the click | Band may seem attached but isn’t locked | Always listen for the audible click and perform a tug test |
| Over-tightening straps | Causes skin irritation and material fatigue | Allow space for one finger between band and wrist |
Real-World Example: Recovering from a Loose Fit
Jamal, a fitness instructor, switched to a nylon Sport Loop for better breathability during workouts. After installation, he noticed the band felt looser after a few days. Mid-session, while demonstrating burpees, the watch slipped off and hit the floor, cracking the display.
Upon inspection, he realized he hadn’t fully engaged the right-side connector—the release button was still slightly protruding, indicating an incomplete lock. He returned to the correct installation steps, ensuring both sides clicked audibly and passed the tug test. Since then, he checks his band security before each class and keeps a microfiber cloth handy to clean connectors weekly.
This incident highlights how a minor oversight can lead to costly damage—especially under physical strain.
Checklist: Secure Your Apple Watch Band Like a Pro
Use this quick-reference checklist every time you change or wear your Apple Watch:
- ✅ Confirm band compatibility with your Apple Watch model and size
- ✅ Power off or lock the screen to avoid accidental touches
- ✅ Place the watch face-down on a soft surface
- ✅ Press the release button fully and slide the old band straight out
- ✅ Align the new band connector precisely with the housing slot
- ✅ Insert until you hear a definitive click on both sides
- ✅ Perform a gentle tug test to confirm secure attachment
- ✅ Fasten the closure (pin, clasp, or loop) snugly but comfortably
- ✅ Inspect weekly for wear, especially at stress points
Frequently Asked Questions
Can I mix and match bands between Apple Watch generations?
Yes, as long as the case size matches. A 42mm band fits all 42/44/45/49mm watches, regardless of generation. However, Ultra models have a wider lug design and require Ultra-specific bands.
How tight should my Apple Watch band be?
The band should be snug enough to stay in place during movement but allow room for air circulation. You should be able to slide one finger comfortably between the band and your wrist. Over-tightening can cause skin irritation or affect heart rate sensor accuracy.
What should I do if the band won’t click into place?
Do not force it. First, check for debris in the connector slot. Use a soft-bristled brush or compressed air to clean it. Then, realign the band and apply even pressure while sliding it in. If the issue persists, the band or housing may be damaged—contact Apple Support.
Final Thoughts: Confidence Starts with a Secure Fit
Your Apple Watch is more than a timepiece—it tracks health metrics, delivers notifications, and often represents a significant investment. Protecting it starts with something as simple as a correctly installed band. Taking a few extra moments to follow proper installation steps ensures durability, comfort, and peace of mind whether you're running a marathon or attending a meeting.
By choosing compatible bands, following precise attachment procedures, and performing routine checks, you maintain both functionality and aesthetic appeal. Don’t overlook the small details—they’re what keep your wearable secure, reliable, and ready for anything.


 浙公网安备
33010002000092号
浙公网安备
33010002000092号 浙B2-20120091-4
Comments
No comments yet. Why don't you start the discussion?