
Creating compelling videos doesn’t require a Hollywood studio. With the right tools and approach, you can produce professional-grade content directly from your PC. Whether you're building a YouTube channel, creating tutorials, or promoting a brand, video remains one of the most effective ways to engage audiences. The key lies in planning, execution, and consistent improvement. This guide walks through every phase—from setup to publishing—with actionable advice to help you craft videos that capture attention and deliver value.
1. Set Up Your Video Production Environment
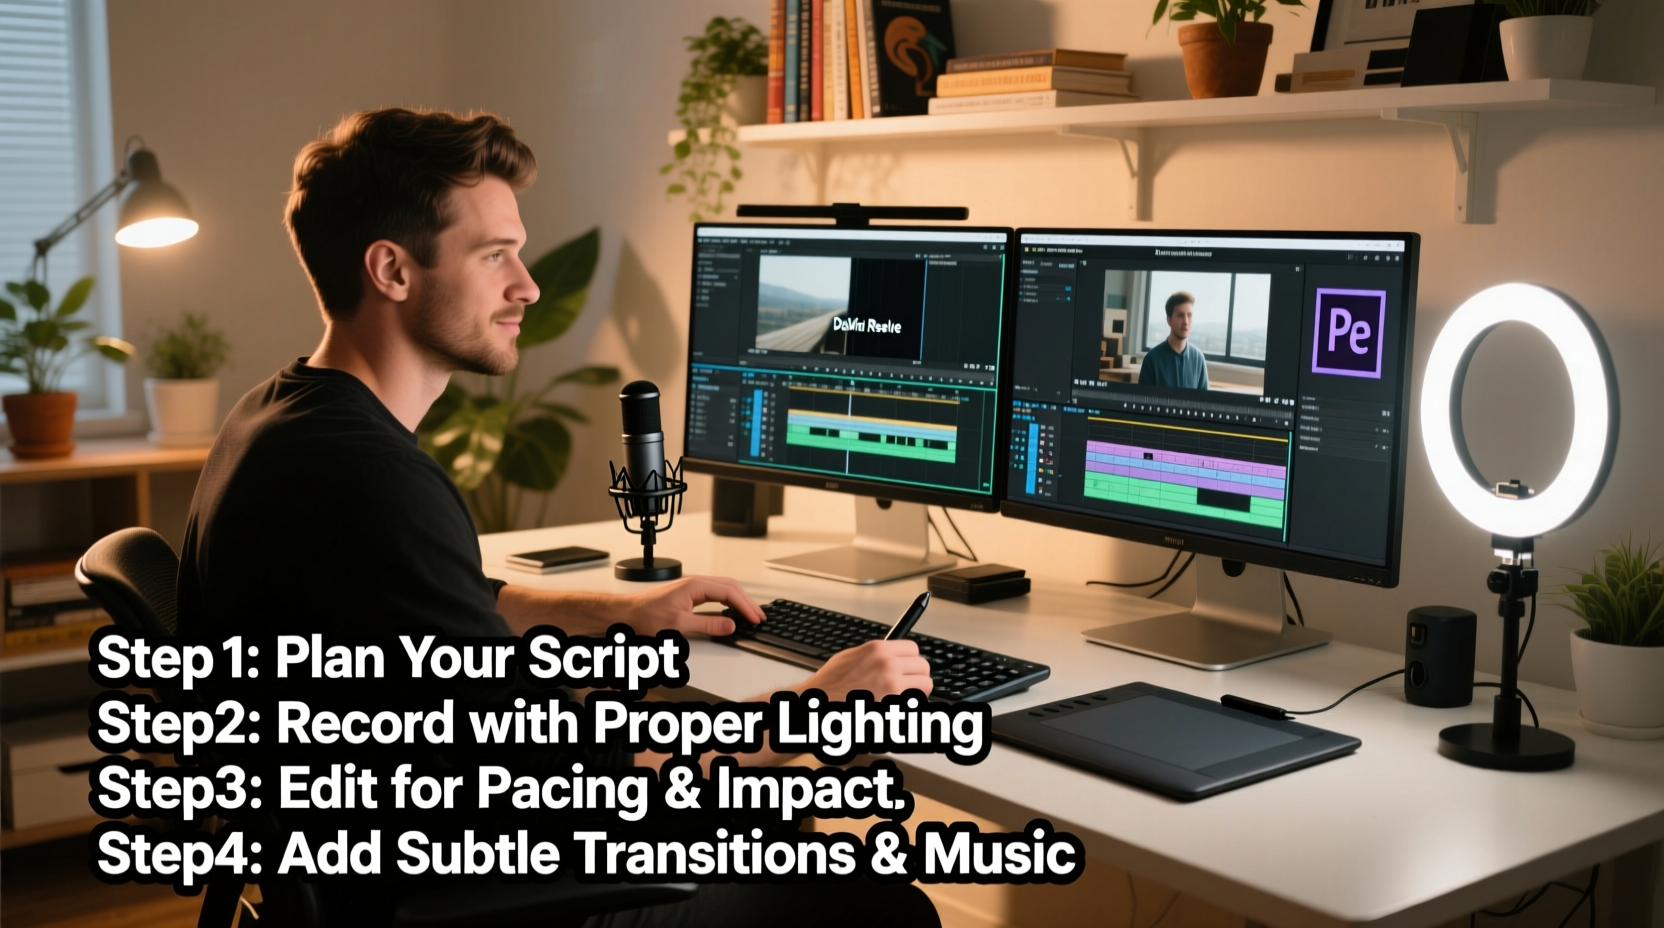
Before hitting record, ensure your workspace supports quality output. A cluttered desk or poor lighting undermines even the best script. Start by choosing a quiet room with minimal echo. Use soft furnishings like curtains or rugs to reduce sound reflections. Position your camera at eye level—either a built-in webcam or an external HD model—and frame your face slightly off-center using the rule of thirds.
For audio, internal microphones often pick up background noise. Invest in a USB condenser mic positioned 6–8 inches from your mouth. Test levels before recording to prevent clipping. Close unnecessary applications to free up system resources and avoid lag during capture.
2. Choose the Right Tools for Recording and Editing
Your software stack determines both efficiency and final quality. You don’t need expensive suites to start—many powerful tools are free or low-cost. Below is a comparison of popular options based on functionality and accessibility:
| Tool Type | Free Option | Paid Option | Best For |
|---|---|---|---|
| Screen Recorder | OBS Studio | Camtasia | Tutorials, gameplay, presentations |
| Video Editor | DaVinci Resolve | Adobe Premiere Pro | Professional editing, color grading |
| Audio Enhancer | Audacity | Adobe Audition | Voice cleanup, noise reduction |
| Thumbnail Design | Canva | Photoshop | Clickable thumbnails, branding |
OBS Studio excels for screen capture with customizable scenes and real-time encoding. DaVinci Resolve offers Hollywood-level color correction and effects—even in its free version. Pair these with Audacity to remove background hums or breath sounds, significantly improving vocal clarity.
3. Follow a Structured Creation Workflow
Consistency comes from process. Adopt this five-stage workflow to streamline production:
- Pre-production: Define your video’s goal, audience, and core message. Write a concise script or outline. Gather visuals, B-roll clips, and music if needed.
- Recording: Use your chosen tool (e.g., OBS) to capture screen activity or webcam footage. Record narration separately if syncing multiple sources.
- Editing: Import files into your editor. Trim dead air, add transitions, overlay text, and adjust audio levels. Keep cuts tight—attention spans are short.
- Enhancement: Apply color correction, intro/outro sequences, and background music at low volume to support, not overpower, speech.
- Export & Upload: Render in MP4 format at 1080p resolution. Use H.264 codec for broad compatibility. Compress file size only if platform limits apply.
4. Real Example: Building a Software Tutorial Series
Sophie, a freelance designer, wanted to teach beginners how to use Figma. She started with no budget but followed a disciplined process. First, she outlined three foundational topics: interface navigation, vector tools, and prototyping. Using OBS, she recorded her screen while narrating each step. She edited clips in DaVinci Resolve, adding zoom effects on key UI elements and inserting callouts for shortcuts.
To maintain engagement, she opened each video with a quick preview of what viewers would achieve. She ended with a challenge (“Try building a button component now!”) to encourage practice. Within two months, her average watch time increased by 67%, and several viewers reported landing internships after applying her lessons.
“Clarity beats complexity. Viewers don’t care about fancy effects—they want to learn fast.” — Marcus Lee, Digital Content Strategist
5. Optimize for Engagement and Retention
Engagement starts before the first frame. Craft a strong title using power words like “Quick,” “Easy,” or “Proven.” Your thumbnail should feature contrasting colors, readable text, and a human face showing emotion when possible. Once the video begins, hook attention within 10 seconds—state the problem you’ll solve or tease a surprising outcome.
- Use on-screen text to reinforce spoken points, aiding comprehension and accessibility.
- Break longer videos into segments with clear chapter markers.
- Add end screens prompting likes, subscriptions, or related videos.
- Animate simple graphics to visualize abstract ideas (e.g., growth, flow, transformation).
Avoid overloading scenes with motion or effects. Every visual element should serve the message. Silence can be powerful—pause briefly after key statements to let them sink in.
Essential Video Creation Checklist
Before publishing, run through this checklist to ensure quality and consistency:
- ✅ Script reviewed for clarity and conciseness
- ✅ Audio checked for background noise and volume balance
- ✅ Visuals properly framed and lit
- ✅ Transitions smooth and purposeful (not excessive)
- ✅ Call-to-action included (subscribe, comment, visit link)
- ✅ File exported in correct format and resolution
- ✅ Thumbnail designed and attached
- ✅ Title and description optimized with relevant keywords
Frequently Asked Questions
How long should my videos be?
It depends on the topic. Educational content performs well between 5–12 minutes. Shorter videos (under 3 minutes) work for tips or updates. Always prioritize value over length—cut anything that doesn’t move the message forward.
Can I make good videos without a high-end PC?
Yes. Lower-spec machines can handle lightweight software like Shotcut or Clipchamp. Reduce preview resolution during editing and render overnight. Offload rendering to cloud services if available. Focus on clean audio and strong scripting—these matter more than ultra-HD visuals.
What’s the best way to improve viewer retention?
Structure your video around a clear promise made early. Use visual cues, pacing changes, and periodic summaries to re-engage drifting attention. Analyze retention graphs in YouTube Studio to identify drop-off points and refine future content accordingly.
Final Thoughts: Start Simple, Improve Consistently
Great video content isn’t born—it’s built. The most successful creators didn’t begin with perfect gear or massive audiences. They started with a message, used accessible tools, and refined their craft through repetition. You don’t need perfection; you need progress. Record your first video this week, edit it with intention, and publish it with confidence. Each upload teaches you something new. Over time, your skills, audience, and impact will grow—together.


 浙公网安备
33010002000092号
浙公网安备
33010002000092号 浙B2-20120091-4
Comments
No comments yet. Why don't you start the discussion?