
Google Sites is a powerful tool for creating professional-looking websites without needing to code. Whether you're building a portfolio, launching a small business page, or sharing project updates with collaborators, making your site accessible to the right audience is essential. However, many users create a site only to realize it's not visible to others — often because it remains set to private by default.
Making your Google Site public doesn’t just involve flipping a switch. It requires understanding sharing settings, access permissions, URL distribution, and privacy considerations. This guide walks you through every necessary action to ensure your site is not only public but also easy to find and share across platforms.
Understanding Google Sites Privacy Settings
When you first create a Google Site, it defaults to restricted access. Only people explicitly invited can view or edit it. This protects your content during development but becomes a barrier once you’re ready to go live.
Google offers three primary sharing levels:
- Private (Restricted): Only specific individuals with access can open the site.
- Anyone with the link: People who have the direct URL can view (or edit, if permitted) the site.
- Public on the web: The site is discoverable via search engines like Google and accessible to anyone.
To maximize reach, \"Public on the web\" is ideal for blogs, portfolios, event pages, or informational sites. Use \"Anyone with the link\" when you want broader access than private sharing allows but don't need SEO indexing.
“Many users assume publishing their site makes it public. But unless sharing settings are adjusted, even a published site remains hidden.” — Sarah Lin, Digital Collaboration Specialist at EduTech Labs
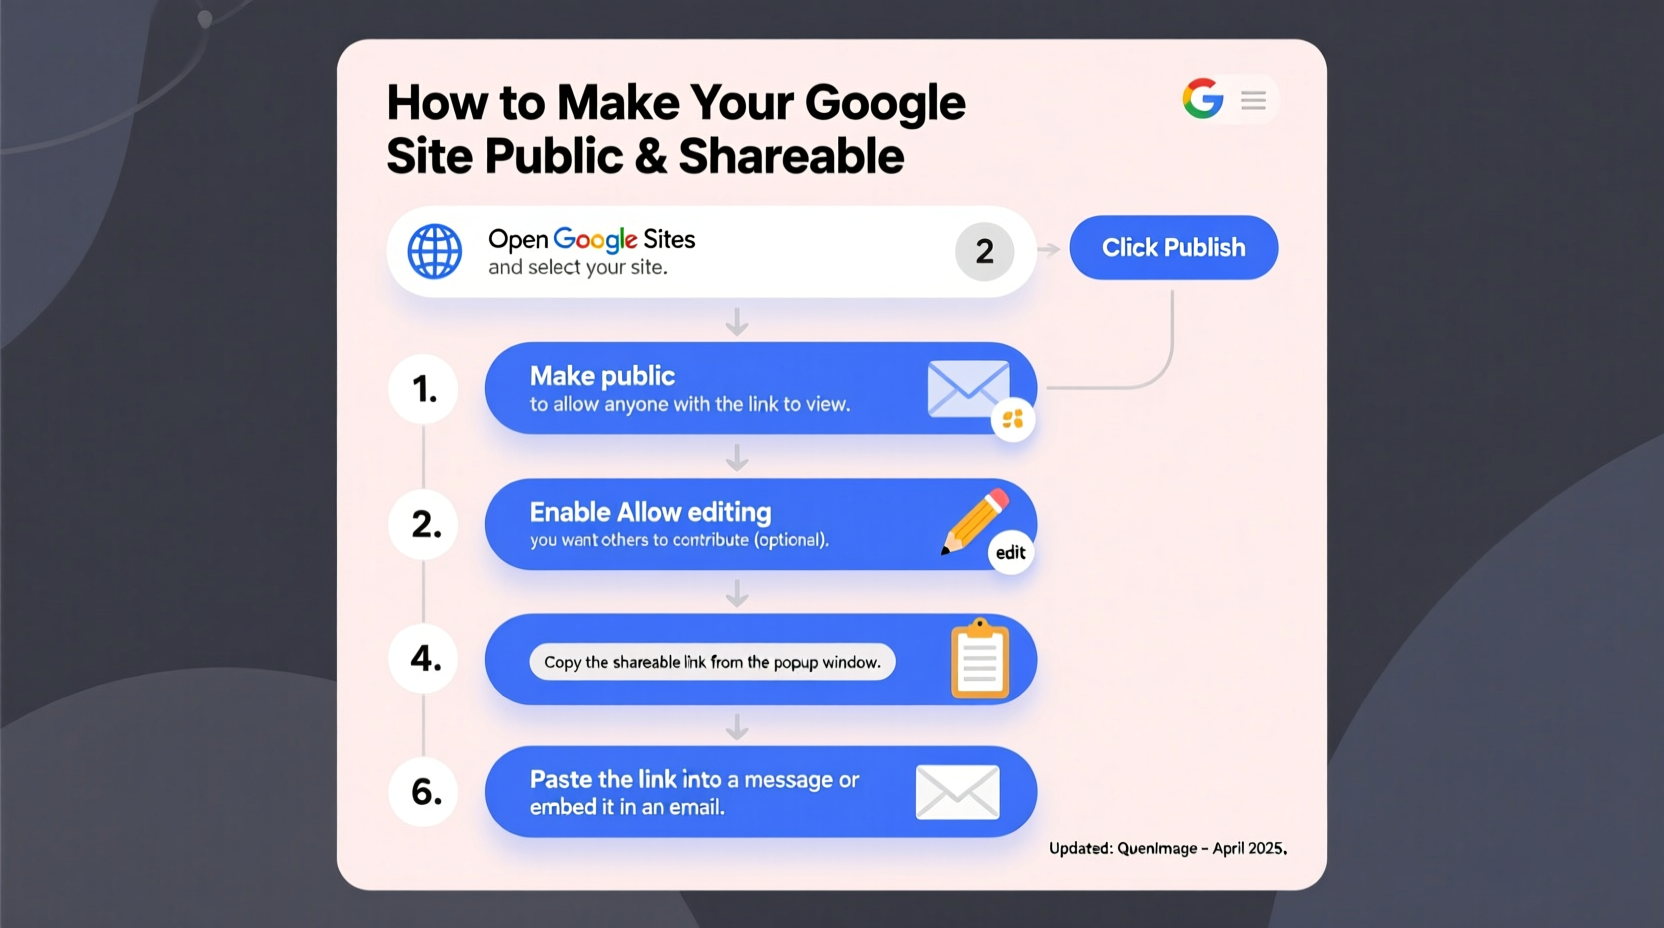
Step-by-Step: Publishing Your Google Site
Publishing activates your site’s live URL. Without this step, no one — not even those with permission — can access it online. Follow these steps carefully:
- Open your Google Site in edit mode at sites.google.com.
- In the top-right corner, click the Publish button.
- Choose a web address under “Site address.” You can use a custom subdomain like
yourproject.sites.google.com. - Click Publish to confirm.
After publishing, your site will be available at the assigned URL. However, visibility still depends on sharing settings — which come next.
Adjusting Sharing Permissions for Public Access
Publishing isn’t enough. You must adjust sharing permissions so others can actually see your site. Here’s how:
- While editing your site, click the Share button in the top-right corner.
- In the popup window, locate the section labeled “Get link to share.”
- By default, it may say “Restricted — Only specific people can access.”
- Click the dropdown menu and select either:
- Anyone with the link (viewers, commenters, or editors)
- Public on the web (visible to everyone, including search engines)
- Confirm your choice by clicking Done.
If you choose “Public on the web,” your site could appear in Google search results within days. For time-sensitive campaigns or personal projects, this boosts organic discovery significantly.
Do’s and Don’ts of Google Site Sharing
| Do’s | Don’ts |
|---|---|
| Set the correct audience before publishing. | Assume that publishing automatically makes your site public. |
| Use “Public on the web” for blogs, resumes, or community resources. | Make sensitive data public without reviewing all embedded content. |
| Double-check settings after team members edit the site. | Share editable links publicly unless collaboration is intended. |
| Test access using an incognito browser or non-Google account. | Forget to remove internal notes before going public. |
Sharing Your Site Effectively
Once your site is public, distribute the URL strategically. A well-designed site loses value if no one sees it.
Copy the full URL from the address bar after publishing — typically in the format https://yoursite.sites.google.com/view/page-name. Shorten it using tools like Bitly or TinyURL for cleaner appearance in emails or social media.
Embed the link in:
- Email signatures
- Social media bios (LinkedIn, Instagram, Twitter)
- Digital business cards
- QR codes for printed materials
For educators or nonprofits, consider submitting your site to relevant directories or forums where audiences actively seek information.
Mini Case Study: Launching a Community Tutoring Hub
Lena, a high school teacher in Portland, created a Google Site to connect volunteer tutors with students needing academic support. She built the entire site over two weeks, added schedules, sign-up forms, and testimonials — then shared the link with her class.
Only five people visited.
She realized her site was still set to “Restricted.” After following the steps to change it to “Public on the web” and resubmitting the URL to local parent groups and city education boards, traffic increased tenfold in one week. Within a month, she had over 50 volunteers signed up.
The difference wasn’t content quality — it was visibility.
Frequently Asked Questions
Can I make my Google Site public without a G Suite account?
Yes. Personal Google accounts (Gmail users) can publish and set sites to “Public on the web” without any restrictions.
Will my public Google Site show up in Google search results immediately?
Not necessarily. While “Public on the web” enables indexing, it may take several days for search engines to crawl and list your site. Submitting your sitemap to Google Search Console speeds up the process.
Can I restrict certain pages while keeping others public?
No. Google Sites applies sharing settings at the site level, not per page. If your site contains confidential sections, consider creating a separate private site or password-protecting linked documents instead.
Final Checklist Before Going Live
Before announcing your site, run through this final checklist to avoid common oversights:
- ✅ Published the site and confirmed the live URL works
- ✅ Changed sharing settings to “Public on the web” or “Anyone with the link”
- ✅ Tested access in an incognito window or secondary device
- ✅ Reviewed all text for typos, broken links, or placeholder content
- ✅ Removed draft comments or internal notes
- ✅ Verified embedded files (Docs, Sheets, Forms) are also shared correctly
- ✅ Created a shortened, branded URL for easier sharing
Conclusion: Share With Confidence
Making your Google Site public is more than a technical task — it’s the moment your work transitions from private draft to real-world impact. By following these structured steps, you eliminate guesswork and ensure your message reaches its intended audience.
Whether you're showcasing creative work, organizing community efforts, or promoting a cause, a properly configured Google Site gives you a credible, accessible platform at no cost. Now that your site is live and shareable, take the next step: promote it where your audience spends time. Monitor traffic, gather feedback, and refine as needed.


 浙公网安备
33010002000092号
浙公网安备
33010002000092号 浙B2-20120091-4
Comments
No comments yet. Why don't you start the discussion?