
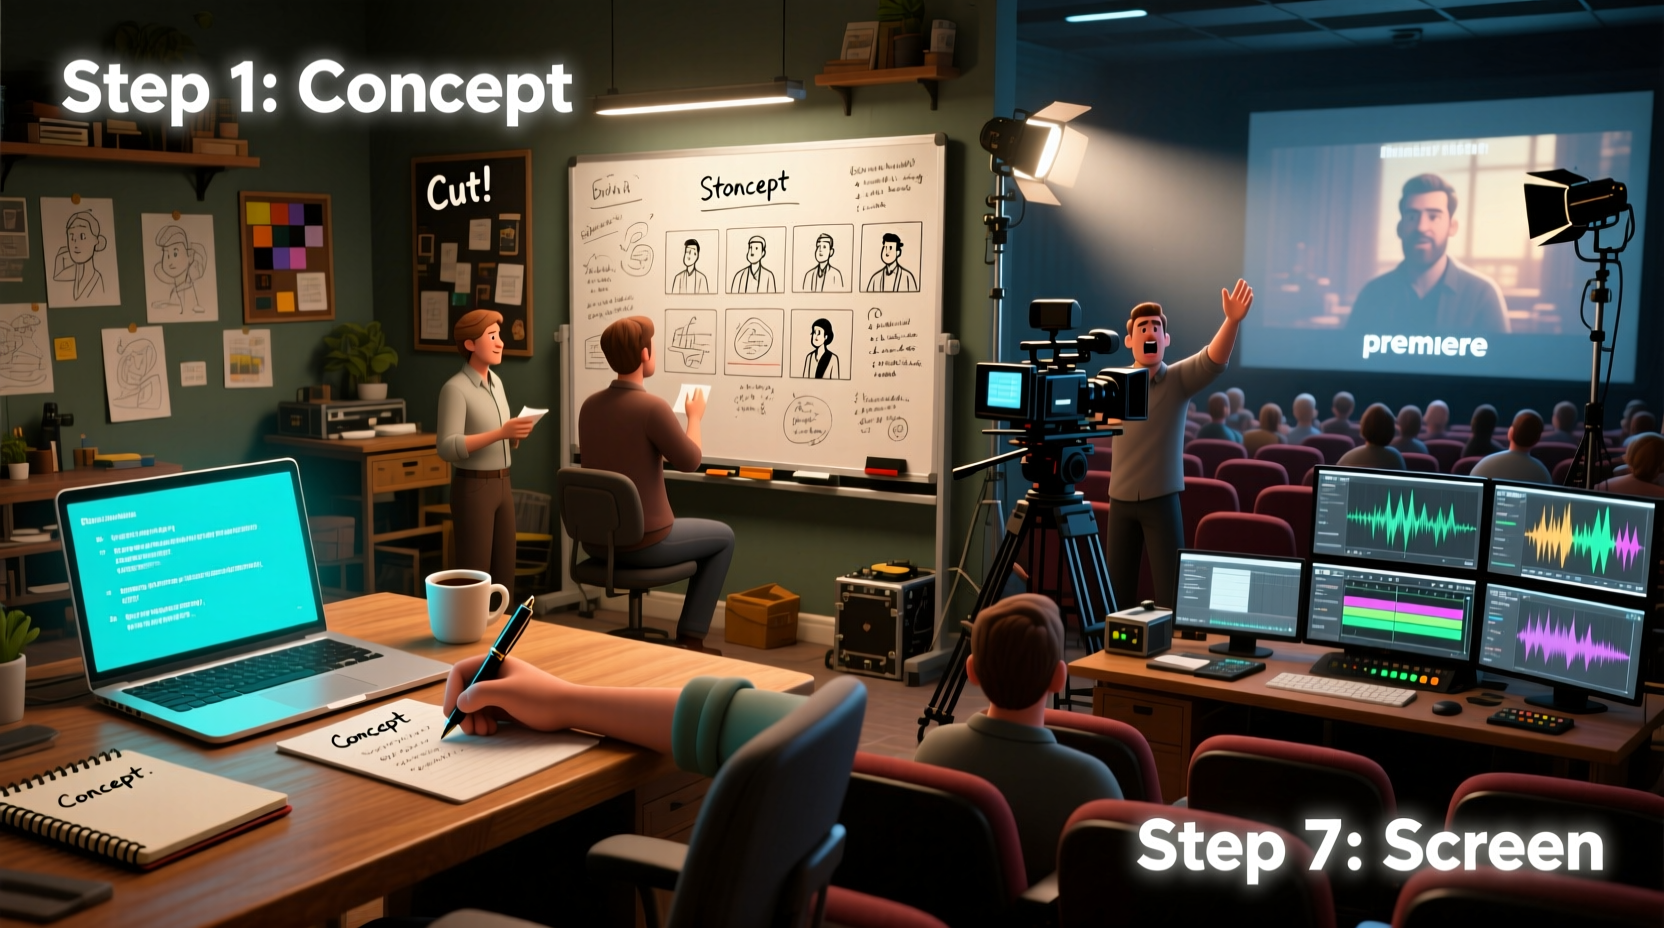
Making a film is no longer reserved for major studios with million-dollar budgets. With accessible technology and digital distribution, independent creators can bring their visions to life. This guide walks through the complete journey of filmmaking—from idea to audience—with actionable steps, real-world insights, and tools that empower aspiring filmmakers to produce compelling stories on any scale.
1. Develop Your Concept and Write a Strong Script
 Every great film begins with a clear idea. Whether it’s a personal story, a social commentary, or a genre-driven plot, the foundation lies in a well-developed concept. Start by asking: What do I want to say? Who is my audience? What makes this story unique? Once you’ve defined your core idea, move into scriptwriting. Use industry-standard formatting (such as Final Draft or free alternatives like Celtx) to structure your screenplay. A typical feature-length script runs 90–120 pages, with one page roughly equaling one minute of screen time. Focus on character development, conflict, and pacing. Avoid exposition-heavy dialogue; instead, let actions reveal personality. Share drafts with trusted readers for feedback, and revise relentlessly.
2. Plan Pre-Production Thoroughly
Pre-production is where your vision becomes executable. This phase determines whether your shoot will run smoothly or descend into chaos. Key tasks include:- Finalizing the script and locking the shooting draft
- Creating a shot list and storyboard
- Scouting locations and securing permits
- Casting actors (hold auditions or use platforms like Backstage or online casting calls)
- Hiring crew: director of photography, sound recordist, production assistants
- Building a production schedule and budget
“Pre-production is 70% of making a good film. If you skip the planning, you’ll pay for it during the shoot.” — Lena Torres, Independent Filmmaker and Sundance Lab Alum
Do’s and Don’ts During Pre-Production
| Do | Don't |
|---|---|
| Test your camera and audio gear before filming | Rely solely on smartphone audio without external mics |
| Get signed release forms from all cast and crew | Assume verbal agreements are enough |
| Plan multiple backup days for weather delays | Schedule outdoor scenes without contingencies |
| Break down the script scene-by-scene for logistics | Start shooting without knowing what props or wardrobe are needed |
3. Execute Production with Focus and Flexibility
Production is the filming stage—when cameras roll and performances are captured. Even with limited resources, professionalism and preparation can yield high-quality results. Stick to your schedule, but remain adaptable. Weather changes, actors get sick, or equipment fails. Have contingency plans. On set, communication is key. Hold brief daily meetings to align everyone on goals and safety protocols. Prioritize sound quality. Poor audio is more distracting than imperfect visuals. Use lavalier mics for dialogue and a boom mic when possible. Record room tone for clean background audio in editing. Lighting shapes mood and clarity. Natural light works well, but control it with reflectors or diffusers. For interiors, three-point lighting (key, fill, backlight) ensures subjects are visible and dimensional.Mini Case Study: \"The Park Bench\"
Jamal Chen, a first-time filmmaker in Portland, made a 12-minute drama on a $1,200 budget. He wrote the script around two actors and a single park bench to minimize costs. Using a DSLR, an external microphone, and natural daylight, he shot over three weekends. By pre-lighting scenes and rehearsing blocking in advance, he completed principal photography in nine hours total. The film later screened at a regional indie festival and earned praise for its emotional authenticity.
4. Edit, Sound Design, and Finalize in Post-Production
Post-production transforms raw footage into a cohesive film. Editing is both technical and creative. Use software like DaVinci Resolve (free), Adobe Premiere Pro, or Final Cut Pro to assemble scenes, trim pacing, and refine performances. Begin with a rough cut—just getting the story in order. Then fine-tune transitions, timing, and rhythm. Add music carefully; royalty-free tracks from sites like Artlist or Epidemic Sound avoid copyright issues. Ensure volume levels between dialogue, music, and effects are balanced. Color grading enhances tone. A warm palette might suggest nostalgia; cool tones can imply isolation. Subtle adjustments make a big difference. Include credits and consider adding subtitles for accessibility and broader reach. Export in formats suitable for festivals (e.g., ProRes) and online platforms (H.264 MP4). 📋 Post-Production Checklist- Organize and back up all footage
- Assemble rough cut
- Refine edit with feedback
- Add sound effects and original score
- Perform color correction and grading
- Render final master in multiple formats
- Submit to festivals or upload to Vimeo/YouTube
5. Distribute and Share Your Film
A finished film deserves an audience. Distribution starts with defining your goals: Are you seeking festival recognition, building a portfolio, or reaching a wide public? Submit to film festivals via platforms like FilmFreeway. Target niche or regional events first—they’re more accessible and can lead to larger opportunities. Include a press kit with a synopsis, director bio, stills, and trailer. For wider reach, publish on video platforms. Vimeo offers HD quality and privacy controls; YouTube enables discoverability through SEO. Promote through social media, filmmaker communities, and email newsletters. Consider creating a simple website or IMDb profile to establish credibility. If your film gains traction, explore licensing options through aggregators like Distribbution or Tugg for educational or streaming sales.Frequently Asked Questions
How long does it take to make a short film?
From concept to completion, a short film (5–15 minutes) typically takes 3–6 months. Writing may take 2–6 weeks, pre-production 4–8 weeks, shooting 1–5 days, and post-production 4–10 weeks depending on complexity.
Can I make a movie without actors?
Yes. Documentaries, experimental films, or animated shorts don’t require live actors. Voice-over narration, archival footage, or visual storytelling can carry a narrative effectively.
What’s the cheapest way to start filmmaking?
Use what you have: a smartphone with a stabilizer, free editing software, natural light, and friends as cast and crew. Focus on strong writing and clear sound. Many acclaimed indie films began this way.


 浙公网安备
33010002000092号
浙公网安备
33010002000092号 浙B2-20120091-4
Comments
No comments yet. Why don't you start the discussion?