
Drawing anime is more than just sketching big-eyed characters. It’s a disciplined art form rooted in stylized anatomy, expressive emotion, and narrative clarity. For beginners, the journey can seem overwhelming—facing challenges from accurate proportions to dynamic poses. Yet, with structured practice and focused learning, anyone can develop the skills to create compelling anime-style artwork. This guide breaks down the process into actionable steps, offering insights on fundamentals, tools, expression, and consistency so you can build confidence and style over time.
Understanding Anime Style Foundations
Anime isn’t a single artistic standard but a broad visual language shaped by decades of Japanese animation and manga. While styles vary—from the minimalist lines of K-On! to the detailed shading of Attack on Titan—certain core principles unite them. Recognizing these foundational elements helps beginners avoid common pitfalls and develop a strong base.
The most distinctive traits include exaggerated eyes, simplified facial features, dynamic hair, and stylized body proportions. Unlike realistic Western cartooning, anime prioritizes emotional clarity and symbolic design. A character’s hair color might reflect personality; oversized eyes convey innocence or intensity; and posture often tells as much as dialogue.
“Anime drawing isn’t about copying—it’s about understanding why certain designs work emotionally and narratively.” — Rina Takahashi, Manga Illustrator & Art Instructor
Beginners should resist the urge to jump straight into complex scenes. Instead, focus on studying existing works critically. Ask: Why are the eyes drawn this way? How does the pose suggest movement? What line weight emphasizes key features? These observations train your eye to see beyond surface aesthetics.
Step-by-Step Learning Path
Mastery comes through consistent, deliberate practice. Follow this six-phase timeline to progress logically from basic shapes to finished illustrations.
- Phase 1: Master Basic Shapes (Weeks 1–2)
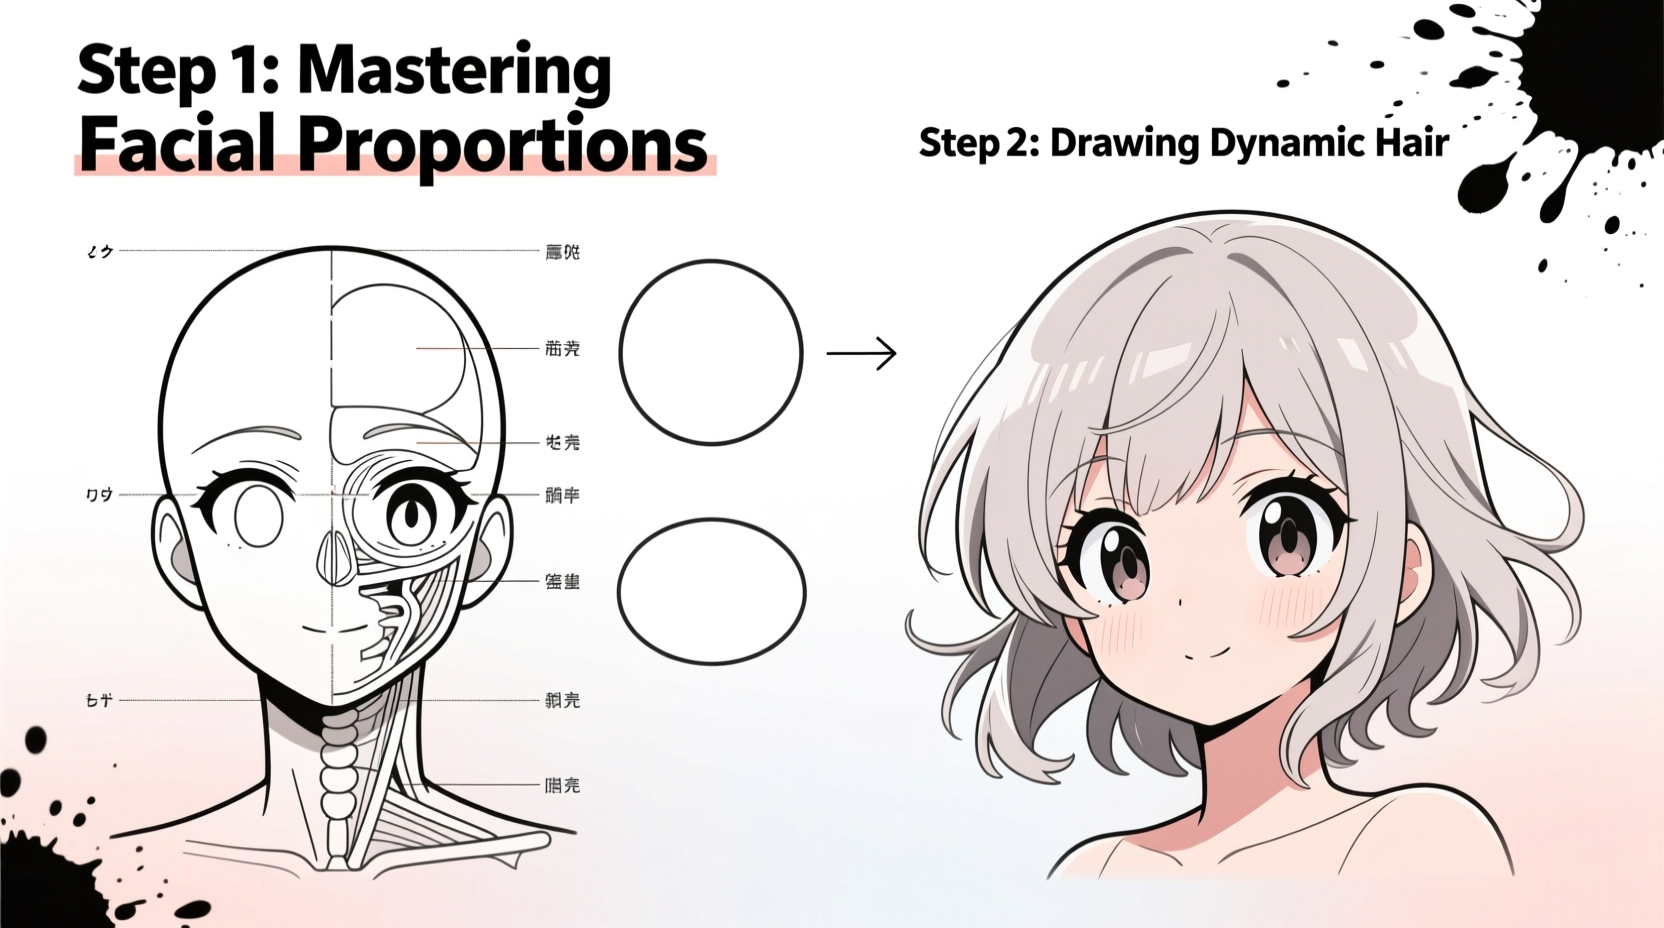
Start with circles, ovals, and lines to construct heads, torsos, and limbs. Practice drawing heads from multiple angles using simple spheres with crosshairs. - Phase 2: Learn Head and Facial Proportions (Weeks 3–4)
Study the “rule of thirds” for facial layout. Eyes sit in the upper half, nose at midpoint, mouth below. Experiment with eye size and spacing to create different ages and moods. - Phase 3: Study Body Proportions (Weeks 5–6)
Use head units to map the body. Most anime characters are 6–7 heads tall. Children may be 3–4 heads; heroes or adults up to 8. Sketch stick figures first, then add volume. - Phase 4: Draw Expressions and Emotions (Weeks 7–8)
Practice the six core emotions: joy, sadness, anger, surprise, fear, disgust. Focus on eyebrow shape, eye slant, and mouth curvature. - Phase 5: Tackle Dynamic Poses and Perspective (Weeks 9–10)
Use action lines and gesture drawing to capture motion. Study foreshortening and overlapping forms to add depth. - Phase 6: Inking, Shading, and Finalizing (Weeks 11–12)
Refine sketches with clean linework. Apply screentones or gradients for volume. Add background elements if needed.
Essential Tools and Materials
You don’t need expensive gear to start. Whether working digitally or traditionally, the right tools streamline your workflow and improve output quality.
| Skill Focus | Traditional Tools | Digital Tools |
|---|---|---|
| Sketching | Pencil (HB–2B), eraser, sketchbook | Tablet (Wacom, iPad), app (Procreate, Clip Studio Paint) |
| Inking | Fine liners (0.1–0.5 mm), ink pens | Digital brush sets (pen, G-pen, marker) |
| Shading | Blending stumps, pencils (4B–8B) | Gradient tools, layer modes, screentones |
| Coloring | Markers, colored pencils | Fill bucket, selection tools, color palettes |
Digital platforms offer undo functions, layers, and reusable templates—ideal for experimentation. However, traditional drawing builds stronger hand-eye coordination. Many professionals recommend starting on paper before transitioning to digital.
Avoiding Common Beginner Mistakes
Even with guidance, new artists fall into predictable traps. Awareness prevents wasted effort and frustration.
- Over-detailing too early: Adding eyelashes or fabric patterns before nailing the base structure leads to messy corrections.
- Neglecting symmetry: Misaligned eyes or uneven shoulders break believability. Use centerlines and light guidelines.
- Copying without analysis: Tracing is useful, but only if you ask *why* each line exists.
- Rushing to color: Strong black-and-white artwork stands on its own. Color enhances, not fixes.
- Ignoring negative space: The area around a character defines balance. Check margins and composition.
Mini Case Study: From Stick Figure to Character Sheet
Lena, a 19-year-old art student, began drawing anime after watching My Hero Academia. Her first attempts were stiff and disproportionate—limbs too long, faces lopsided. She followed a structured approach: two weeks of daily head studies, focusing only on eye alignment and jaw shape. She used a grid method, dividing the face into zones.
By week five, she progressed to full-body sketches using 7-head proportions. She kept a dedicated sketchbook, labeling each page with date and goal (e.g., “dynamic running pose”). After ten weeks, she compiled a four-panel character sheet showing front, side, back, and action views. Her final piece showed consistent linework, believable weight distribution, and expressive eyes.
Lena’s improvement wasn’t due to talent but consistency. She practiced 30 minutes daily, reviewed her oldest sketches weekly, and joined an online critique group. Her breakthrough came when she stopped aiming for perfection and embraced incremental growth.
Developing Your Own Style
After mastering fundamentals, many artists seek a unique voice. This doesn’t mean inventing a new genre overnight. Style evolves through synthesis—combining influences with personal preferences.
Begin by identifying three artists you admire. Analyze what draws you to their work: Is it bold outlines? Soft shading? Unusual eye shapes? Recreate one panel in each style, noting techniques used. Then, blend elements: perhaps the eye design of Artist A, the hair texture of Artist B, and the posing of Artist C.
Over time, recurring choices become your signature. Maybe you favor sharp jawlines, or always use a single highlight in the eyes. These subtle consistencies define your style more than dramatic changes.
“Your style isn’t something you find—it’s something that finds you through repetition.” — Kenji Morimoto, Character Designer at Studio Bones
Actionable Checklist: Building a Daily Routine
To maintain momentum, integrate drawing into your routine with this checklist:
- ✅ Spend 15 minutes on gesture or proportion drills (daily)
- ✅ Complete one finished sketch per week (lined and shaded)
- ✅ Study one anime frame or manga panel for composition (twice weekly)
- ✅ Review old sketches every Sunday to track progress
- ✅ Share work in a community forum or social media group monthly
Consistency beats intensity. Short, focused sessions build muscle memory better than sporadic marathon drawings.
Frequently Asked Questions
How long does it take to master anime drawing?
There’s no fixed timeline. With daily practice, most beginners achieve recognizable, well-proportioned characters in 3–6 months. Mastery—defined as creating publishable-quality work consistently—takes 2–3 years. Progress depends on feedback, study depth, and willingness to revise.
Can I draw anime if I can’t draw realistically?
Yes. Anime is a stylized form, not dependent on realism. However, understanding real anatomy improves credibility. Even exaggerated arms or faces follow structural logic. Learning basics like skull shape or shoulder joints enhances your stylization.
Should I learn manga before anime drawing?
Manga and anime share visual DNA. Manga offers deeper insight into linework and storytelling since it’s hand-drawn. Studying manga teaches economy of line and expressive stillness. If your goal is animation, understanding manga fundamentals strengthens your foundation.
Final Thoughts and Next Steps
Mastering anime drawing is a journey of patience, observation, and persistent effort. The most significant barrier isn’t skill—it’s the belief that mastery requires innate talent. In truth, every expert artist began with shaky lines and misshapen heads. What separates them is the decision to keep going.
Start small. Focus on one element at a time. Celebrate minor improvements—a correctly placed ear, a balanced pose. Use references generously, but always analyze. Share your work early, even if imperfect. Feedback accelerates growth more than isolation.
The world of anime art is vast and welcoming. Whether you dream of creating original characters, illustrating stories, or simply expressing yourself visually, the tools and techniques are within reach. Pick up your pencil or stylus today. Draw one line. Then another. That’s how every great artwork begins.


 浙公网安备
33010002000092号
浙公网安备
33010002000092号 浙B2-20120091-4
Comments
No comments yet. Why don't you start the discussion?