
A clean, organized workspace isn’t just about aesthetics—it directly impacts focus, efficiency, and even safety. One of the most overlooked yet critical aspects of any modern desk setup is cable management. Tangled cords not only look unprofessional but can also reduce airflow, cause equipment overheating, and make troubleshooting a nightmare. Whether you're setting up a home office, upgrading your workstation, or simply tired of tripping over cords, this comprehensive guide walks you through organizing your cables like a seasoned professional.
Why Cable Management Matters
Beyond the visual chaos, poorly managed cables pose real risks. Dust accumulates in tangled clusters, obstructing ventilation on devices like computers and routers. Over time, this can lead to overheating and hardware failure. Frequent plugging and unplugging without proper strain relief damages connectors and shortens device lifespan. Additionally, disorganized wiring makes it difficult to identify which cord powers which device during outages or upgrades.
Professional-grade cable organization improves accessibility, reduces stress when making changes, and enhances overall system reliability. It’s not just for tech enthusiasts—anyone who uses more than two devices at a desk benefits from a structured approach.
“Cable management is 30% of building a functional workspace. The rest is just power and data.” — Jordan Lee, IT Infrastructure Specialist
Essential Tools and Materials
Before diving into the process, gather the right tools. Using improper materials can damage cables or create new hazards. Here’s what you’ll need:
- Cable ties (releasable): Prefer Velcro or reusable zip ties over single-use plastic ones.
- Snap-in cable clips: Mount under desks or along edges to route wires neatly.
- Cable sleeves or braided wraps: Bundle multiple cords into one streamlined line.
- Cable raceway kits: Wall-mounted channels that hide bundles behind or beside the desk.
- Label maker or colored tags: Identify each cable quickly after setup.
- Power strip with surge protection: Centralize outlets and avoid daisy-chaining.
- Desk grommet covers with built-in ports: Optional upgrade for routing cables through desktop holes cleanly.
Step-by-Step Guide to Professional Cable Organization
Follow this methodical process to transform a chaotic back-of-desk zone into a model of order.
- Power down and unplug everything. Start with a blank slate. Turn off all devices and disconnect every cable from power sources and peripherals.
- Inventory your cables. Lay them out on the floor or table. Group them by function: power, HDMI/DisplayPort, USB, Ethernet, audio, etc.
- Remove unused or damaged cords. Test frayed insulation, bent pins, or stiff connectors. Recycle old cables responsibly.
- Measure and trim excess length. Avoid coiling extra wire tightly. Instead, use figure-eight loops secured loosely with Velcro.
- Label both ends of each cable. Use color-coded labels or write identifiers like “Monitor HDMI,” “Printer USB,” or “Router LAN2.”
- Route cables logically. Plan paths: vertical drops from monitors, horizontal runs under desks, centralized power access.
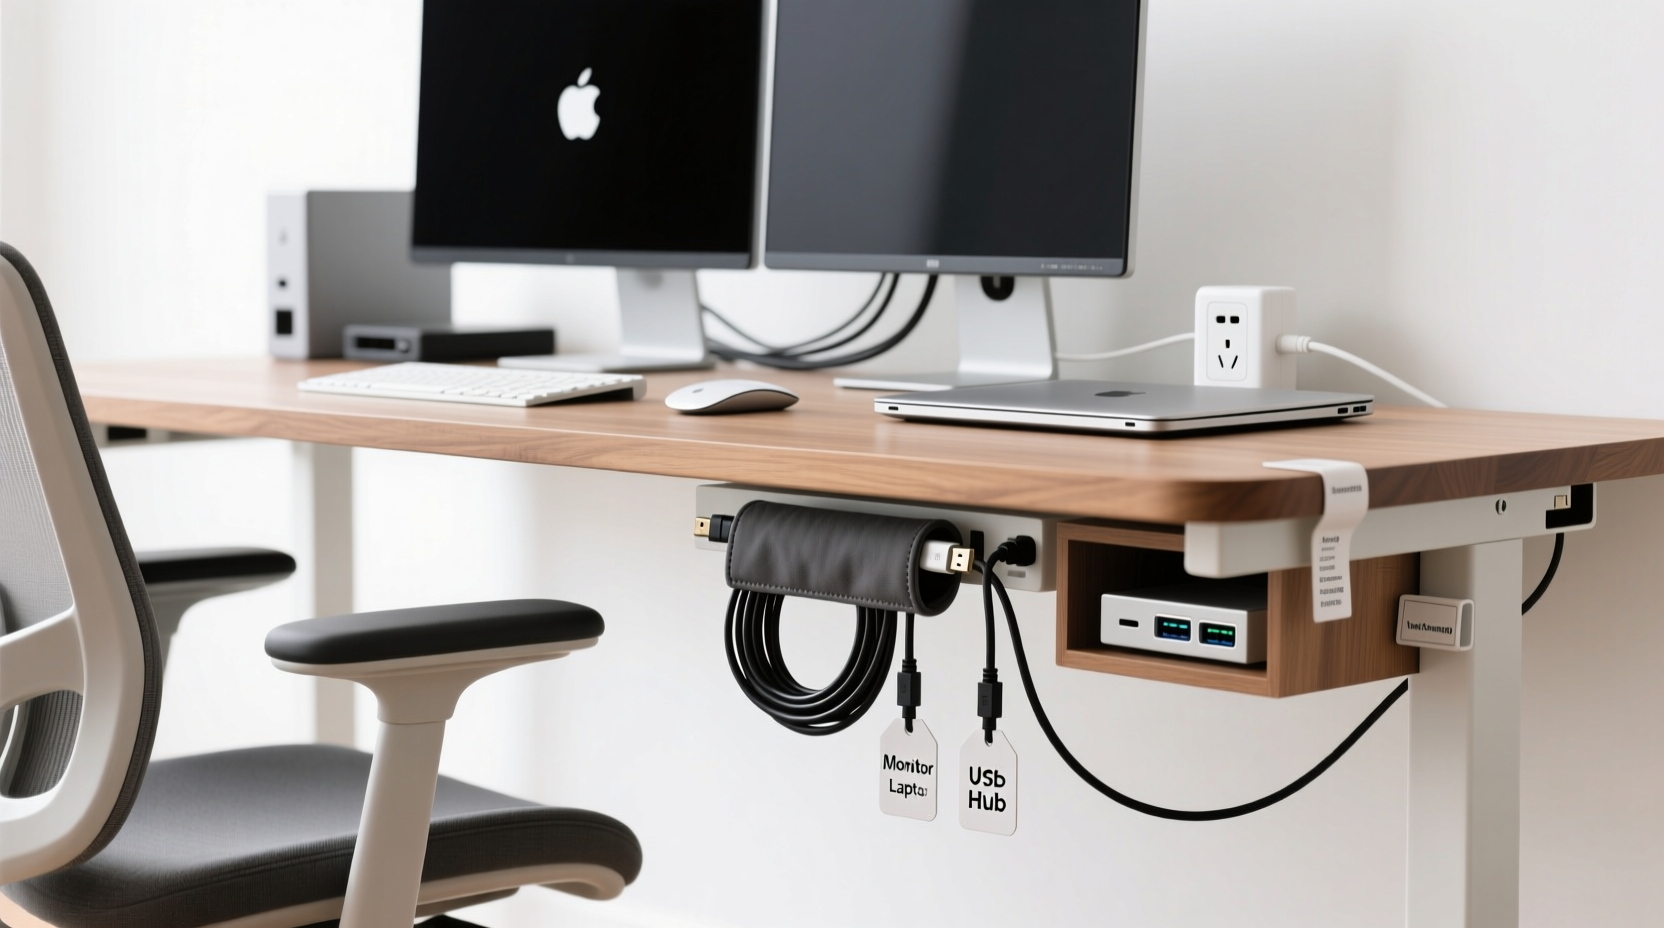
- Use clips or adhesive mounts. Install snap-on clips every 6–12 inches to secure bundles along desk legs or underside rails.
- Group related cables together. Use braided sleeves or spiral wrap to bundle monitor power and video cables as one unit.
- Install a cable raceway if needed. For wall-adjacent desks, attach a low-profile channel to conceal major trunk lines.
- Connect everything back systematically. Plug in devices in reverse order of shutdown, checking functionality as you go.
- Final inspection and adjustment. Ensure no tension on connectors, no sharp bends, and easy access to frequently used ports.
Timeline: How Long Should This Take?
The entire process typically takes 45 minutes to 2 hours, depending on complexity. A basic dual-monitor setup with computer, keyboard, and lamp may take less than an hour. Workstations with docking stations, external drives, VoIP phones, and network switches will require more planning and labeling time.
Do’s and Don’ts of Cable Management
| Do’s | Don’ts |
|---|---|
| Use releasable ties for flexibility | Use permanent zip ties near moving parts |
| Leave service loops for future adjustments | Stretch cables taut between points |
| Separate power and data cables where possible | Run AC power lines parallel to Ethernet for long distances |
| Label both ends clearly | Assume you’ll remember which cable goes where |
| Anchor heavy transformers off the edge of the desk | Let power bricks dangle unsupported |
“Interference from bundled power and signal cables can corrupt data transmission, especially on older Cat5e lines.” — Maria Tran, Network Engineer
Real-World Example: Transforming a Home Office Setup
Consider Sarah, a freelance graphic designer working from her dining table converted into a workstation. Her setup included a laptop dock, dual monitors, wireless keyboard/mouse, external SSD, printer, and phone charger—all plugged into multiple extension cords snaking across the floor.
After tripping over a cord and knocking over her monitor, she decided to reorganize. She began by unplugging everything and sorting cables. She discovered three outdated chargers and a broken HDMI cable she hadn’t noticed were still connected.
Sarah invested $25 in a pack of Velcro straps, adhesive clips, and a braided sleeve. She mounted clips under the desk to guide monitor cables downward, grouped USB peripherals into labeled bundles, and routed all power through a single surge-protected strip tucked behind a leg.
The result? A clean, accessible layout that took 70% less space behind the desk. More importantly, her laptop dock stopped overheating, and she could swap monitors effortlessly during client calls. What started as a frustration became a productivity upgrade.
Pro Tips for Long-Term Maintenance
Organization doesn’t end after installation. Maintain clarity with these habits:
- Adopt a labeling standard. Use consistent naming—e.g., “Laptop Charger,” “Monitor 1 Power,” “Ethernet to Switch”—so anyone can understand the system.
- Update your layout map. If you add a webcam or second drive, label it immediately before forgetting.
- Perform quarterly checks. Inspect for wear, looseness, or dust buildup. Vacuum around cable clusters gently.
- Keep spare ties and labels handy. Store a small kit in your desk drawer for quick fixes.
- Minimize desk penetration. If drilling isn’t an option, use over-desk raceways or clamp-mounted grommets.
Checklist: Cable Organization Success
Use this checklist to ensure your project meets professional standards:
- ✅ All devices powered off and disconnected
- ✅ Cables sorted by type and purpose
- ✅ Damaged or obsolete cords removed
- ✅ Each cable labeled at both ends
- ✅ Bundled using non-damaging ties or sleeves
- ✅ Secured with clips or raceways every 8–12 inches
- ✅ Power集中d to one protected strip
- ✅ No excessive tension or sharp bends
- ✅ Easy access to frequently used ports
- ✅ Final test of all connections completed
Frequently Asked Questions
How do I manage cables on a standing desk?
Moving desks require special attention. Use flexible conduit or expandable spiral wrap to allow vertical movement without snagging. Avoid rigid raceways unless they’re specifically designed for adjustable desks. Mount power strips to the desk frame rather than the floor to reduce strain during height changes.
Can I paint or customize my cable organizers?
Yes—but cautiously. Only paint external raceways made of plastic or metal. Never paint individual cables, as heat dissipation and insulation integrity may be compromised. For customization, choose colored cable sleeves or tie wraps that match your room’s aesthetic instead.
What’s the best way to hide cables without drilling?
Use adhesive-backed raceways or cord covers that stick directly to walls or baseboards. Alternatively, run cables along the back of furniture using clip mounts. For floor-level concealment, flat cable cover strips blend with flooring and are safe to walk over.
Conclusion: Elevate Your Workspace Today
Organizing cables behind your desk isn’t a one-time chore—it’s an investment in a safer, more efficient, and visually pleasing environment. By following a systematic approach, using the right tools, and applying professional techniques, you eliminate clutter, protect your equipment, and streamline daily workflows. The difference isn’t just visible; it’s felt in every smooth connection and stress-free upgrade.


 浙公网安备
33010002000092号
浙公网安备
33010002000092号 浙B2-20120091-4
Comments
No comments yet. Why don't you start the discussion?