
Digital photography has made capturing life’s moments easier than ever. But with convenience comes clutter. Thousands of photos scattered across devices, cloud services, and external drives can quickly become overwhelming. Organizing them by event—such as weddings, vacations, or family gatherings—not only makes retrieval effortless but also preserves the narrative of your memories. The challenge? Doing so without stripping away critical metadata like timestamps, GPS locations, camera settings, and copyright information.
Metadata is the silent storyteller behind every photo. It records when and where a photo was taken, which lens was used, and even whether it was edited. Losing this data during organization undermines both archival value and searchability. This guide walks through a meticulous, reliable process for structuring your digital photo library by event while safeguarding all embedded metadata.
Why Metadata Matters in Photo Organization
Metadata includes EXIF (Exchangeable Image File Format), IPTC (International Press Telecommunications Council), and XMP (Extensible Metadata Platform) data. These contain details such as:
- Date and time of capture
- GPS coordinates
- Camera model, shutter speed, aperture, ISO
- Copyright notices and captions
- Keywords and ratings added in editing software
Preserving metadata ensures that future searches—whether for “beach sunset June 2023” or “photos taken with Canon R5”—return accurate results. It also maintains authenticity for professional photographers and genealogists who rely on precise documentation.
“Metadata is not just technical overhead—it’s part of the historical record of an image.” — Dr. Alan Reed, Digital Archiving Specialist, Library of Congress
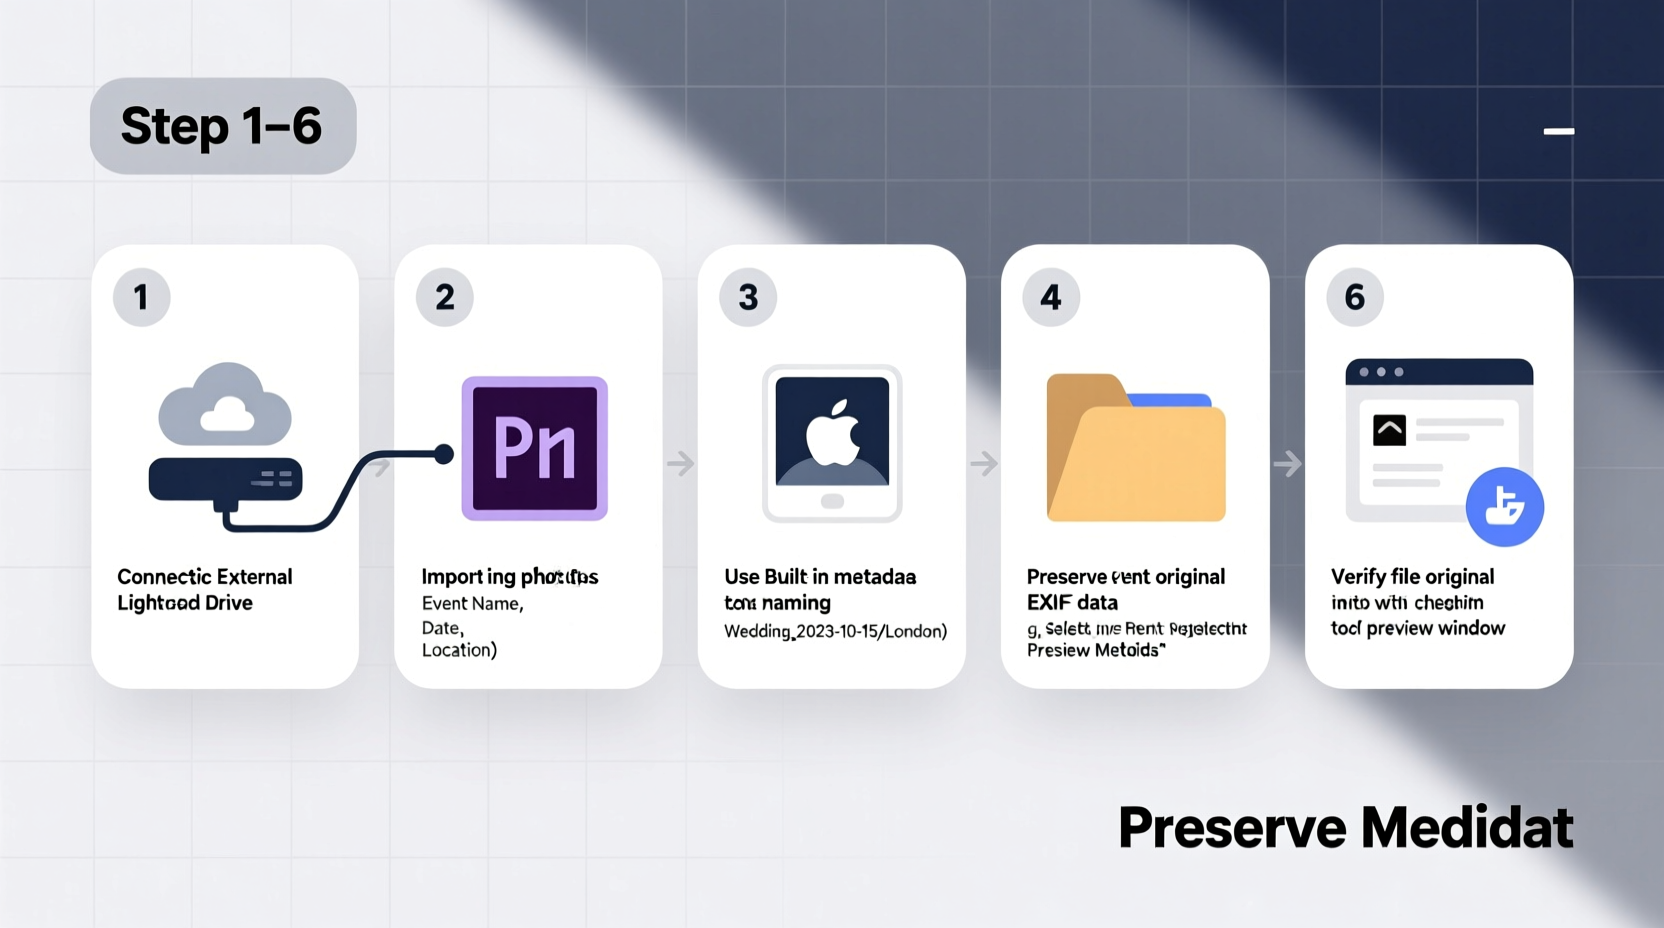
Step-by-Step Process: Organizing Photos by Event Safely
Follow this structured workflow to consolidate, sort, and archive your photos without compromising metadata integrity.
Step 1: Audit and Consolidate Your Existing Collection
Begin by gathering all digital photos from various sources: smartphones, cameras, SD cards, cloud storage (Google Photos, iCloud), and old computers. Use a central staging location—a dedicated external drive or a clearly labeled folder on your main computer.
Avoid copying files directly into their final folders yet. Instead, create a temporary folder called Photos_To_Organize and dump everything here. This prevents premature changes and allows you to work systematically.
Step 2: Backup Before You Begin
Before making any structural changes, ensure you have at least two backups:
- One local backup on an external hard drive
- One offsite or cloud-based copy (e.g., Backblaze, Google Drive, or Dropbox)
This follows the 3-2-1 backup rule: three copies of your data, two local but on different devices, one offsite.
Step 3: Use Metadata-Aware Software
Generic file managers often strip metadata when moving or renaming files. Instead, use applications designed to preserve it:
- Adobe Lightroom Classic – Industry standard for non-destructive editing and cataloging.
- DigiKam – Open-source, cross-platform, supports extensive metadata handling.
- Photo Mechanic – Fast ingestion and tagging, popular among photojournalists.
- Apple Photos (with caution) – Preserves most metadata if used within its ecosystem.
Ingest your Photos_To_Organize folder into one of these tools. During import, select options like “Copy” or “Move” rather than “Referenced,” ensuring files are managed within the application’s control.
Step 4: Sort Photos by Date and Location
Use the software’s filtering capabilities to group photos chronologically. Most programs allow sorting by:
- EXIF timestamp (most accurate)
- File creation date (less reliable)
- GPS geolocation (if available)
Look for clusters of images taken within short timeframes and similar locations—these typically represent single events. For example, 200+ photos taken between August 12–14 near Yellowstone National Park likely belong to a single trip.
Step 5: Create Event-Based Folder Structure
Design a consistent naming convention for your folders. A recommended format is:
YYYY-MM-DD_EventName_Location
Examples:
2023-07-04_Family_Reunion_Michigan2024-02-14_Valentines_Dinner_NewYork2023-12-25_Christmas_Eve_Home
This structure ensures chronological sorting when viewed in any file browser. Avoid special characters, spaces (use underscores), or overly long names.
Within each event folder, maintain original filenames unless adding meaningful prefixes. If needed, batch-rename using your software’s export or rename function, which preserves metadata.
Step 6: Add Descriptive Metadata
Enhance discoverability by embedding descriptive tags directly into the files. In your chosen software, add:
- Keywords: e.g., “wedding,” “birthday,” “travel”
- Captions: Brief descriptions like “Sarah’s graduation ceremony at UCLA”
- Hierarchical Keywords: Organize terms like Travel > Europe > France > Paris
- Copyright and Creator Info: Especially important for professionals
These fields are stored within the image file (as IPTC/XMP) and remain intact even when shared or moved.
Step 7: Export to Final Destination with Metadata Intact
Once organized and tagged inside your software, export the collection to your permanent archive drive using the following settings:
- Format: Original or unchanged (do not reprocess unless necessary)
- Embed: All metadata (check boxes for EXIF, IPTC, XMP)
- Do not resize or compress unless archiving duplicates
The exported files will retain full metadata and can be safely moved into your finalized folder structure.
Best Practices and Common Pitfalls
Even experienced users make mistakes when managing large photo libraries. Below is a comparison of recommended actions versus risky behaviors.
| Do’s | Don’ts |
|---|---|
| Use photo management software (Lightroom, DigiKam) | Rename files manually in file explorer |
| Backup before organizing | Work on original files without backup |
| Batch rename using metadata-aware tools | Delete originals immediately after import |
| Store metadata in sidecar files (.xmp) for RAW formats | Store photos in proprietary cloud apps without local export |
| Verify metadata retention with tools like ExifTool | Assume all cloud services preserve all metadata |
Real Example: Organizing a Family Reunion Archive
Sarah, a freelance photographer, inherited over 8,000 unsorted photos from her parents’ home computer. They spanned 15 years and included multiple reunions, holidays, and trips. Many were duplicated across devices, and some had been renamed inconsistently (“IMG_001.jpg”, “DSC_2930.JPG”, “P1010234.ARW”).
She followed this process:
- Backed up all data to two external drives.
- Used DigiKam to scan and import the entire collection, detecting duplicates automatically.
- Filtered by date ranges matching known events (e.g., July 2018, Lake Tahoe).
- Created folders using the
YYYY-MM-DD_Description_Locationformat. - Added keywords like “cousins,” “campfire,” and “grandparents” to key images.
- Exported the final set with metadata embedded and verified integrity with ExifTool.
The result? A searchable, well-documented family archive that could be shared with relatives without fear of data loss. She later burned DVDs for older relatives, each labeled with event titles and containing metadata-rich JPEGs.
Essential Tools for Metadata Preservation
Beyond photo organizers, several utilities help verify and repair metadata:
- ExifTool by Phil Harvey – Command-line powerhouse for reading, writing, and editing metadata. Supports over 300 file types.
- Exif Pilot – Free Windows tool with GUI for viewing and editing EXIF/IPTC.
- XnView MP – Cross-platform image viewer with batch metadata editing.
- Google Photos Checker (web tool) – Analyzes whether uploads preserve GPS and timestamps (spoiler: they don’t always).
Run ExifTool periodically on sample files to confirm that no automation or sync process has stripped metadata. A simple command:
exiftool -filename -createdate -gpslatitude -gpslongitude -keywords /path/to/photo.jpg
displays key fields for verification.
Frequently Asked Questions
Can I organize photos in Google Photos by event without losing metadata?
Google Photos strips GPS data and modifies file timestamps upon upload, even in “Original Quality.” While convenient for sharing, it's not suitable for archival. Always keep a master copy locally with full metadata before uploading.
What happens to metadata when I email a photo?
Most email clients remove sensitive metadata (like GPS) for privacy. If you need to share metadata-rich files, use secure file transfer services or zip archives with a note about intended use.
Is it safe to use cloud storage for my organized photo library?
Cloud storage (e.g., Dropbox, OneDrive) generally preserves metadata when syncing files, provided you’re not using a companion app that reprocesses images. However, never rely solely on the cloud—maintain local backups as well.
Final Checklist: Organizing Photos Without Metadata Loss
Before starting your next organization project, run through this checklist:
- ✅ Back up all original photos to at least two locations
- ✅ Choose a metadata-safe application (Lightroom, DigiKam, etc.)
- ✅ Ingest photos into the software without altering originals
- ✅ Filter by date, time, and GPS to identify events
- ✅ Apply consistent folder naming: YYYY-MM-DD_Event_Location
- ✅ Embed keywords, captions, and copyright info via software
- ✅ Export final versions with metadata fully embedded
- ✅ Verify metadata retention using ExifTool or similar
- ✅ Update backups with the newly organized library
Conclusion: Build a Sustainable Photo Workflow
Organizing digital photos by event isn’t a one-time cleanup—it’s the foundation of a sustainable digital legacy. By respecting metadata at every step, you ensure that your photos remain more than just pictures. They become documented moments, searchable records, and meaningful stories accessible decades from now.
Start small if needed. Pick one event, apply this method, and test the results. Once confident, scale up to your entire library. The effort pays off every time you instantly find “that photo from Mom’s birthday at the lake house in 2019” without scrolling for hours.


 浙公网安备
33010002000092号
浙公网安备
33010002000092号 浙B2-20120091-4
Comments
No comments yet. Why don't you start the discussion?