
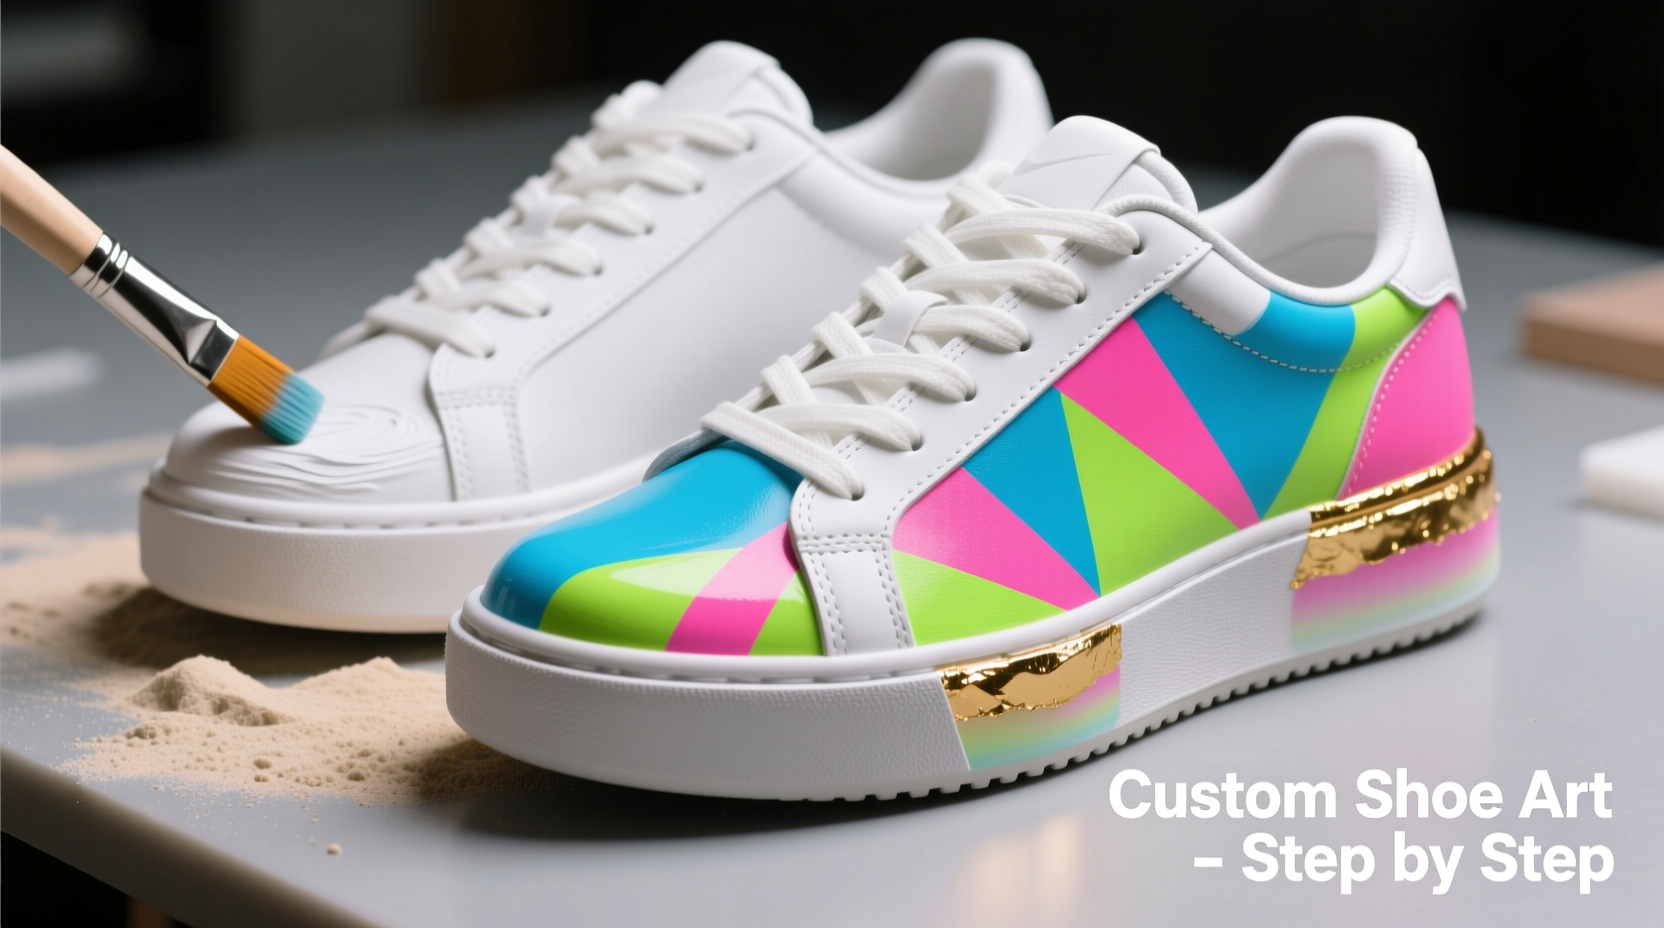
Customizing shoes has become more than a trend—it's a form of personal expression. Among the most dramatic yet accessible modifications is painting the platform soles of chunky sneakers, boots, or sandals. Whether you're aiming for bold graphics, ombre gradients, or intricate patterns, hand-painting your shoe platforms allows for total creative control. Done correctly, the results are durable, weather-resistant, and uniquely yours. This guide walks through every stage—from material selection to final sealing—ensuring your custom look lasts beyond the first wear.
Understanding Shoe Platform Materials
Before applying any paint, it’s essential to identify the material of your shoe platform. Most platforms are made from one of three substances: EVA foam, polyurethane (PU), or rubber. Each reacts differently to paint and requires specific preparation.
- EVA Foam: Lightweight and common in athletic shoes. Porous and absorbs paint easily but can degrade if exposed to harsh solvents.
- Polyurethane: Denser than EVA, often found in fashion-forward platforms. Holds paint well but needs surface etching for adhesion.
- Rubber: Durable and water-resistant. Requires special primers or bonding agents for paint to stick.
Mistaking the material can lead to peeling, cracking, or discoloration. Check manufacturer details or perform a discreet scratch test on an inconspicuous area to assess texture and flexibility.
Essential Tools and Materials
Success hinges on using the right supplies. Off-the-shelf craft paints may seem convenient, but they lack the durability needed for footwear. Invest in products designed for flexible surfaces.
| Item | Purpose | Recommended Type |
|---|---|---|
| Base Paint | Primary color layer | Acrylic leather/fabric paint (e.g., Angelus Direct) |
| Detail Paints | Designs, outlines, accents | High-pigment acrylics with fine-tipped brushes |
| Primer | Enhances paint adhesion | Foam & rubber primer (for EVA/PU/rubber) |
| Topcoat Sealer | Protects against scuffs and moisture | Flexible matte or gloss finisher (water-based) |
| Sanding Block | Creates texture for better grip | 150–220 grit fine sandpaper |
| Painter’s Tape | Protects upper and sole edges | FrogTape or low-adhesion masking tape |
Supplement these with cotton swabs, lint-free cloths, a small palette, and disposable gloves. Work in a well-ventilated space away from dust and direct sunlight.
Step-by-Step Painting Process
- Remove Laces and Clean Thoroughly
Take out shoelaces and wipe down the entire shoe with a damp cloth. Use a toothbrush to scrub dirt from grooves. Let dry completely. - Mask Off Areas to Protect
Apply painter’s tape along the edge where the platform meets the upper. Extend slightly onto the midsole if needed, ensuring crisp lines. Avoid covering fabric or leather parts. - Sand the Surface
Lightly sand the platform with 180-grit paper. Focus on glossy areas—this creates micro-abrasions for paint to bond. Wipe away dust with a tack cloth or alcohol-dampened rag. - Apply Primer
Using a small brush, apply a thin, even coat of foam or rubber primer. Let dry 30 minutes. A second coat may be needed for highly slick surfaces. - Paint the Base Layer
Mix your base paint thoroughly. Apply in thin, even strokes following the curve of the platform. Allow 1–2 hours drying time between coats. Two to three layers typically yield full coverage. - Add Designs or Details
Once the base is fully dry, sketch designs lightly with a pencil or use stencils. Use fine brushes for precision. Allow detail work to dry at least 4 hours. - Seal with Topcoat
Apply 2–3 layers of flexible sealer, waiting 2 hours between coats. For high-wear areas like the heel or toe guard, consider an extra layer. Cure for 72 hours before wearing.
Expert Insight: Durability Matters
Many DIY customizers overlook flexibility in their finishes, leading to cracked paint after minimal use. The platform bends with every step—your paint system must move with it.
“Using rigid sealers is the number one reason custom paint jobs fail. Always opt for water-based, flexible topcoats specifically formulated for footwear. They absorb impact without flaking.” — Marcus Lin, Footwear Customization Specialist, SneakerLab Studio
Real Example: From Drab to Statement Piece
Jess, a streetwear enthusiast in Portland, transformed a pair of vintage platform Mary Janes she found at a thrift store. The white EVA soles were yellowed and dull. After cleaning and sanding, she applied a black primer, then painted a galaxy-inspired design using deep blues, purples, and silver metallic accents. She sealed it with three coats of matte flexible finisher. Six months later, the paint remains intact despite regular outdoor use. “People stop me all the time to ask where I bought them,” she said. “I love telling them I made them myself.”
Common Mistakes and How to Avoid Them
- Skipping Sanding: Smooth surfaces repel paint. Always roughen up the platform slightly.
- Using Regular Acrylics: These crack under stress. Stick to paints labeled for shoes, leather, or fabric.
- Applying Thick Coats: Thick paint takes longer to cure and is prone to bubbling or peeling.
- Wearing Too Soon: Rushing the curing process compromises adhesion. Wait at least 72 hours post-final coat.
Checklist: Painting Shoe Platforms Successfully
- ✅ Identify platform material (EVA, PU, rubber)
- ✅ Gather proper paints, primer, and flexible sealer
- ✅ Remove laces and clean shoes thoroughly
- ✅ Mask off upper sections with painter’s tape
- ✅ Sand surface lightly and wipe clean
- ✅ Apply 1–2 coats of appropriate primer
- ✅ Paint base color in thin, even layers
- ✅ Add designs once base is fully dry
- ✅ Seal with 2–3 flexible topcoats
- ✅ Cure for 72 hours before wearing
Frequently Asked Questions
Can I wash my painted platform shoes?
Avoid submerging them in water. Spot-clean with a damp cloth and mild soap. Never machine wash, as agitation and detergents can degrade the paint and sealer.
How long will the paint last?
With proper prep and sealing, expect 6–12 months of regular wear. High-impact areas like the heel may need touch-ups. Reapply sealer every few months for extended life.
Can I paint over an existing painted platform?
Yes, but only after sanding thoroughly to remove glossy layers and ensure adhesion. Clean with alcohol afterward and re-prime before painting.
Final Touches and Long-Term Care
Your painted platforms are more than footwear—they’re wearable art. To preserve their appearance, store them in a cool, dry place away from direct sunlight, which can fade pigments over time. Carry a small touch-up kit with leftover paint and a mini brush for minor scuffs. Re-sealing every few months maintains protection, especially if you live in a rainy or humid climate.
Remember, customization isn’t about perfection. Slight imperfections add character and authenticity. What matters is that the shoes reflect your vision and stand out with confidence.
Conclusion
Painting shoe platforms opens a world of creative possibility without requiring advanced skills. With careful preparation, the right materials, and attention to detail, you can transform ordinary footwear into bold, personalized statements. The process is methodical but rewarding—each step builds toward a result that’s both visually striking and built to last. Now that you have the knowledge, grab a pair of shoes, choose your colors, and start creating something truly yours.


 浙公网安备
33010002000092号
浙公网安备
33010002000092号 浙B2-20120091-4
Comments
No comments yet. Why don't you start the discussion?