
Black bowknot coffin fake nails combine bold fashion with dramatic shape, making them a favorite among nail art enthusiasts. While they look intricate, applying them at home is entirely achievable with the right tools and technique. With precision and patience, you can achieve a flawless, long-lasting manicure without stepping into a salon. This comprehensive guide walks you through every stage—from prep to aftercare—ensuring your bowknot coffin nails stay stunning for days.
Why Choose Black Bowknot Coffin Fake Nails?
The coffin shape—tapered square with rounded edges—creates an elegant elongation of the fingers. When paired with a black finish and a decorative bowknot accent, the result is both edgy and sophisticated. These press-ons are ideal for special occasions, themed events, or anyone wanting a high-impact look without the commitment of acrylics. Unlike traditional extensions, quality fake nails are reusable, affordable, and save time compared to salon visits.
“With proper application, press-on nails can last just as long as salon-applied sets—especially when customized for fit and sealed correctly.” — Lila Nguyen, Nail Technician & Educator
What You’ll Need: The Essential Kit
Gathering the right supplies ensures a smooth process and professional outcome. Never skip on prep tools—even minor oversights can lead to lifting or discomfort.
- Black bowknot coffin fake nails (full set, assorted sizes)
- Nail file and buffer block (180/240 grit)
- Cotton pads and nail prep solution or rubbing alcohol
- Acetone or non-acetone nail polish remover (if polish is present)
- Orange wood stick or cuticle pusher
- Nail glue or adhesive tabs (glue offers stronger hold)
- Tweezers or nail applicator tool
- Top coat (optional, for extra shine and seal)
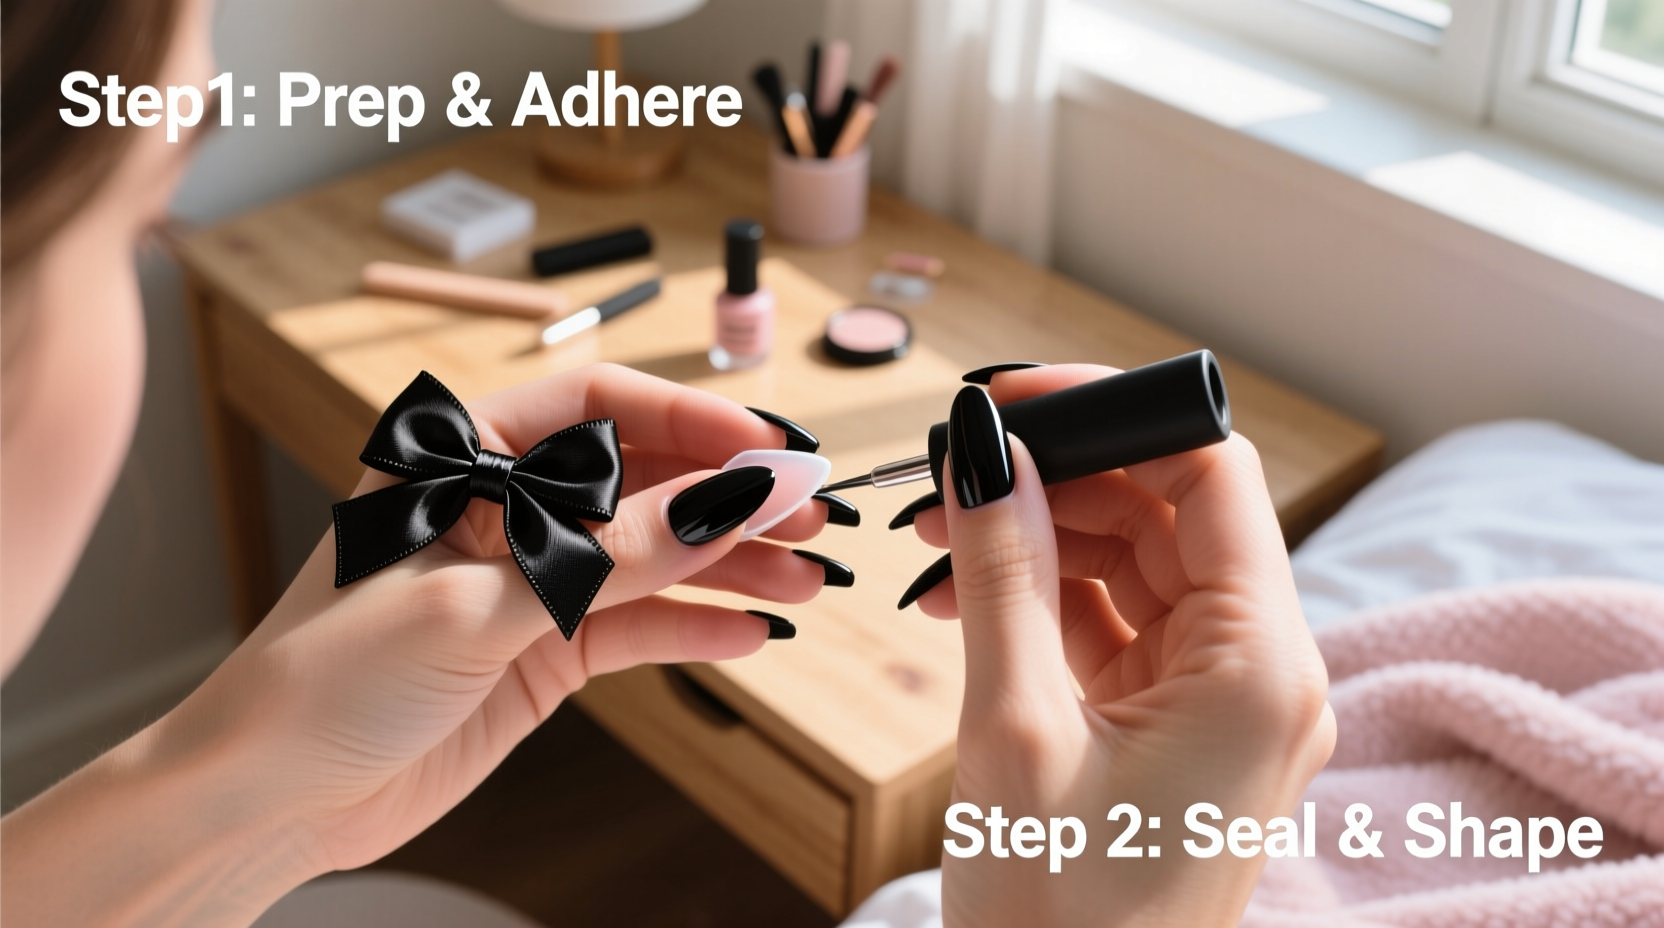
Step-by-Step Application Process
Follow this timeline for a secure, comfortable, and polished result. Allow 30–45 minutes for the full process, especially if you're new to press-ons.
- Clean and Prep Your Natural Nails
Remove any old polish using acetone-free remover to preserve nail strength. Wash hands thoroughly and dry completely. Dehydration reduces adhesion, so ensure nails are oil-free. - Shape and Buff Your Nails
File your natural nails into a slightly squared-off oval to mimic the coffin base. Lightly buff the surface with a 240-grit buffer to create micro-abrasions that help glue adhere better. Avoid over-buffing, which weakens the nail. - Push Back Cuticles
Gently push back cuticles using an orange stick. Do not cut them at home—this increases infection risk and interferes with nail alignment. - Dry and Degrease
Wipe each nail with a cotton pad soaked in rubbing alcohol or nail dehydrator. Let nails air-dry for 30 seconds. This removes invisible oils and sweat that could compromise bonding. - Select the Right Size
Match each fake nail to your natural nail bed. The ideal fit covers the nail without overlapping the skin or stopping short of the tip. Most kits include multiple sizes per finger—use tweezers to test placement before gluing. - Apply Adhesive
If using glue: Apply a small drop to your natural nail (not the fake one) to avoid overflow. If using double-sided tabs: Press firmly onto the center of your nail. For maximum hold, combine a tab with a tiny dot of glue. - Attach the Fake Nail
Align the fake nail straight with your cuticle line. Press down firmly for 20–30 seconds. Start with the middle fingers—they’re easiest to align—and work outward. Hold until fully set. - Seal the Edges
Once all nails are applied, run a thin layer of nail glue or top coat along the sides and under the tip. This seals gaps and prevents moisture from seeping in, which causes lifting. - Buff and Shine (Optional)
Lightly smooth any rough edges with a buffer. Apply a glossy top coat for enhanced depth and protection. Wait 10 minutes between layers if using gel-style top coats.
Do’s and Don’ts: Common Mistakes to Avoid
| Do’s | Don’ts |
|---|---|
| Size each nail individually for best fit | Use oversized nails to “stretch” your nail bed |
| Let glue dry slightly before pressing (5-second wait) | Rush the application—misalignment ruins aesthetics |
| Store unused nails in their original case | Leave nails exposed to dust or sunlight |
| Reinforce with top coat every 2–3 days | Soak hands immediately after application |
| Moisturize cuticles daily (avoiding nail bed) | Pick or peel off nails—this damages natural layers |
Real-Life Example: A Weekend Makeover Success
Sophia, a graphic designer from Austin, wanted a striking look for her friend’s rooftop wedding. She ordered a set of black bowknot coffin nails online and followed this guide. After prepping her nails and selecting the correct sizes, she used nail glue with reinforcement tabs. She let the glue set for 10 seconds before attaching each nail, ensuring no shifting. By sealing the edges with a quick-dry top coat, her nails survived dancing, photos, and champagne toasts—lasting a full seven days without a single lift. “I got more compliments on my nails than my dress,” she said. “And I saved $70 compared to a salon visit.”
Maintenance Tips for Longevity
A well-applied set should last 5–10 days, depending on lifestyle. Extend wear with these practices:
- Wear gloves when washing dishes or cleaning.
- Avoid using your nails as tools (e.g., opening cans).
- Reapply a thin layer of top coat every third day.
- At night, apply cuticle oil around—but not on—the nail base to keep skin supple.
- If a nail lifts slightly, clean the area, reapply glue, and clamp for 30 seconds.
Frequently Asked Questions
Can I reuse black bowknot coffin fake nails?
Yes, if removed carefully and cleaned properly. Wipe off glue residue with acetone, store flat in the original tray, and inspect for warping before reuse. Most quality sets can be worn 3–5 times.
Why do my fake nails keep popping off?
Likely causes include improper prep (oil or moisture on the nail), incorrect sizing, or insufficient adhesive. Always degrease nails, choose the right fit, and use glue instead of tabs alone for heavy designs like bowknots.
Are coffin-shaped nails suitable for short fingers?
Absolutely. The elongated tip creates an optical illusion of longer fingers. Just ensure the base width matches your nail bed—too wide will look bulky, too narrow will seem disproportionate.
Final Thoughts: Master Your DIY Manicure
Applying black bowknot coffin fake nails at home isn’t just convenient—it’s empowering. With attention to detail and the right method, you can achieve a head-turning look that rivals professional services. The key lies in preparation, precision, and maintenance. Whether you're dressing up for a night out or elevating your everyday style, these nails offer versatility and drama in one package.


 浙公网安备
33010002000092号
浙公网安备
33010002000092号 浙B2-20120091-4
Comments
No comments yet. Why don't you start the discussion?