
There’s something deeply comforting about a warm, pillowy yeast roll fresh from the oven. Golden on the outside, cloud-soft within, and rich with just the right hint of sweetness—these rolls elevate any meal from ordinary to memorable. While store-bought versions exist, nothing compares to homemade. With the right technique, even novice bakers can achieve bakery-quality results. This comprehensive guide walks you through every stage, from activating the yeast to pulling golden rolls from the oven, ensuring consistent success.
The Science Behind Soft and Fluffy Rolls
Understanding what makes a roll tender and airy is key to mastering the craft. The texture hinges on three factors: gluten development, yeast activity, and fat content. When flour and water combine, gluten forms—a network of proteins that gives dough its elasticity. Proper kneading strengthens this structure, allowing it to trap carbon dioxide produced by yeast during fermentation. As the dough rises, air pockets expand, creating a light crumb.
Fat, in the form of butter or milk, plays a dual role: it enriches flavor and coats gluten strands, preventing them from becoming too tight. This results in a softer, more tender bite. Using whole milk instead of water adds lactose, which feeds the yeast and contributes to browning via the Maillard reaction. Eggs further enhance richness and help bind ingredients for a uniform rise.
“Great rolls start with balanced hydration and temperature control. Even slight deviations can affect rise and texture.” — Chef Lydia Monroe, Artisan Bread Instructor
Essential Ingredients and Equipment
Using high-quality ingredients makes a noticeable difference. For best results, choose unbleached all-purpose flour with a protein content around 11–12%. Active dry yeast or instant yeast both work; the former requires proofing, while the latter can be mixed directly into dry ingredients.
- All-purpose flour (or bread flour for slightly more structure)
- Granulated sugar (feeds yeast and balances flavor)
- Salt (controls yeast activity and enhances taste)
- Unsalted butter (preferably room temperature for even distribution)
- Warm whole milk (about 105–110°F / 40–43°C)
- Egg (optional, but recommended for softness)
- Active dry yeast or instant yeast
Equipment needs are minimal: a large mixing bowl, wooden spoon or dough whisk, stand mixer with a dough hook (optional but helpful), rolling pin, 8x8-inch or 9x9-inch baking pan, and a kitchen towel for rising.
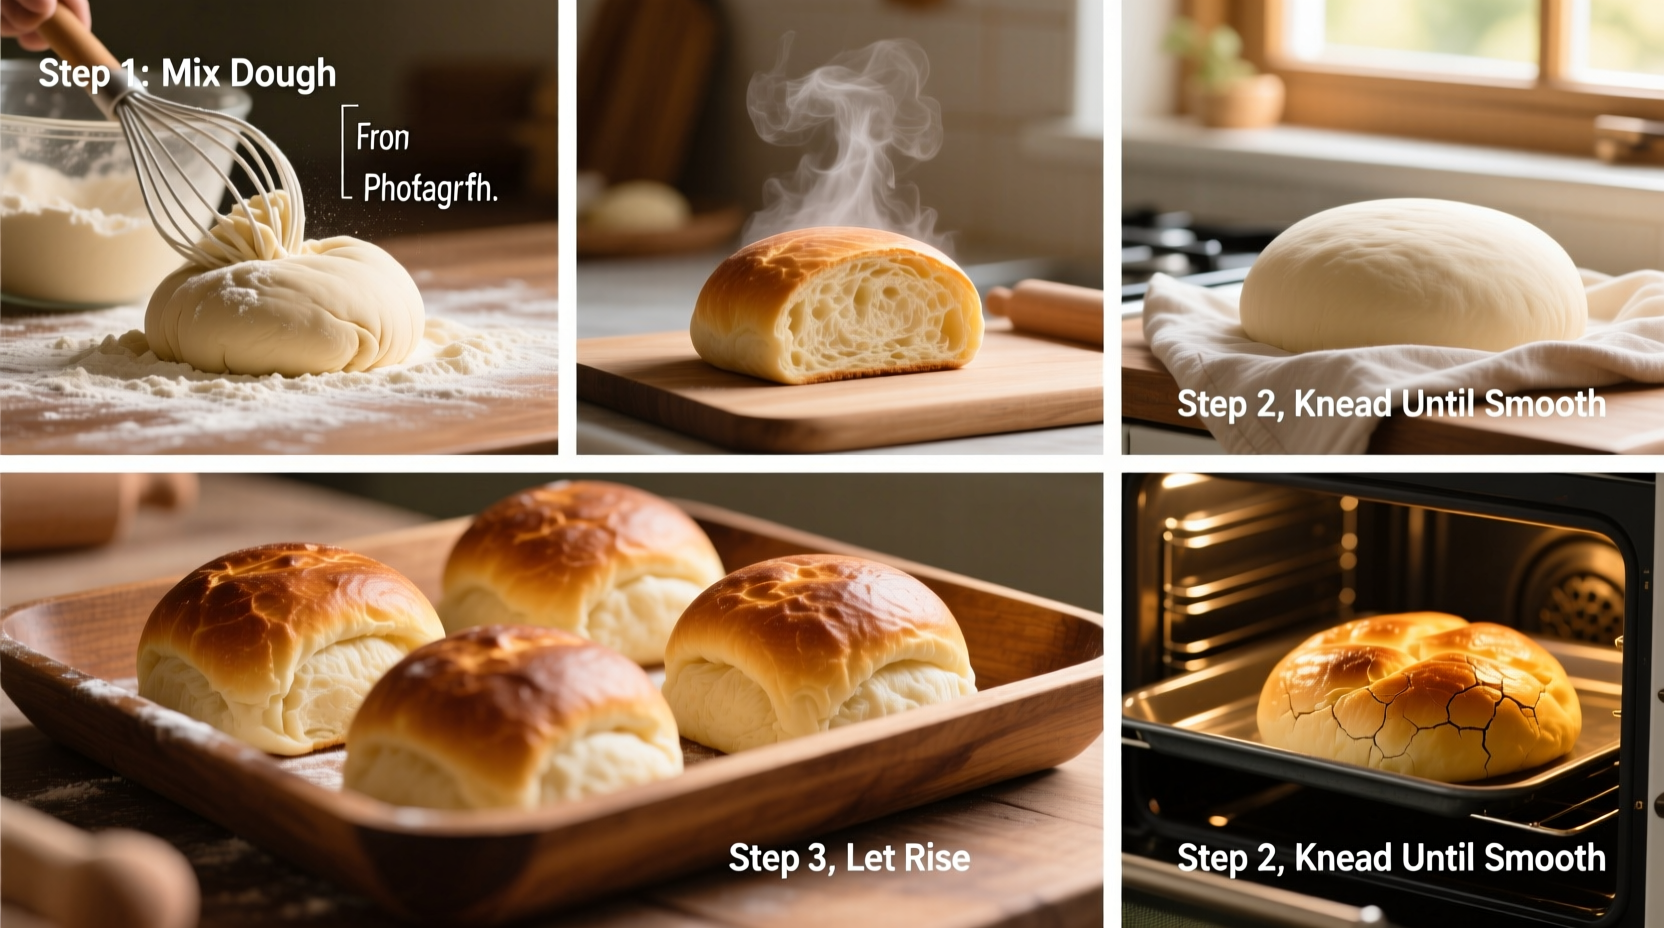
Step-by-Step Guide to Perfect Rolls
This method yields 16 soft, round dinner rolls with a delicate crust and melt-in-the-mouth interior. Follow each step carefully for optimal results.
- Activate the yeast: In a small bowl, combine 1/4 cup warm milk (110°F), 1 tablespoon sugar, and 2 1/4 teaspoons active dry yeast. Stir gently and let sit for 5–10 minutes until foamy. If no bubbles form, discard and start again with fresh yeast.
- Mix wet ingredients: In a large bowl, warm 1 cup milk to the same temperature. Add 1/4 cup softened butter, 1 beaten egg, and the activated yeast mixture. Whisk until smooth.
- Combine dry ingredients: In a separate bowl, mix 3 1/2 cups flour, 1/4 cup sugar, and 1 1/2 teaspoons salt.
- Form the dough: Gradually add dry ingredients to the wet mixture. Stir until a shaggy dough forms. Turn onto a floured surface and knead for 8–10 minutes until smooth and elastic. Alternatively, use a stand mixer with a dough hook on medium speed for 6–7 minutes.
- First rise: Place dough in a lightly greased bowl, cover with a damp cloth, and let rise in a warm spot for 1–1.5 hours, or until doubled in size.
- Shape the rolls: Punch down the dough and divide into 16 equal pieces (about 2 oz each). Roll each into a smooth ball and place snugly in a greased square baking pan.
- Second rise: Cover and let rise again for 30–45 minutes until puffy and touching.
- Bake: Preheat oven to 375°F (190°C). Bake rolls for 20–23 minutes until golden brown on top. Brush immediately with melted butter for a soft, glossy finish.
Common Pitfalls and How to Avoid Them
Even experienced bakers encounter issues. The following table outlines frequent problems and their solutions:
| Issue | Possible Cause | Solution |
|---|---|---|
| Dense, heavy rolls | Under-proofed dough, old yeast, or over-flouring | Ensure proper rise time; measure flour correctly using the spoon-and-level method |
| Tough texture | Over-kneading or insufficient fat | Knead only until smooth; include full amount of butter and milk |
| Rolls don’t rise | Cold environment or dead yeast | Raise dough in a warm area (e.g., near a preheating oven); test yeast before use |
| Burnt tops | Oven too hot or no foil coverage | Check oven calibration; tent with foil if browning too quickly |
Real-World Example: Baking Success After Early Failures
Jamie, a home cook from Ohio, tried making yeast rolls for Thanksgiving three years in a row—with disappointing results. The first batch was rock-hard, the second didn’t rise, and the third tasted overly yeasty. Frustrated, she researched temperature control and ingredient balance. On her fourth attempt, she used a thermometer to ensure milk was exactly 110°F, measured flour precisely, and allowed full rise time in a turned-off oven with a bowl of hot water beside the dough. The result? Her family declared them “better than Grandma’s.” Jamie now bakes them monthly, proving that understanding process beats perfection on the first try.
Pro Tips for Consistent Results
Refine your technique with these tested recommendations:
- Use a kitchen scale for accurate flour measurement—1 cup of all-purpose flour should weigh 120 grams.
- For faster rising, place dough in a turned-off oven with a bowl of boiling water on the rack below.
- Substitute half the milk with heavy cream for ultra-rich, brioche-style rolls.
- To freeze, bake and cool rolls completely, then store in airtight bags for up to 3 months. Reheat at 350°F for 10 minutes.
Frequently Asked Questions
Can I make these rolls ahead of time?
Yes. Prepare the dough, shape the rolls, and place them in the pan. Cover and refrigerate overnight. Let them come to room temperature and complete their second rise (about 1 hour) before baking.
Why did my rolls collapse after baking?
This often happens when the dough is over-proofed. The gluten structure weakens and can’t support the expansion of steam during baking. Stick to recommended rise times and watch volume, not just the clock.
Can I use instant yeast instead of active dry?
Absolutely. Use the same quantity, but mix it directly with the dry ingredients. There’s no need to proof it in liquid first, though ensuring your liquid isn’t too hot remains crucial.
Final Checklist Before You Begin
- Check yeast freshness and activation temperature
- Gather all ingredients at room temperature (except cold butter if grating)
- Pre-measure and organize ingredients (mise en place)
- Grease your pan and preheat the oven
- Set a timer for both rise periods
- Have melted butter ready for brushing post-bake
Conclusion: Warmth, One Roll at a Time
Perfectly soft and fluffy yeast rolls aren’t reserved for professional kitchens. With attention to detail, patience during fermentation, and a few key techniques, anyone can create golden, aromatic rolls that bring people together. Whether served alongside holiday turkey or slathered with jam on a quiet Sunday morning, these homemade rolls carry more than flavor—they carry care. Don’t wait for a special occasion. Preheat your oven, gather your ingredients, and take the first step toward mastering one of baking’s most rewarding basics.


 浙公网安备
33010002000092号
浙公网安备
33010002000092号 浙B2-20120091-4
Comments
No comments yet. Why don't you start the discussion?