
Deleting a Facebook page isn’t as simple as closing a browser tab. Whether you're rebranding, shutting down a business, or simply stepping away from social media, it's essential to remove your presence completely and securely. A hasty deletion can leave behind traces, confuse followers, or even allow others to reclaim your page. This guide walks you through the entire process—from preparation to final confirmation—ensuring your Facebook page is removed permanently, with no risk of unintended recovery.
Why Permanent Deletion Matters
Many users assume that deactivating or unpublishing a Facebook page removes it entirely. In reality, these actions only hide the page temporarily. The content remains stored on Facebook’s servers, accessible if someone gains access to the admin account. True permanence requires a deliberate, multi-step process.
Permanent deletion ensures:
- No future access to your page content
- Removal of all posts, photos, and messages associated with the page
- Prevention of impersonation or misuse by third parties
- Compliance with data privacy preferences
“Deleting a Facebook page properly is about digital hygiene. It protects your brand, your audience, and your personal information.” — Sarah Lin, Digital Privacy Consultant
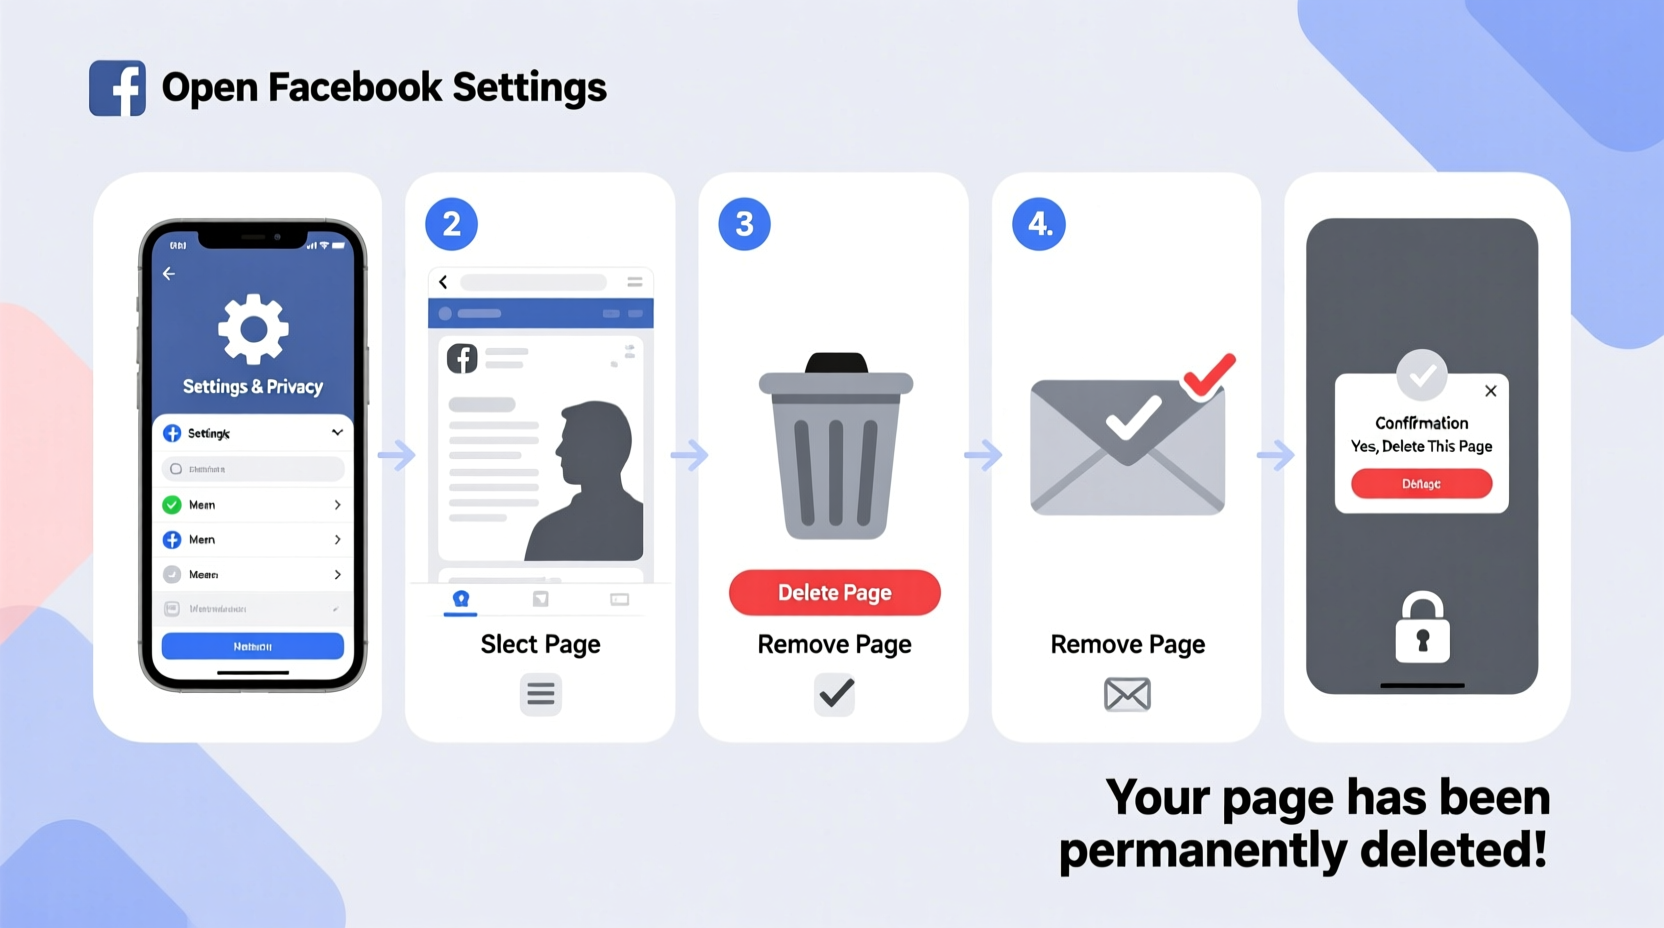
Step-by-Step: How to Permanently Delete Your Facebook Page
Before initiating deletion, ensure you’re an admin of the page and have access to the associated Facebook account. Only admins can delete a page, and the action cannot be undone.
- Log in to Facebook using the account that administers the page.
- Navigate to your Facebook Pages dashboard.
- Select the page you wish to delete.
- Click on Settings in the top-right menu.
- In the left sidebar, scroll down and click General.
- Scroll to the bottom of the General settings and locate the section labeled Remove Page.
- Click Delete Page.
- Review the warning message: Facebook will inform you that deletion is irreversible and may take up to 14 days.
- Confirm your identity by entering your password if prompted.
- Click Continue to finalize the request.
After submission, Facebook places your deletion request in a holding period. During this time, the page becomes unpublished but isn’t fully erased. No one can find or interact with it. After 14 days, if no action is taken to cancel the deletion, the page is permanently removed from Facebook’s systems.
Essential Pre-Deletion Checklist
Jumping straight into deletion risks losing valuable content or alienating your audience. Use this checklist to prepare responsibly:
- ✅ Back up all photos, videos, and posts you want to keep
- ✅ Export your page’s insights and analytics (via Settings > Templates and Tabs > Insights)
- ✅ Notify your followers in advance via a final post
- ✅ Remove or reassign admin roles if team members are involved
- ✅ Disconnect any third-party apps or ad accounts linked to the page
- ✅ Cancel active ad campaigns and clear billing information
- ✅ Save your page’s username or URL for future reference (if applicable)
This preparation minimizes regrets and ensures a clean digital exit.
Common Mistakes to Avoid
Even experienced users make errors when deleting Facebook pages. These pitfalls can lead to incomplete removal or accidental recovery:
| Mistake | Consequence | How to Avoid |
|---|---|---|
| Confusing profile deletion with page deletion | You might delete your personal account instead | Always navigate through the Pages section, not Account Settings |
| Leaving admin roles assigned | Others may restore or misuse the page during the grace period | Remove all admins before initiating deletion |
| Failing to back up content | Losing years of posts, engagement, and media | Use Facebook’s Download Your Information tool |
| Reactivating the page during the 14-day window | Cancels the deletion process automatically | Avoid logging in or making edits after initiating deletion |
Real Example: A Small Business Owner’s Clean Exit
Jamie ran a local bakery with a popular Facebook page boasting over 5,000 followers. When she decided to close her shop, she wanted to retire the page respectfully. Instead of abruptly deleting it, she posted a heartfelt farewell message thanking customers and sharing where they could find her new catering venture.
She downloaded all customer reviews, photos from events, and promotional graphics. She canceled her boosted posts and disconnected her Instagram integration. Only then did she proceed with the deletion process. Two weeks later, the page was gone—no confusion, no lingering links, just closure.
Her approach preserved goodwill and protected her brand’s legacy.
Frequently Asked Questions
Can I recover my page after deletion?
No. Once the 14-day grace period ends, Facebook permanently erases the page. There is no recovery option. If you change your mind within those 14 days, you can cancel the deletion by visiting the page and clicking “Cancel Deletion.”
Will deleting my page remove my personal Facebook account?
No. Your personal profile and the business page are separate entities. Deleting a page does not affect your individual account unless you manually delete it separately.
What happens to messages and comments after deletion?
All page-specific messages, comments, and reactions are permanently deleted. However, public comments made by users on external posts (e.g., shared links) may remain visible on their timelines. Facebook does not retroactively erase user-generated content from other contexts.
Final Steps and Confirmation
After submitting the deletion request, monitor your email for confirmation from Facebook. You won’t receive daily updates, but you should see a notification confirming the initiation of the deletion process.
To verify completion:
- Wait at least 14 days.
- Try searching for your page by name or URL.
- If it doesn’t appear—even when logged in—you’ve successfully deleted it.
Note: Search engines may still show cached versions of your page for a short time. These typically disappear within a few weeks as Google and other crawlers update their indexes.
Conclusion: Take Control of Your Digital Presence
Deleting a Facebook page permanently is more than a technical task—it’s an act of digital responsibility. By following this guide, you ensure that your brand, content, and community are treated with respect during transition or closure. Preparation, precision, and patience are key. Don’t rush the process; instead, use it as an opportunity to reflect, archive, and exit with integrity.


 浙公网安备
33010002000092号
浙公网安备
33010002000092号 浙B2-20120091-4
Comments
No comments yet. Why don't you start the discussion?