
Handcrafted cowhide keychains are more than just functional accessories—they’re small canvases for self-expression. When personalized with care, they become meaningful keepsakes, thoughtful gifts, or signature pieces that reflect individuality. The natural texture and durability of cowhide leather make it ideal for customization, responding beautifully to stamping, dyeing, and embellishment. With the right tools and techniques, anyone can transform a simple leather strip into a statement piece.
This guide walks through the entire process—from selecting materials to applying finishing touches—so you can craft a keychain that’s both stylish and uniquely yours. Whether you're new to leatherwork or refining your skills, these steps will help you achieve professional-looking results at home.
Choosing the Right Cowhide Leather
The foundation of any great keychain is quality leather. Not all cowhide is created equal; thickness, grain, and finish affect how well it accepts tools and holds detail. For keychains, opt for vegetable-tanned cowhide between 3–4 oz (1.2–1.6 mm thick). This weight is sturdy enough to last but still workable without heavy-duty equipment.
- Vegetable-tanned leather is best for stamping and tooling because it reacts predictably to moisture and pressure.
- Avoid chrome-tanned leather, which resists water-based dyes and doesn’t emboss cleanly.
- Look for full-grain leather, which retains the hide’s natural surface and develops a rich patina over time.
Essential Tools and Materials
Personalization requires precision. Gather these core supplies before beginning:
| Tool/Material | Purpose | Recommended Type |
|---|---|---|
| Leather Stamp Set | Creates patterns and textures | Pyramid, floral, line, and border stamps |
| Wooden Mallet | Drives stamps without damaging tools | Rubber or rawhide mallet preferred |
| Swivel Knife | Cuts intricate designs | Adjustable blade depth |
| Leather Dye & Finisher | Adds color and protection | Aniline dye + acrylic resin topcoat |
| Hole Punch & Awl | Prepares for hardware attachment | Rotary hole punch or drive punch |
| Snap Fastener or Key Ring | Functional closure | Brass or nickel-plated hardware |
Optional additions include stencils, masking tape for clean edges, and a dampening sponge for softening leather prior to stamping.
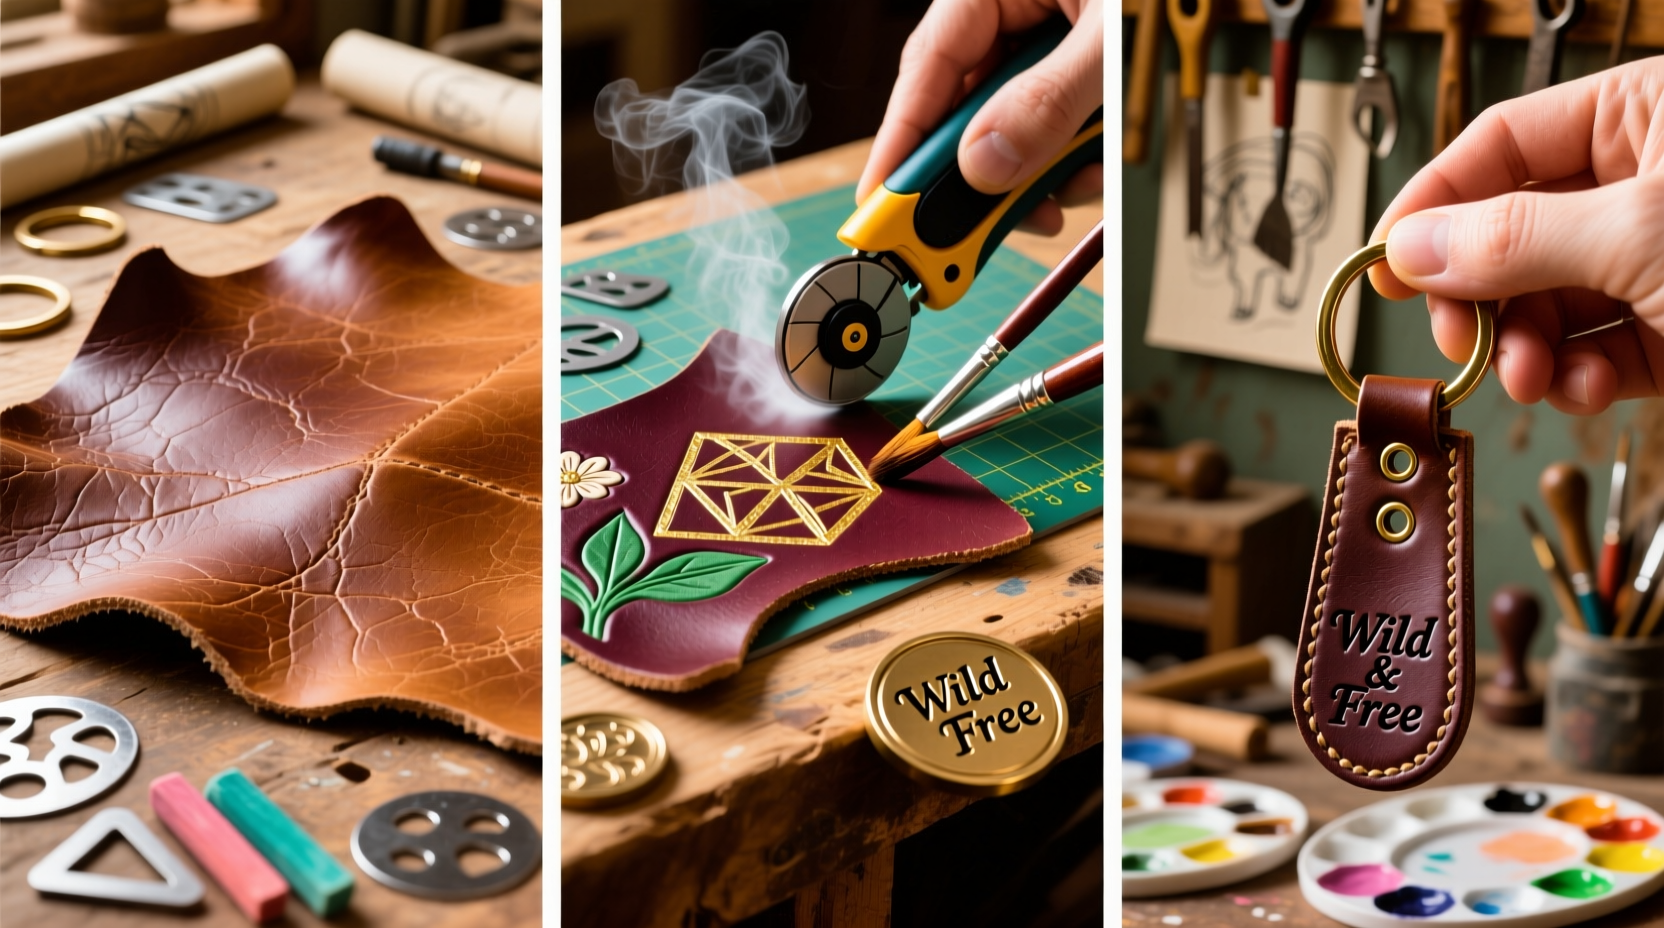
Step-by-Step Customization Process
- Cut the leather to size. A standard keychain measures 2.5” x 0.75”. Use a rotary cutter and metal ruler on a cutting mat for straight edges.
- Dampen the leather surface. Moisten the front side evenly with a sponge. It should feel like a leather wallet—pliable but not dripping. Wait 5–10 minutes for even absorption.
- Transfer your design. Sketch initials, symbols, or patterns lightly with a pencil. Use carbon transfer paper for complex motifs.
- Stamp the design. Begin with background textures, then move to outlines. Hold each stamp perpendicular to the leather and strike once firmly with the mallet. Avoid double-hitting to prevent blurred impressions.
- Carve details with a swivel knife. Deepen lines or create inlay areas where needed. Work slowly, rotating the blade around curves.
- Apply leather dye. Use a dauber or brush to apply aniline dye in thin, even coats. Let dry completely between layers. Two to three coats typically yield rich color.
- Finish and seal. Apply a leather finisher like Fiebing’s Acrylic Resin to protect against moisture and wear. Buff lightly with a soft cloth after drying.
- Punch holes and attach hardware. Align the snap base or key ring loop, mark the spot, and punch cleanly through. Set snaps with a bench block and hammer if required.
Design Inspiration and Creative Flair
Personalization goes beyond monograms. Consider these creative directions:
- Nature motifs: Leaves, mountains, or animal silhouettes evoke adventure.
- Minimalist geometry: Triangles, lines, and dots offer modern elegance.
- Layered elements: Combine stamped backgrounds with painted foregrounds using metallic leather paint.
- Bold contrast: Dye the background dark and burnish lighter accents for dimension.
For a vintage look, distress edges with a beveling tool and apply edge slicker. For contemporary flair, use neon dyes on matte black leather.
“Every stamp tells a story. The pressure, angle, and sequence shape not just the design, but the soul of the piece.” — Diego Mendez, Master Leather Artisan
Mini Case Study: Crafting a Meaningful Gift
Sophia wanted to create a birthday gift for her brother, an avid hiker. She chose a 3 oz cowhide strip and sketched a small mountain range across the center. Using a pyramid background stamp, she textured the lower half, then carved a clean horizon line with a swivel knife. After dyeing the peaks in deep navy and sealing with a satin finisher, she added his initials in a sans-serif font stamp at the base.
The final touch was a brass compass charm attached alongside the key ring. Her brother wore it daily, noting how the leather softened with use while the design remained sharp. Within weeks, friends began requesting similar custom pieces—proof that thoughtful personalization resonates far beyond utility.
Common Mistakes and How to Avoid Them
Even experienced crafters encounter pitfalls. Here’s what to watch for:
| Mistake | Why It Happens | How to Fix |
|---|---|---|
| Blurred stamp impressions | Leather too dry or uneven striking | Re-dampen and restamp with consistent force |
| Dye bleeding outside lines | Over-application or porous leather | Use less dye; apply with precision tools |
| Cracked or peeling finish | Insufficient drying between coats | Wait 30+ minutes between layers |
| Holes tearing during use | Poor placement or weak leather | Reinforce with washers or use thicker leather |
Checklist: Personalized Keychain Success
- ✅ Select 3–4 oz vegetable-tanned cowhide
- ✅ Cut to desired dimensions (e.g., 2.5” x 0.75”)
- ✅ Lightly dampen leather for stamping
- ✅ Transfer design with pencil or carbon paper
- ✅ Stamp background, then outlines, using firm single strikes
- ✅ Carve fine details with swivel knife if needed
- ✅ Apply 2–3 thin coats of leather dye, drying between
- ✅ Seal with acrylic finisher for protection
- ✅ Punch hole and attach durable hardware
- ✅ Buff edges and inspect final piece
Frequently Asked Questions
Can I personalize a pre-made keychain?
Yes, but only if it’s vegetable-tanned leather. Chrome-tanned or pre-finished keychains won’t accept stamps or dyes well. Test with a drop of water—if it soaks in quickly, it’s likely suitable.
How do I care for a personalized cowhide keychain?
Wipe with a dry cloth regularly. Avoid prolonged exposure to water or direct sunlight. Reapply leather conditioner every 6 months to maintain suppleness.
Is it possible to erase a mistake in stamping?
Not easily. Deep errors may require sanding down the area and re-dyeing, but this affects texture. Prevention—through practice on scraps—is the best strategy.
Make It Yours, Wear It Proud
A handcrafted cowhide keychain is more than a way to carry keys—it’s a reflection of patience, creativity, and personal taste. Each stroke of the stamp, shade of dye, and choice of hardware contributes to a piece that no machine could replicate. The beauty of leather lies in its evolution; with time, your keychain will develop character, telling a story not just through design, but through use.
Start small, experiment boldly, and let your craftsmanship grow with each project. Whether you’re making one for yourself or gifting it to someone special, the effort behind a personalized keychain always shows—and always matters.


 浙公网安备
33010002000092号
浙公网安备
33010002000092号 浙B2-20120091-4
Comments
No comments yet. Why don't you start the discussion?