
Personalizing a plain hat with Disney-themed accessories is more than a craft—it’s a celebration of fandom, creativity, and individuality. Whether you're preparing for a theme park visit, a birthday party, or simply want to wear your love for Disney on your sleeve (or head), customizing a hat allows you to express yourself in a fun, wearable way. With the right tools, materials, and a bit of imagination, you can turn an ordinary cap into a whimsical masterpiece inspired by Mickey, Cinderella, or even the Haunted Mansion. This guide walks you through every stage, from selecting the base hat to adding final enchanted touches.
Choose the Right Hat as Your Canvas
The foundation of any successful customization project is the base item. For Disney-themed hats, opt for a simple, unstructured cap in a neutral color like black, white, red, or navy. Structured baseball caps with a firm front panel work best for attaching heavier embellishments, while soft bucket hats offer a relaxed look ideal for lightweight decorations.
Cotton twill, polyester blends, or wool are ideal fabrics—they hold stitches well and provide a stable surface for glue applications. Avoid overly textured or slick materials like satin unless you're using specialized adhesives.
Gather Your Disney-Themed Materials and Tools
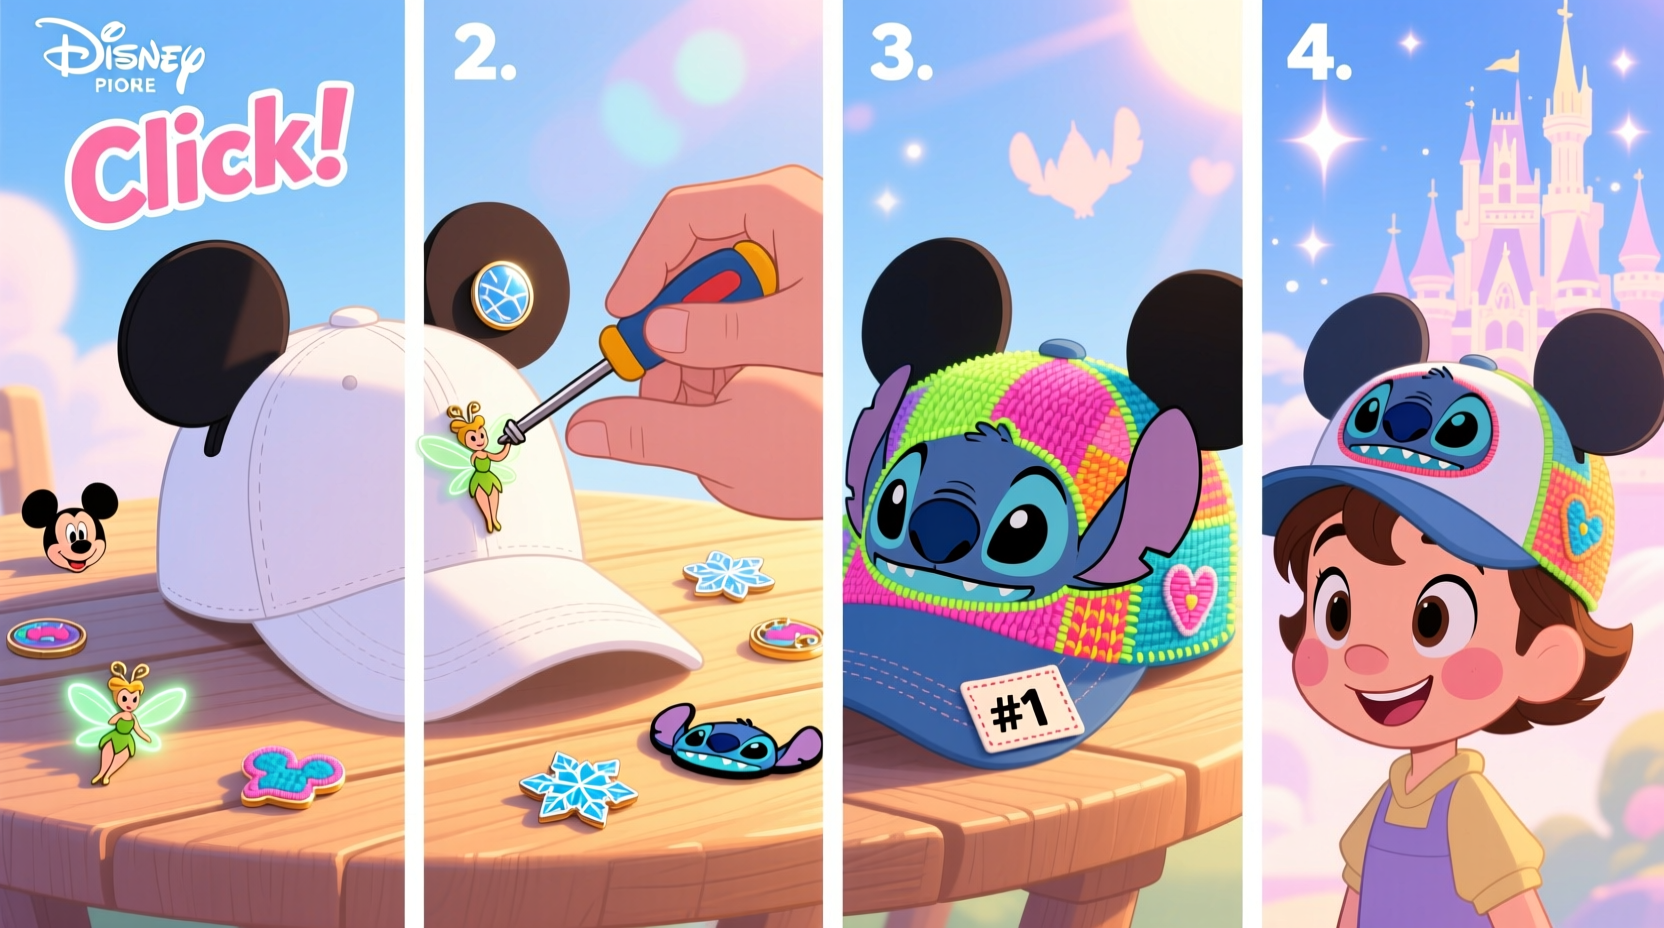
Before diving into assembly, organize your supplies. The magic lies in the details—buttons shaped like Mickey ears, enamel pins of beloved characters, embroidered patches of castle silhouettes, or even tiny 3D-printed figurines. Here’s a checklist of essential items:
- Plain hat (base)
- Disney-themed patches, pins, or appliqués
- Fabric glue (E6000 or Fabri-Tac recommended)
- Needle and thread (for hand-sewing)
- Sewing machine (optional, for advanced durability)
- Pins or clips (to hold pieces in place)
- Scissors
- Pencil or chalk (for marking placement)
- Iron (if using iron-on patches)
- Clear sealant spray (to protect glitter or paint)
Consider sourcing materials from official Disney merchandise, Etsy artisans, or licensed craft suppliers to ensure quality and authenticity. Replicas may lack durability or accurate detailing.
Design and Plan Your Layout
Rushing into attachment without planning often leads to misaligned or cluttered designs. Lay out your accessories on the hat first. Use small pins or removable tape to test positions. Common placements include:
- Front panel: Ideal for a central patch (e.g., Cinderella’s castle or a character face).
- Sides: Perfect for smaller pins or ear-shaped buttons.
- Back strap or band: Great for subtle touches like a tiny Dumbo or a “Bibbidi-Bobbidi-Boo” text patch.
- Bill (brim): Can hold lightweight 3D elements like miniature popcorn buckets or Mickey gloves.
“Planning your design like a storyboard ensures balance and visual harmony.” — Lila Chen, Costume Designer & Theme Park Enthusiast
Do’s and Don’ts of Design Placement
| Do’s | Don’ts |
|---|---|
| Keep heavy items near the crown for weight distribution | Avoid placing bulky items on the brim that could warp it |
| Use symmetry for classic Disney elegance (e.g., Mickey ears on both sides) | Don’t overcrowd—leave negative space for visual breathing room |
| Match colors to specific franchises (e.g., purple for Maleficent, gold for Aladdin) | Avoid clashing hues that distract from the theme |
Attach Accessories Using the Right Method
How you secure each element determines how long your hat will last through wear and weather. Choose the method based on material type and expected use.
Sewing for Durability
For fabric patches or felt cutouts, hand-stitching with a backstitch provides the strongest hold. Use a thread color that matches the patch border to keep seams discreet. If using a sewing machine, reduce stitch length and stabilize the area with tear-away backing to prevent puckering.
Gluing for Flexibility
Fabric glue works well for non-fabric items like plastic pins, resin charms, or buttons. Apply a thin, even layer to the back of the accessory, press firmly onto the hat, and clamp with clips for 24 hours. Avoid excess glue seeping out, which can stain or stiffen the fabric.
Iron-On Patches for Simplicity
Many Disney patches come with heat-activated adhesive. Place the patch where desired, cover with a cotton cloth, and press with a warm iron (no steam) for 20–30 seconds per side. Flip the hat and repeat from the inside to ensure full adhesion.
Add Final Magical Touches
Once main elements are secured, elevate your design with finishing details:
- Embroidered accents: Stitch tiny stars around a Tinker Bell patch or add cross-stitch waves behind Ariel.
- Glitter or fabric paint: Outline patches with metallic paint for a “sparkle” effect. Seal with a clear acrylic spray to prevent shedding.
- Movable parts: Attach a small plush Baymax or Pluto dog tag with a jump ring so it dangles playfully.
- Light elements: Sew in battery-powered micro LEDs behind a translucent castle patch for evening glow.
These extras make your hat stand out and reflect deeper storytelling—like a Pirates of the Caribbean hat with a tiny ship and flickering “fire” lights.
Mini Case Study: Emma’s Birthday Magic Hat
Emma, a lifelong Disney fan, wanted a standout piece for her 30th birthday trip to Disneyland. She started with a black structured cap. On the front, she sewed a vintage-style Mickey Mouse patch. On the left side, she glued a gold Minnie ear button. Along the back strap, she added iron-on patches of her favorite ride symbols: Space Mountain, It’s a Small World, and Splash Mountain. Finally, she hand-embroidered her name in cursive beneath the crown in silver thread. The result? A personalized tribute that sparked conversations and photo requests throughout the park—all for under $25 and four hours of work.
Care and Maintenance Tips
A customized hat requires gentle handling to preserve its charm. Store it in a hat box or on a stand to maintain shape. If cleaning is necessary, spot-clean only with a damp cloth and mild soap. Never machine wash unless all attachments are confirmed waterproof and securely fastened.
Inspect stitching and glue points monthly, especially if worn frequently. Reapply fabric glue to any lifting edges immediately to prevent loss.
FAQ
Can I remove accessories if I change my mind?
Yes, but carefully. Snip threads to remove sewn patches. For glued items, gently peel using a seam ripper or plastic scraper. Residual glue can be treated with rubbing alcohol (test on fabric first). Iron-on patches may leave adhesive marks when removed.
Are there copyright concerns with Disney-themed crafts?
Creating a hat for personal use is generally acceptable under fair use. However, selling Disney-customized items without a license infringes on intellectual property rights. Stick to personal projects unless you obtain official authorization.
What if I don’t have crafting experience?
Start simple. Use iron-on patches and safety pins to attach lightweight pins. As confidence grows, experiment with glue or basic hand-sewing. Many YouTube tutorials demonstrate beginner-friendly Disney hat projects.
Conclusion
Transforming a plain hat into a Disney-themed treasure is a joyful, accessible way to showcase your personality and passions. By choosing the right base, planning your layout, and securing accessories with care, you create more than an accessory—you craft a keepsake. Every stitch, pin, and sparkle tells a story of imagination and nostalgia. Whether you’re channeling the spirit of Adventureland or paying homage to a childhood favorite, your hat becomes a wearable piece of magic.


 浙公网安备
33010002000092号
浙公网安备
33010002000092号 浙B2-20120091-4
Comments
No comments yet. Why don't you start the discussion?