
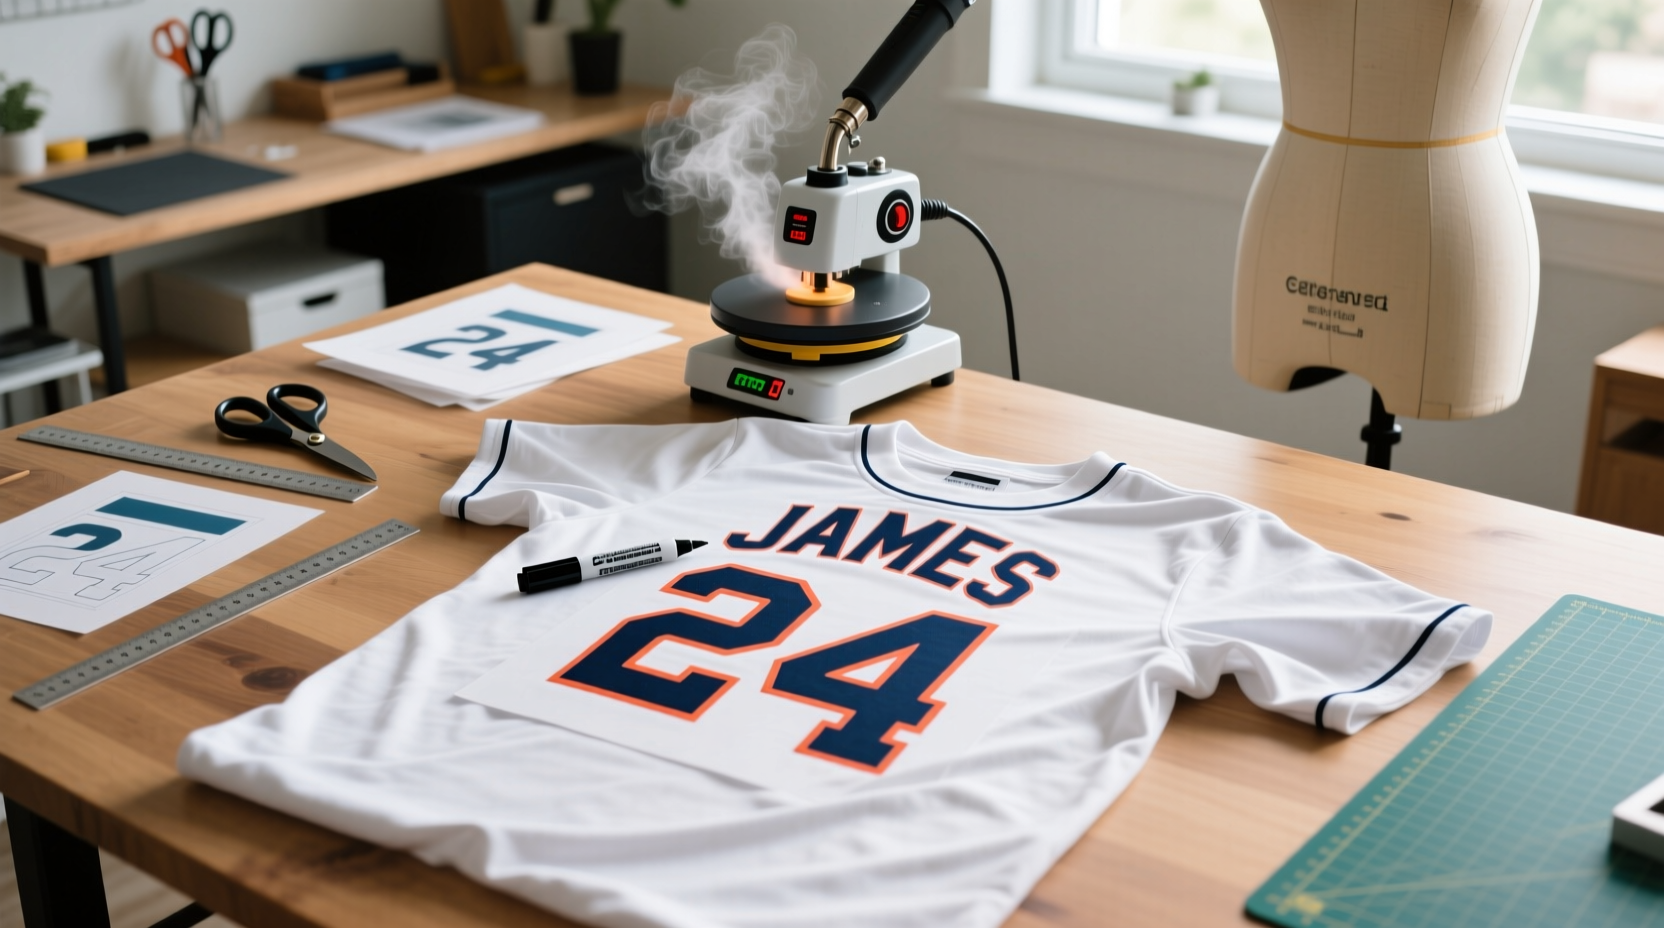
Customizing a baseball t-shirt with your favorite player’s name and number or creating a personalized jersey for a loved one doesn’t require professional equipment. With the right materials and attention to detail, you can achieve a clean, durable result from your own workspace. Whether you're making a gift, supporting a local team, or designing a custom look for game day, this guide walks you through every stage of the process—safely and effectively.
Choosing the Right Materials
The foundation of a successful customization project is selecting compatible, high-quality supplies. Not all fabrics react well to heat transfer, and low-grade vinyl may peel or crack after a few washes. Start with a 100% cotton or cotton-blend baseball-style t-shirt. These fabrics hold up best under heat application and resist warping during pressing.
For the design elements—names and numbers—heat-transfer vinyl (HTV) is the most accessible option for home use. It comes in rolls or sheets and adheres to fabric when pressed with heat. Choose premium-grade HTV for sharper edges and longer durability. Avoid adhesive-backed craft vinyl; it's not designed for washing and will degrade quickly.
Essential Supplies Checklist
- Plain baseball-style t-shirt (cotton or cotton-polyester blend)
- Heat-transfer vinyl (HTV) in desired colors
- Roller cutter or scissors
- Weeding tool (or tweezers)
- Heat press or household iron
- Parchment paper or Teflon sheet
- Lint roller
- Ruler and measuring tape
- Transfer tape (for some HTV types)
- Cutting machine (optional: Cricut or Silhouette) or stencil template
Designing the Name and Number Layout
Accuracy matters. Authentic baseball jerseys follow specific placement standards. The number typically appears on both the back and front, while the last name is centered above the number on the back. Standard sizing guidelines help maintain proportion:
| Placement | Size (inches) | Position from Shoulder/Collar |
|---|---|---|
| Back Number | 8–10\" | 4–5\" below collar |
| Front Number | 4–5\" | Centered on chest |
| Last Name | 2.5–3\" tall letters | 1–2\" above back number |
If using a cutting machine, upload a font that mimics official MLB lettering—such as “Baseball Caps” or “MLB Draft.” For hand-cutting, print a stencil at the correct size and trace it onto the carrier sheet of the HTV. Always mirror the design before cutting, as HTV is applied shiny-side down.
“Precision in alignment elevates a homemade jersey to near-professional quality. Take time with measurements—they’re irreversible once pressed.” — Dana Ruiz, DIY Apparel Designer
Step-by-Step Application Process
- Prepare the shirt: Wash and dry the t-shirt to remove any sizing or moisture. Iron it flat without steam to eliminate wrinkles. Use a lint roller to clear debris from the application area.
- Cut and weed the design: Cut the HTV using a machine or scissors. Use a weeding tool to remove excess vinyl around the letters and numbers, leaving only the intended design on the carrier sheet.
- Position the design: Place the shirt on a hard, heat-resistant surface. Carefully position the cut design where you want it. Use masking tape to secure edges if needed, but avoid covering the actual vinyl.
- Apply heat: Set your iron to the highest setting without steam (usually cotton). For a heat press, follow manufacturer settings—typically 305°F for 15–20 seconds. Cover the design with parchment paper to protect the vinyl and distribute heat evenly.
- Press firmly: Apply consistent pressure. If using an iron, press in a slow, circular motion for even contact. Do not slide the iron—this shifts the vinyl. Hold for the recommended time.
- Cool and peel: Allow the area to cool completely before peeling off the carrier sheet. Some HTV types require a “hot peel,” others a “cold peel”—check your product instructions.
- Seal the design: After peeling, cover the area again with parchment paper and press for another 5–10 seconds. This ensures full adhesion and improves wash resistance.
Avoiding Common Mistakes
Even experienced crafters make errors that compromise durability and appearance. The following table outlines frequent pitfalls and how to prevent them:
| Mistake | Why It Happens | How to Avoid |
|---|---|---|
| Peeling edges | Inadequate heat or pressure | Use firm, even pressure and repress after peeling |
| Distorted letters | Sliding iron or misaligned stencil | Keep iron stationary; tape design securely |
| Burn marks | Excessive heat or prolonged contact | Follow HTV manufacturer’s temperature guide |
| Wrinkled vinyl | Applying to wrinkled fabric | Iron shirt thoroughly before starting |
| Faded design after wash | Incorrect washing method | Wash inside out in cold water; air dry or low heat |
Real-Life Example: Custom Team Shirts for Little League
Jamie, a parent volunteer for her son’s Little League team, needed eight matching t-shirts with individual player names and numbers. She used a Cricut Maker with white HTV on navy shirts. After cutting each name using a free download of “Baseball Numbers” font, she applied them with a standard household iron. To ensure consistency, she created a cardboard template for placement. The entire project took three hours, including setup and pressing. Two months later, after multiple washes, none of the designs have cracked or lifted. Her secret? Double-pressing each shirt and washing them inside out.
Caring for Your Customized T-Shirt
The longevity of your personalized jersey depends on post-application care. Turn the shirt inside out before washing to protect the vinyl. Use cold water and a gentle cycle. Avoid bleach and fabric softeners, which degrade adhesive bonds over time. Dry on low heat or air-dry to prevent shrinkage and heat stress on the design.
When storing, fold rather than hang to avoid stretching the fabric around the design. If ironing is necessary, do so inside out and avoid direct contact with the printed area.
Frequently Asked Questions
Can I use regular printer ink and transfer paper instead?
Yes, inkjet transfer paper works for detailed designs, but it produces a plastic-like finish and may not last as long as HTV for bold text. HTV is more durable and gives a professional, textured feel similar to authentic jerseys.
What if I don’t have a cutting machine?
You can hand-cut HTV using stencils and sharp scissors. Print your design mirrored on paper, trace it onto the vinyl, and carefully cut along the lines. It takes more time but yields good results with patience.
Can I layer different colors of HTV?
Yes, but apply the base layer first, then add subsequent layers. Each layer needs proper pressing time. Use a multi-step design approach and allow cooling between layers to prevent lifting.
Final Tips for Success
- Always work in a clean, dust-free environment—lint ruins adhesion.
- Buy HTV samples in small quantities before committing to large projects.
- Label your vinyl rolls by color and type—some look identical but require different settings.
- Keep a log of time, temperature, and pressure for future reference.
Conclusion
Personalizing a baseball t-shirt at home is a rewarding way to show team spirit, celebrate a player, or create meaningful gifts. With careful preparation, accurate design placement, and proper heat application, your DIY jersey can rival store-bought versions in quality. The process is affordable, customizable, and accessible to anyone with basic tools. Once you complete your first shirt, you’ll likely find yourself making more—for birthdays, tournaments, or just because.


 浙公网安备
33010002000092号
浙公网安备
33010002000092号 浙B2-20120091-4
Comments
No comments yet. Why don't you start the discussion?