
Personalized keychains are more than just functional—they’re small expressions of identity, sentiment, and style. Whether you're creating a thoughtful gift, branding merchandise, or simply adding flair to your own keys, customizing keychains with initials and charms offers endless creative possibilities. With the right tools and techniques, anyone can craft a one-of-a-kind accessory that stands out.
This guide walks through the entire process—from choosing materials to final assembly—with practical tips, real-world examples, and expert insights to ensure your creations are both beautiful and durable.
Selecting the Right Materials and Tools
The foundation of any personalized keychain is its components. Choosing quality materials ensures longevity and enhances the overall aesthetic. Start by gathering the essential supplies:
- Keyring base: Available in various sizes and finishes (brass, stainless steel, oxidized silver).
- Initials: Metal stamped letters, acrylic cutouts, leather tags, or polymer clay shapes.
- Charms: Miniature symbols (hearts, stars, animals), birthstones, zodiac signs, or thematic icons.
- Connectors: Jump rings, split rings, or lobster clasps for attaching elements securely.
- Tools: Jewelry pliers, hole punch (for fabric/leather), glue (E6000 or epoxy), and tweezers.
Consider the recipient’s taste when selecting styles. A minimalist might prefer engraved stainless steel initials with a single geometric charm, while someone playful may enjoy colorful enamel letters paired with whimsical trinkets.
Design Planning: Layout and Theme Coordination
Before assembling, sketch a rough layout. Decide whether the design will be symmetrical, linear, or clustered. Think about balance—both visual and physical—so the keychain doesn’t feel lopsided when carried.
Themes help unify the design. For example:
- Travel-inspired: Initials + airplane charm + tiny globe
- Family-focused: First initial + heart charm + birthstone beads
- Pet lover: Owner’s initial + paw print + pet’s name tag
“Intentional design turns a simple keychain into a meaningful keepsake.” — Lila Nguyen, Handmade Accessory Designer
Use a soft cloth or tray to arrange components before securing them. This trial run helps identify spacing issues and allows adjustments without permanent commitment.
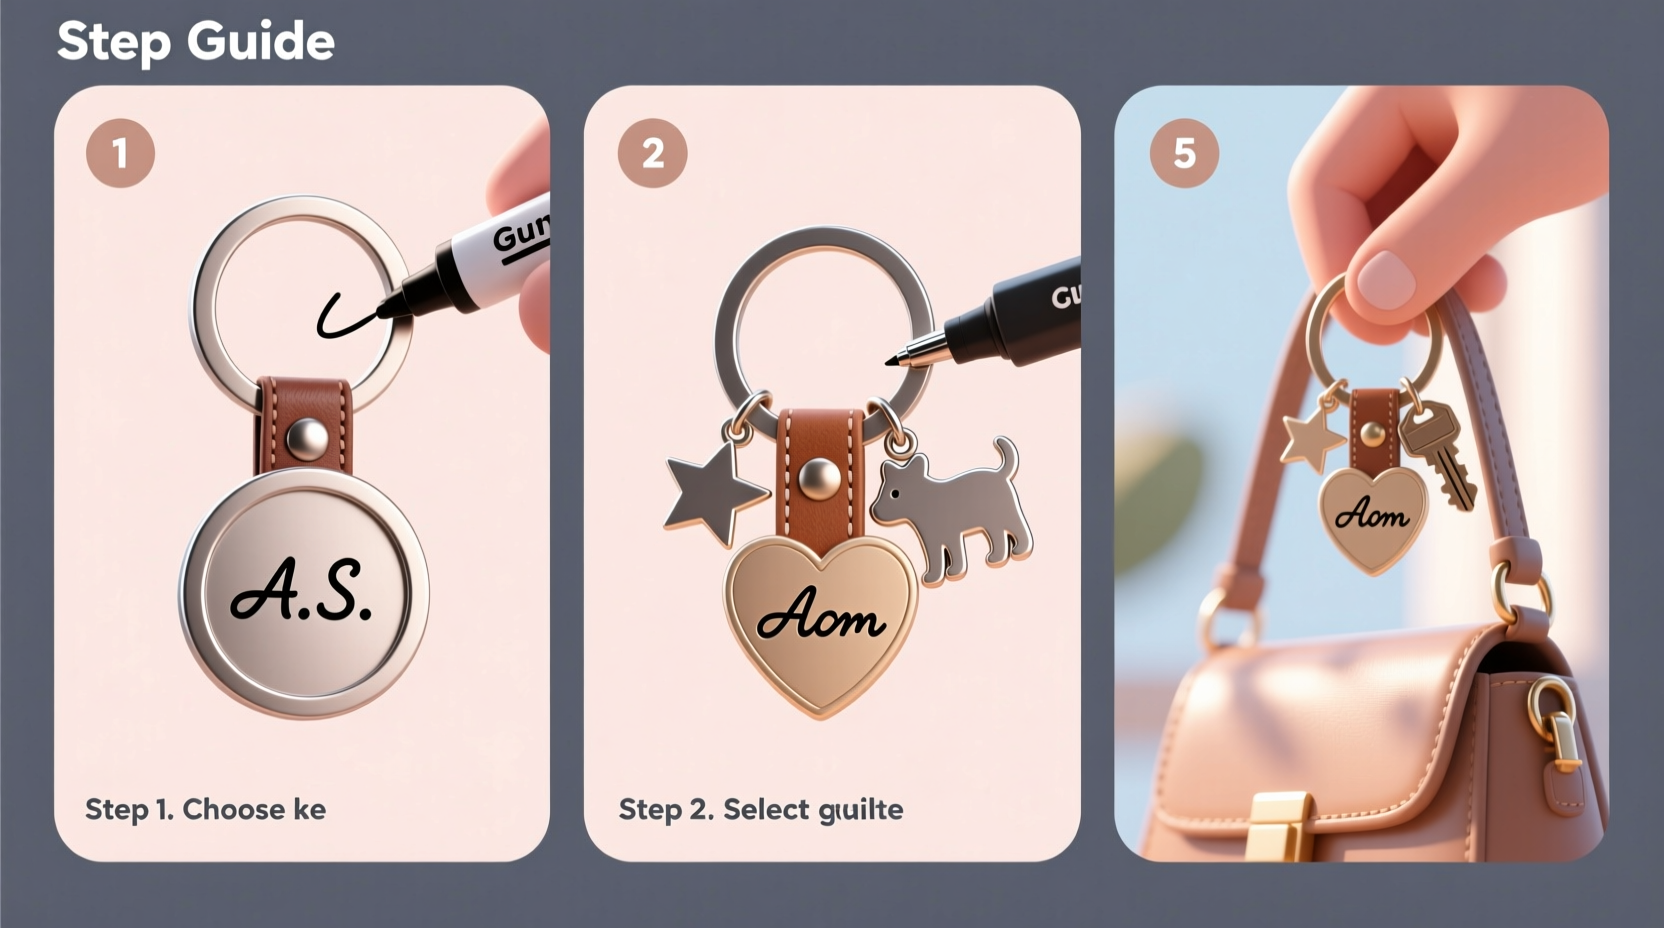
Step-by-Step Guide to Assembling Your Keychain
Follow this sequence to create a polished, professional-looking keychain:
- Prepare the base: Open the keyring using two pairs of pliers—one to hold the ring steady, the other to gently twist open the gap.
- Add the initial: Slide on a pre-made letter charm or attach a custom tag using a jump ring. Close the jump ring completely to prevent snagging.
- Incorporate charms: Attach each charm via individual jump rings. Alternate sizes and shapes for visual interest but avoid overcrowding.
- Secure all connections: Double-check that every ring is fully closed and no sharp edges remain.
- Test functionality: Clip the keychain onto a set of keys and shake lightly to ensure nothing loosens.
If using non-metal initials (like wood or leather), pre-drill or punch a hole near the top edge. Seal porous materials with a clear varnish to resist wear.
| Material | Best Attachment Method | Durability Notes |
|---|---|---|
| Metal initials | Direct slide or jump ring | Highly durable; resists scratches |
| Leather tag | Hole punch + split ring | Wear-resistant but avoid prolonged moisture |
| Acrylic letter | Epoxy glue + backing disc | Scratches easily; handle with care |
| Polymer clay | Baked-in loop or glued jump ring | Fragile if dropped; seal thoroughly |
Real Example: Creating a Graduation Gift Keychain
Sophia wanted to make a memorable gift for her sister’s college graduation. She chose a brushed gold keyring as the base, symbolizing achievement. She added a custom-stamped “A” (her sister’s initial) in rose gold font, followed by three small charms: a mortarboard, a book, and a tiny suitcase representing future adventures.
To personalize further, Sophia included a miniature enameled university logo charm she sourced from a campus shop. She arranged the elements so the initial sat prominently in the center, flanked by the academic symbols. After assembly, she packaged it in a velvet pouch with a handwritten note.
The result was not only functional but emotionally resonant—a keepsake her sister still uses daily, years later.
Common Mistakes and How to Avoid Them
Even experienced crafters can make errors that compromise durability or appearance. Here are common pitfalls and their solutions:
- Overloading the ring: Too many charms cause tangling and stress on connectors. Stick to 3–5 well-chosen pieces.
- Using weak glue: Craft glue may yellow or crack. Opt for industrial adhesives like E6000 for lasting bonds.
- Skipping finishing touches: File rough edges on metal or wood to prevent cuts and snagging.
- Mismatched metals: Mixing silver and gold tones without intention can look chaotic. Stick to one color family unless deliberately going for contrast.
“A great personalized keychain isn’t just about what’s on it—it’s how thoughtfully it’s put together.” — Marcus Reed, Jewelry Artisan
Frequently Asked Questions
Can I wash a personalized keychain?
Absolutely not with soap and water if it contains leather, paper, or glued elements. Instead, gently wipe with a dry microfiber cloth. For metal-only designs, a damp cloth followed by immediate drying is acceptable.
How long does it take to make one keychain?
For beginners, allow 30–45 minutes including planning and assembly. With experience, the process can take as little as 10–15 minutes per piece.
Are there eco-friendly options for customization?
Yes. Use recycled metal charms, sustainably sourced wood initials, or biodegradable packaging. Some artisans even offer plantable seed paper tags as part of the design.
Final Checklist Before Gifting or Use
Ensure your keychain meets quality standards with this quick verification:
- ✅ All jump rings are fully closed and secure
- ✅ Initials are correctly spelled and oriented
- ✅ Charms move freely without catching
- ✅ No sharp edges or loose parts
- ✅ Design reflects intended theme or message
- ✅ Clean surface free of glue residue or fingerprints
Conclusion: Make It Meaningful, Make It Last
Personalizing keychains with initials and charms transforms an everyday object into something deeply personal. The process invites creativity, attention to detail, and emotional connection. Whether you're crafting for loved ones or building a small product line, each piece becomes a story carried in someone’s pocket or bag.


 浙公网安备
33010002000092号
浙公网安备
33010002000092号 浙B2-20120091-4
Comments
No comments yet. Why don't you start the discussion?