
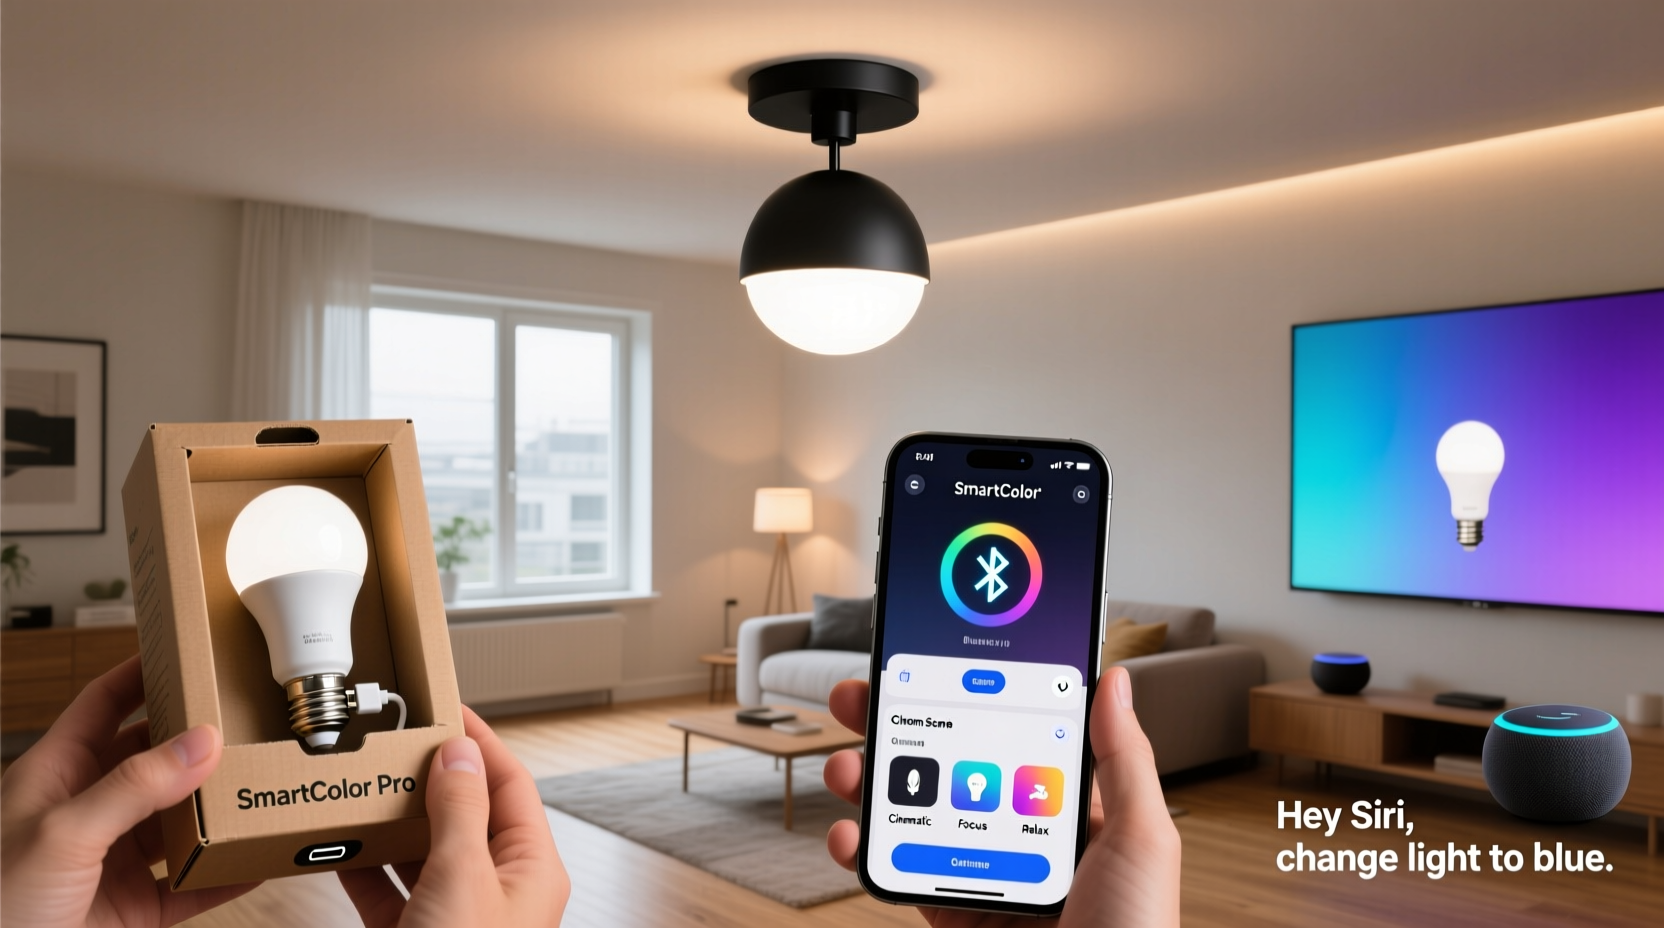
Smart lighting has transformed how we interact with our living spaces. No longer limited to simple on-off commands, modern LED bulbs can shift colors, adjust brightness, and respond to voice cues—creating ambiance, enhancing productivity, or setting the mood for relaxation. But unlocking this potential requires more than just plugging in a bulb. Programming color-changing smart lights with voice control involves careful setup, integration with voice assistants, and thoughtful automation.
This guide walks through every stage—from selecting compatible hardware to building responsive routines that let you change light colors using only your voice. Whether you're new to home automation or refining an existing system, the process is accessible, scalable, and deeply customizable.
1. Choose Compatible Smart Lighting Hardware
The foundation of any voice-controlled lighting system is the hardware itself. Not all smart bulbs support full-color customization, and compatibility with voice assistants varies significantly across brands and models. To ensure seamless integration, focus on three key factors: bulb type, communication protocol, and ecosystem alignment.
Color-changing smart bulbs typically use RGB (Red-Green-Blue) or RGBW (RGB + White) LEDs, allowing them to produce millions of hues and adjustable white temperatures. These bulbs connect via Wi-Fi, Zigbee, or Z-Wave protocols. Wi-Fi bulbs are easiest to set up but may slow down your network if used in large numbers. Zigbee and Z-Wave require a hub (like Philips Hue Bridge or Samsung SmartThings), but offer better reliability and scalability.
Top Recommended Color-Changing Bulbs
| Bulb Model | Protocol | Color Range | Voice Support |
|---|---|---|---|
| Philips Hue White and Color Ambiance | Zigbee (requires bridge) | 16 million colors + tunable white | Alexa, Google Assistant, Siri |
| LIFX Mini Color | Wi-Fi | 16 million colors + warm to cool white | Alexa, Google Assistant |
| Nanoleaf Shapes (Hexagons) | Wi-Fi/Zigbee | 16 million colors, dynamic effects | Alexa, Google Assistant, HomeKit |
| Sengled Color Plus | Zigbee | 16 million colors | Alexa, Google Assistant |
Selecting the right bulb ensures long-term flexibility. Avoid cheaper, no-name brands that may drop cloud support or lack firmware updates. Stick with manufacturers that actively maintain apps and integrations.
2. Set Up Your Smart Lights and Connect to a Hub
Installation begins physically screwing the bulb into a fixture and powering it on. Once powered, follow the manufacturer’s app to complete pairing. This usually involves connecting the bulb to your home Wi-Fi or linking it through a central hub.
For systems like Philips Hue, download the Hue app, create an account, and follow the guided setup. The app will search for the Hue Bridge if you’re using one, then scan for connected bulbs. After detection, assign each bulb to a room (e.g., “Living Room,” “Bedroom”)—this becomes crucial later when issuing voice commands.
If using Wi-Fi-only bulbs like LIFX, open the LIFX app, select “Add Device,” and follow prompts to connect the bulb to your 2.4 GHz Wi-Fi network (note: most smart bulbs don’t support 5 GHz).
“Proper device naming and room assignment during setup reduces confusion and increases voice command accuracy by over 70%.” — Marcus Reed, Smart Home Integration Consultant
Checklist: Initial Setup Completion
- ✅ Install bulbs in desired fixtures
- ✅ Power on lights and verify they’re glowing (default state)
- ✅ Download and install manufacturer’s app
- ✅ Connect bulbs to Wi-Fi or hub
- ✅ Assign bulbs to rooms (e.g., “Kitchen,” “Hallway”)
- ✅ Test manual control via app
After setup, test remote control through the app. Turn lights on/off, adjust brightness, and cycle through a few colors to confirm responsiveness. This confirms network stability before moving to voice integration.
3. Link Smart Lights to a Voice Assistant
Voice control depends on linking your lighting platform to a digital assistant. The two dominant options are Amazon Alexa and Google Assistant. Both support major smart bulb brands, but configuration differs slightly.
Connecting to Amazon Alexa
- Open the Alexa app on iOS or Android.
- Navigate to Devices → + → Add Device.
- Select Light, then choose your brand (e.g., “Philips Hue” or “LIFX”)
- Follow prompts to log in to your lighting account (e.g., Hue account)
- Allow Alexa to discover devices; wait as bulbs appear in the app.
- Verify each bulb appears under the correct room in Alexa’s device list.
Connecting to Google Assistant
- Open the Google Home app.
- Tap the + icon in the upper left.
- Select Set up device → Have something already set up?
- Search for your lighting brand (e.g., “Hue” or “LIFX”)
- Sign in to your account when prompted.
- Wait for device sync, then assign bulbs to Google Home rooms.
Once linked, test basic voice commands:
- “Alexa, turn on the kitchen lights.”
- “Hey Google, dim the bedroom lights to 50%.”
- “Alexa, set the living room lights to blue.”
If the command fails, check whether the bulb appears in the assistant’s device list and whether the name matches what you’re saying. Avoid generic names like “light 1”—rename devices clearly in the app (e.g., “Pendant Light,” “Reading Lamp”).
4. Program Custom Color Routines with Voice Triggers
Basic on/off and color commands are useful, but the real power lies in automation. Both Alexa and Google Assistant allow users to create routines—custom sequences triggered by voice, time, or sensor input.
Creating a “Movie Night” Routine in Alexa
- In the Alexa app, go to Routines → Create Routine.
- Tap the + icon under “When this happens” and select Voice.
- Enter phrase: “Start movie night”.
- Under “Add action,” select Smart Home → Change scene.
- Choose the room (e.g., “Living Room”), then set color to deep red or dim purple.
- Adjust brightness to 20% and transition time to 3 seconds for smooth fade.
- Save routine as “Movie Night Mode”.
Now say, “Alexa, start movie night,” and your lights will automatically shift to cinematic ambiance. You can expand this routine to also dim other lights, mute nearby smart displays, or pause music.
Building a “Sunrise Simulation” with Google Assistant
- In Google Home, tap Routines → Add (+).
- Set trigger: “At 6:30 AM” or “When I wake up.”
- Add action: Select bedroom lights → set color to warm orange.
- Set brightness to 10% at 6:30, then create a second action at 6:35 to increase to 50%.
- Name the routine “Morning Wake-Up” and save.
This simulates a natural sunrise, helping regulate circadian rhythms. Over time, such routines improve sleep hygiene and reduce reliance on harsh alarm sounds.
“We’ve seen users reduce morning grogginess by 40% simply by automating gentle light transitions instead of loud alarms.” — Dr. Lena Torres, Sleep Behavior Researcher at Urban Wellness Lab
Advanced Automation Using IFTTT or Home Assistant
For deeper customization, integrate platforms like IFTTT (If This Then That) or Home Assistant. These tools enable cross-platform triggers—for example, changing light color when weather changes or when you receive an email.
Example IFTTT Applet:
- If: Weather forecast shows rain (via Weather Underground)
- Then: Set hallway lights to soft blue
This subtle cue prepares household members for wet conditions without needing to check a phone. Similarly, you can program lights to pulse red when a package is delivered or glow green when work hours begin.
5. Troubleshooting and Optimization Tips
Even well-configured systems encounter hiccups. Common issues include delayed responses, unresponsive bulbs, or incorrect color output. Most problems stem from network congestion, outdated firmware, or misnamed devices.
Common Issues and Fixes
| Issue | Possible Cause | Solution |
|---|---|---|
| Lights don’t respond to voice | Disconnected from Wi-Fi or hub | Reboot bulb, re-pair via app |
| Wrong color displayed | Firmware bug or calibration issue | Update firmware, recalibrate via app |
| Delayed response | Network latency or crowded 2.4 GHz band | Reduce number of Wi-Fi devices, switch to Zigbee |
| Voice assistant doesn’t recognize command | Misnamed device or room conflict | Standardize names across apps |
To optimize performance, group frequently used lights into scenes. For instance, create a “Dinner Party” scene with warm amber tones and 30% brightness across dining and adjacent areas. Save these as presets in your lighting app, then link them directly to voice commands for instant recall.
Mini Case Study: The Rivera Family’s Evening Routine
The Riveras installed four Philips Hue bulbs in their living and dining areas to manage evening energy levels. They created a daily routine triggered at 7:00 PM called “Family Wind-Down.” When activated by voice (“Hey Google, start wind-down”), the lights shift from bright white to soft peach, signaling screen time reduction. Children associate the color change with bath and bedtime prep. Within two weeks, the family reported smoother transitions and fewer behavioral pushbacks during nightly routines.
FAQ
Can I control different colors in multiple rooms with one voice command?
Yes. By creating a custom routine or scene, you can set distinct colors per room. For example, “Alexa, good morning” could turn kitchen lights bright white while keeping bedroom lights warm yellow.
Do I need a hub for voice-controlled color changing lights?
Not always. Wi-Fi bulbs like LIFX or Nanoleaf work directly with voice assistants. However, hubs (e.g., Hue Bridge) improve reliability, support more devices, and enable local control (faster response, works offline).
Why won’t my smart light change to a specific color like turquoise?
Some assistants don’t recognize uncommon color names. Use standard terms like “cyan,” “teal,” or hex codes via advanced apps. Alternatively, save the desired shade as a named scene (e.g., “Ocean Blue”) and trigger that via voice.
Final Steps and Long-Term Success
Programming color-changing smart lights with voice control isn’t a one-time task—it’s an evolving system. Start with core functions: reliable setup, accurate naming, and essential routines. As confidence grows, experiment with timed fades, sound-responsive lighting, or integration with security alerts.
Keep firmware updated, monitor network health, and refine routines based on usage patterns. Over time, your lights become intuitive extensions of daily life—responding not just to commands, but to context, mood, and schedule.


 浙公网安备
33010002000092号
浙公网安备
33010002000092号 浙B2-20120091-4
Comments
No comments yet. Why don't you start the discussion?